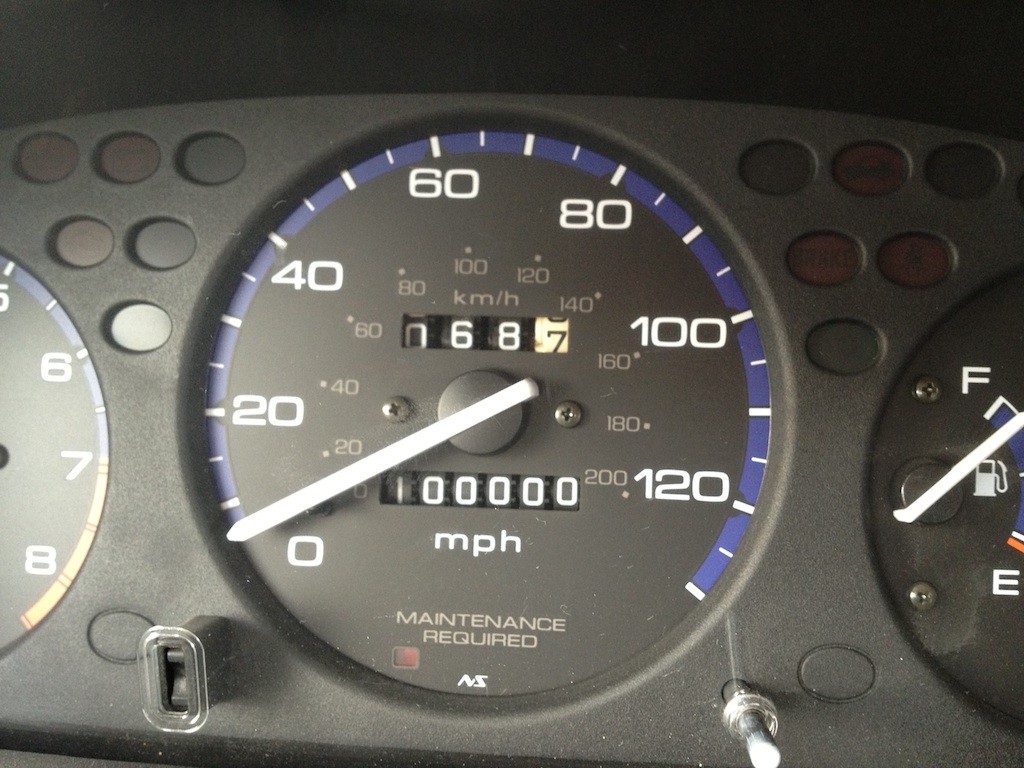
I’ve always wanted to finish the Cap 10k under 45 minutes, and this morning I did! The official Cap10 timing was 44:05
Category: personal
personal
indonesia: borobudur at dawn
Pictures are up from our visit to Borobudur in Java. Borobudur is the largest Buddhist temple in the world, and we visited at the recommended time, dawn. This involved a 4am wakeup call but was totally worth it:

indonesia continues: ubud
Pictures fall behind reality: I’ve just finished posting pics from Ubud, Bali while we’ve physically just landed in Sydney.
Ubud is an idyllic paradise in the interior of Bali where we mostly gaped at staggering natural beauty and drank Bintang beer. Many pictures and even a few movies are up on gallery, please to enjoy.
indonesia / australia trip begins: bali
We’ve been in Bali a few days now, and lo it is glorious. As I type this I look out across one of three decks in our private villa in Ubud. It would be crazy to spend too much more time here typing, and our breakfast arrives soon, so I’ll just point you toward gallery which has the first few days of pictures already up.
Oh, and check out what’s got to be my coolest Strava track yet:
massive picture post on gallery
Thanks to Leslie, many, many new events worth of pics are up on gallery, including at least six weddings, a ridiculous obstacle course, and the opening of the Wright Bros Brew & Brew. Have a look!

home NAS server 2013 part 2: Ubuntu
In my last installment, I discussed the hardware I was planning to buy for the build of my new home NAS server. Well, I got all the parts within a matter of days and threw the thing together, then spent my spare time over a couple of weekends setting the thing up. In this post, I’ll discuss the basic setup of the OS (Ubuntu server).
Installing Ubuntu Server 12.10
There are a lot of competent Linux distributions out there. I first got into Linux with Redhat in the late nineties, went through a Slackware phase, and finally found something I liked in Debian around 2001. Debian had an excellent package management system (apt), which made keeping all the software on your computer up-to-date. Fast forward a decade, and I’m still there, although with the Debian derivative Ubuntu. Ubuntu has the widest and deepest selection of pre-built software that I know of, and it is still a joy to work with.
Creating a bootable USB install disk
You may have noticed that my new server has no optical drive. So, I had to create a bootable USB stick with the Ubuntu installer. I did this by sticking a cheap 2GB flash drive I had lying around into my OS X 10.8 Mac Mini and then firing up Disk Utility. I formatted the disk FAT with an MBR boot record (GUID won’t allow boot), then added following incantation from the terminal:
# sudo fdisk -e /dev/disk2
f 1
write
exit
Which (I think) activates the first partition for boot.
Then, I used unetbootin to download and image the installer (ubuntu-12.10-server-amd64.iso) onto the disk. I popped it in the NAS and it booted right up!
Installing Ubuntu
I won’t hold your hand through the entire installation process. I did a no-frills install:
- selected a hostname (“nasty,” heh),
- whole-disk LVM on the SSD,
- only installed OpenSSH server
- installed grup on the root of the SSD
That's it! Ubuntu installed.
Setting up the RAID volume
There are a lot more options out there for Linux RAID and filesystems than there were a few years ago. The last time I set up a NAS, I tried out ZFS with its whizzy volume management and snapshotting and whatnot, but discovered it was slow, unstable, and RAM-hungry. Before that I’d tried JFS, Reiser, and others. I was always bitten by their immaturity, and a lack of disaster recovery tools. Meanwhile, good old ext has always been reliable if not the most feature-rich. And, perhaps most importantly, ext is always supported by every recovery tool. So I decided to stay simple and just use Linux’s built-in software raid with an ext4 filesystem for my big media volume.
Before setting up a Linux software RAID volume, you should probably do some reading. It’s actually very simple once you figure out what you want, but figuring that out can be a lengthy process. I’ll direct you to the canonical guide that I’ve used several times in the past. For me, it boiled down to a 4-disk RAID5 array (one disk worth of parity) with a 256KB chunk size (since I mostly have large media files):
mdadm --create --verbose /dev/md0 --level=5 --chunk=256 --raid-devices=4 /dev/sda /dev/sdb /dev/sdc /dev/sdd
And that’s it! Once the creation is started, you can start sticking stuff on the volume right away, so I went ahead and created a filesystem:
mkfs.ext4 -v -m .1 -b 4096 -E stride=64,stripe-width=192 /dev/md0
Here, the ‘-m .1’ reserves just 0.1% of the volume’s space for the root user (down from the default of 5%), and the block and stride arguments are tuned for the raid block size. See this section of the guide for info on how to compute them.
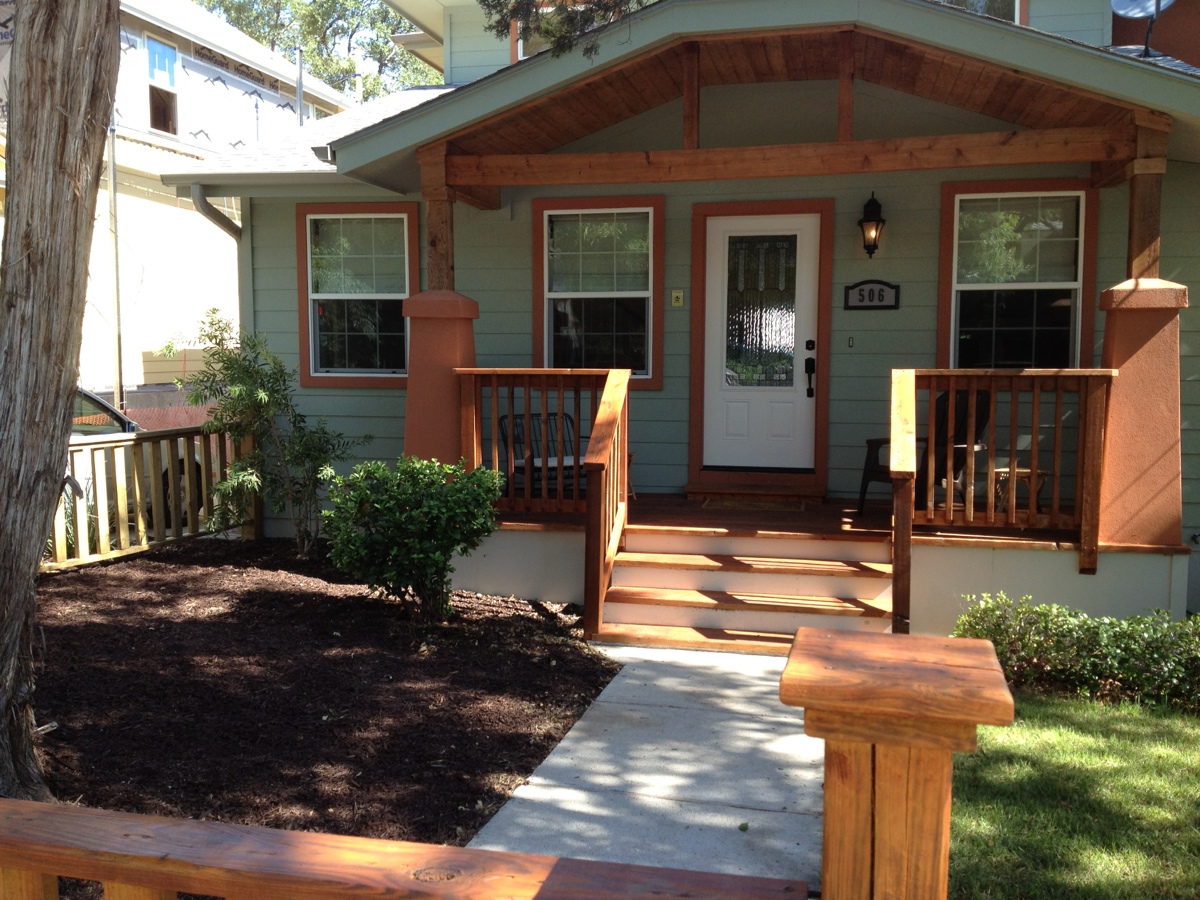
austin frontyard garden
home NAS server 2013 part 1: shopping
My 4-year-old home media server, made up of 4 1.5TB hard drives connected to a commodity motherboard in an old ATX case, is on its last legs. Drives will occasionally drop out of the RAID5 set, necessitating a rebuild, and I’m using 95% of the ~4.5TB of storage. Time for an upgrade!
I thought about abandoning the DIY approach this time. Synology offers a very tempting array of turnkey NAS servers based on low-power ARM systems with web-based storage management. If I’d gone this way, the DS412+ would have been my choice.
But, I’m a tweaker at heart, and my current DIY Ubuntu server hosts all kinds of third party applications that I rely on to deliver media: Sickbeard, sabnzbd+, and newznab+ for automatic TV downloads, rtorrent and rutorrent for HD movies and music, a Plex media server to deliver content to my TV, a dirvish-based remote backup system. While I could get most of these programs as packages for a Synology box, it’s fun to have the whole Ubuntu multiverse at my disposal. And I’m always a bit nervous having proprietary volume management software between me and my data. With Ubuntu, it’s just plain-old ext4 with Linux software raid, so I can rescue my data easily in an emergency.
So, I decided to build my own again. I had several important design goals:
- At least double storage capacity (from 4.5TB to 9TB).
- Reduce enclosure size (from mid-size ATX).
- Network-accessible BIOS/KVM (no need to plug in a monitor or keyboard).
- Enough horsepower for Plex transcoding.
- Low overall power consumption, since it’s on 24/7.
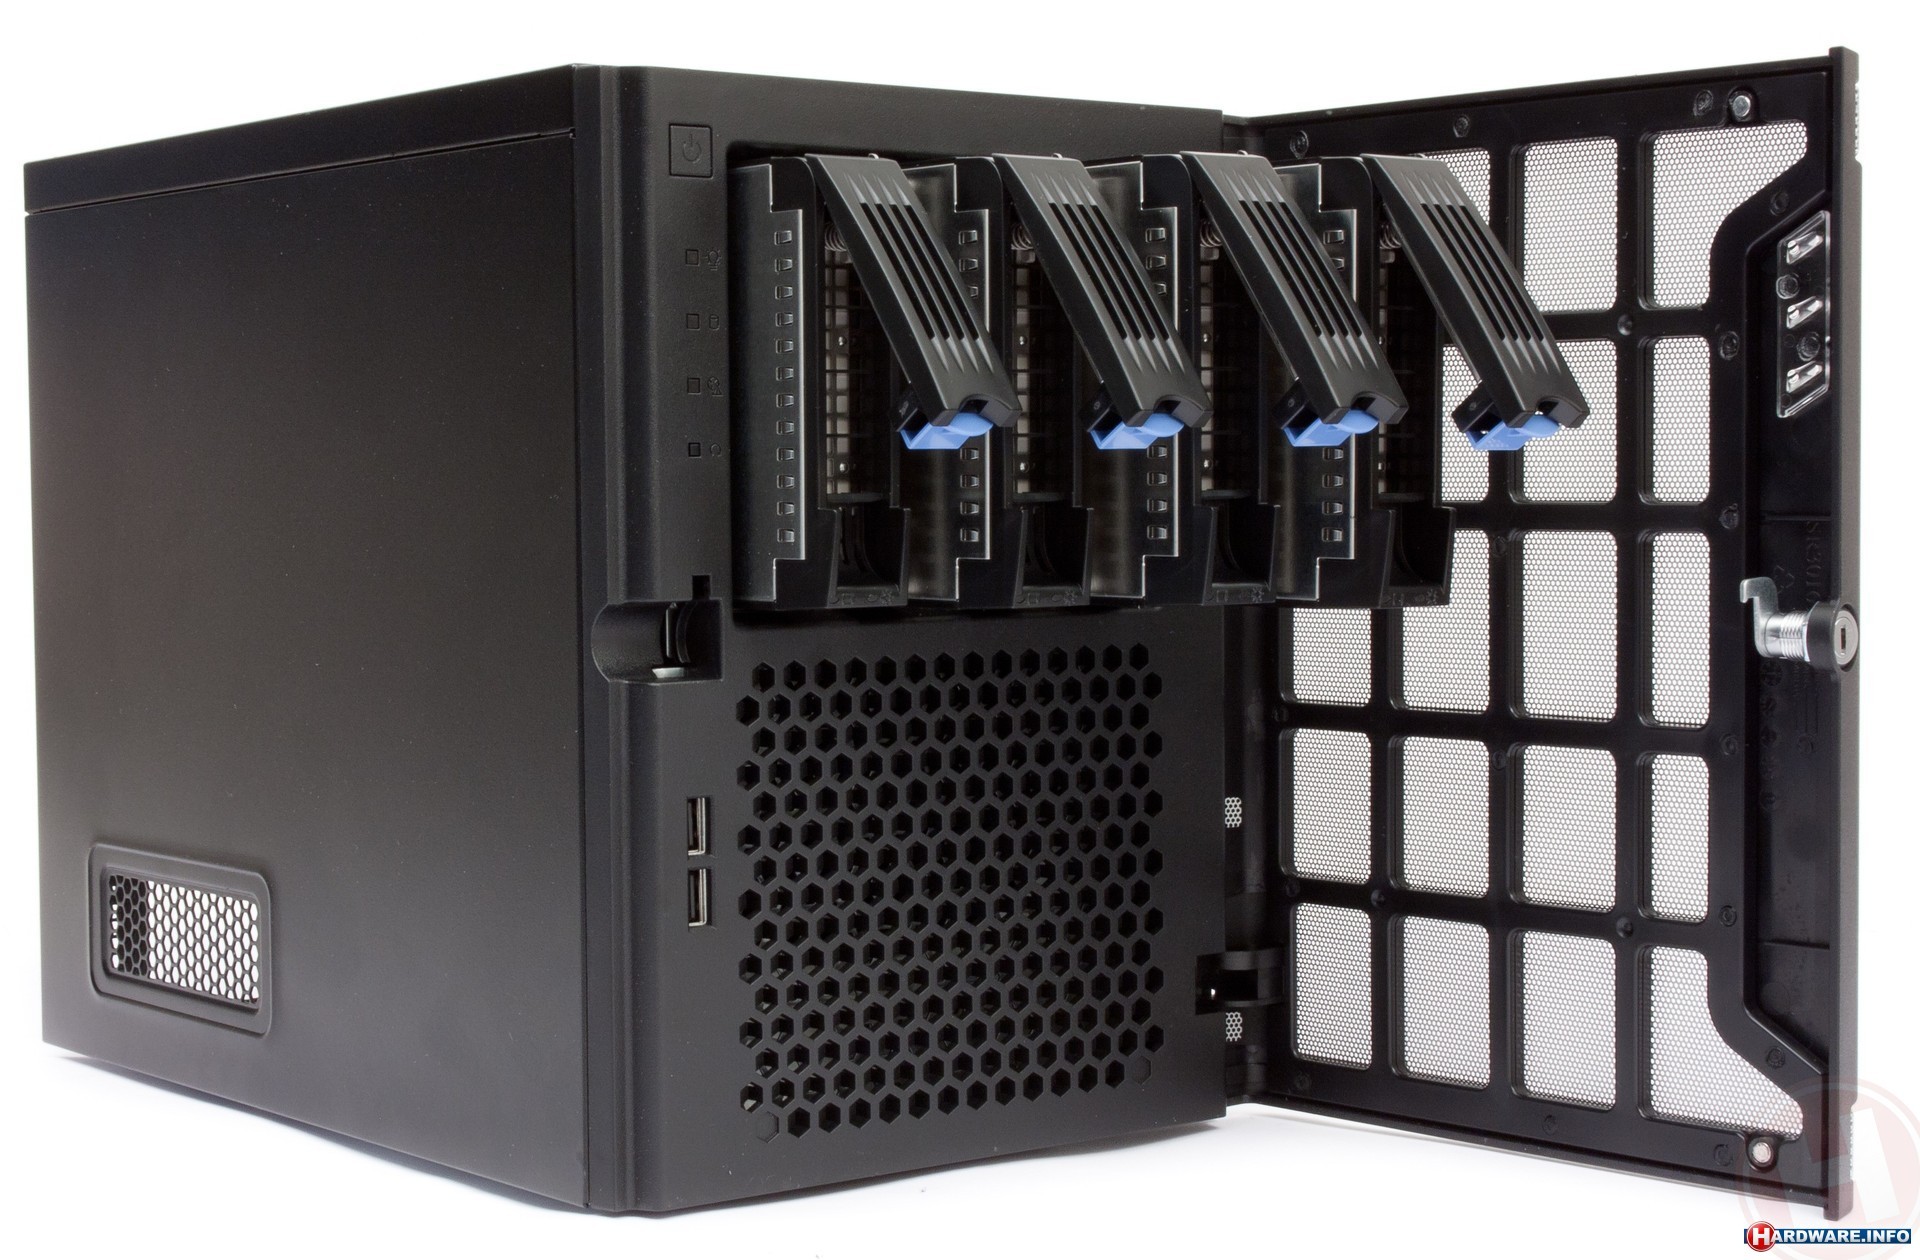
enclosure: Chenbro SR30169
In some ways, the first thing I have to settle on is the enclosure. It controls which motherboard sizes I can use, how many drives I can fit, etc. I needed to hold at least 4 standard 3.5″ hard drives. Given the popularity of DIY NAS boxes, I’ve been surprised by the relatively small selection of enclosures that can accomodate 4 hard drives and yet are not full-size ATX towers, which I wanted to avoid. I had my eye on this Chenbro for years, but it was relatively expensive and I just figured it was a matter of time before there was more competition in the space.
I also considered the Fractal Design Array R2, which can accomodate 6 3.5″ drives, but decided against it because the drive bays weren’t hot-swap, and the case is actually not very small for a Mini-ITX form factor.
So, I settled on the Chenbro despite mixed reviews of the included PSU; I planned to toss that out anyway. It has nice, hot-swap drive bays that plug into an included SATA III backplane, room for a low-profile PCI Express add-on card, and it’s pretty dern small.
price: $125 at Provantage
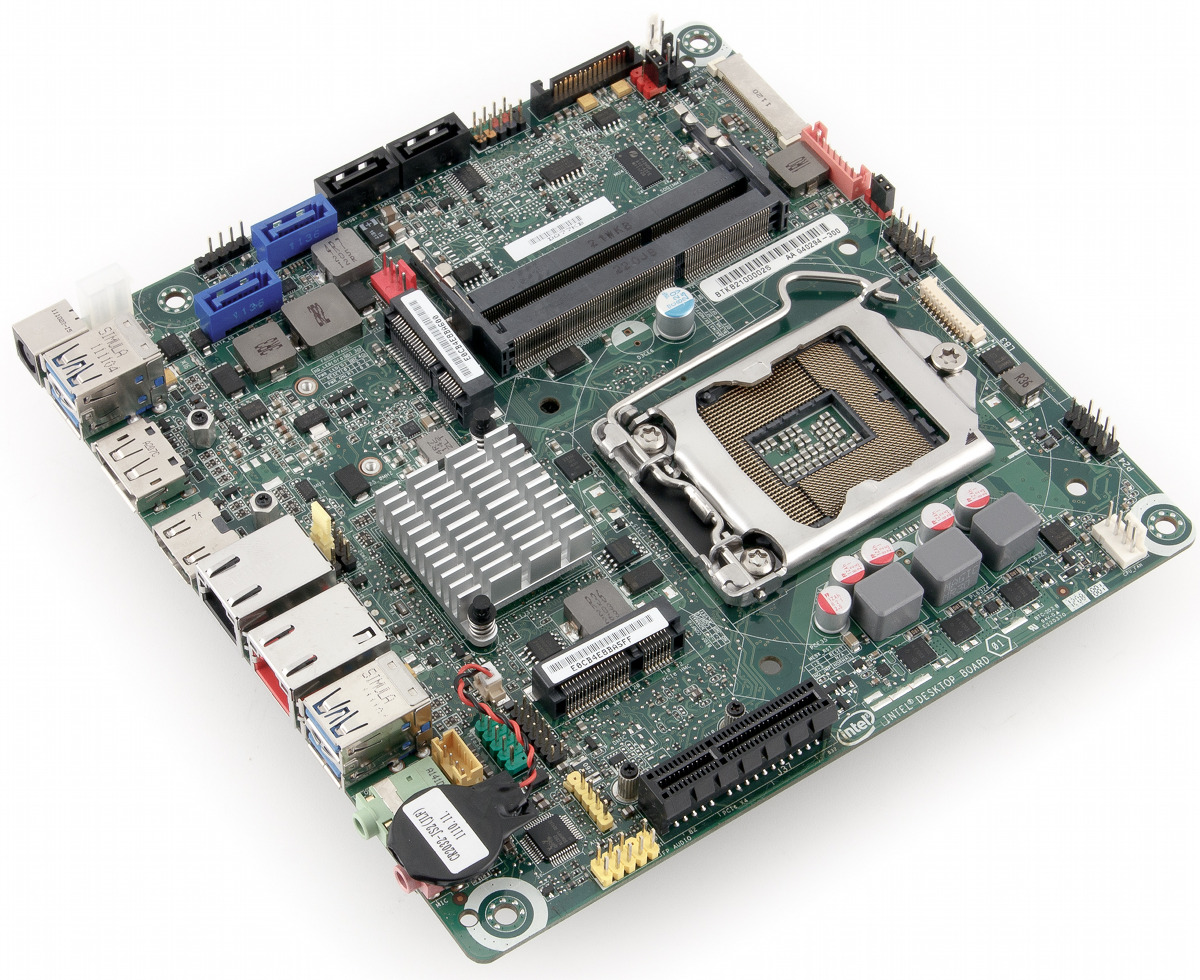
motherboard: Intel DQ77KB
Choosing a motherboard gave me the most angst. On the one hand, there are a million Chinese/Taiwanese manufacturers with commodity Mini ITX boards that have SATA ports and gigabit NICs sprouting from their ears, all relatively cheap (<$100) and widely available. I used a similar ATX board in my old NAS, and it’s so generic I have no memory of its provenance.
But, one of the biggest hassles with my current NAS is that if something goes wrong and it won’t boot, I have to drag a monitor and an extra keyboard over to the closet where it sits and plug it in to debug. God help me if it croaks when I’m away from the house–I’m just SOL in that case. So, I made a design requirement of the new box remote KVM/BIOS access, so that I could do anything from a BIOS upgrade to debugging a bad kernel from anywhere on the Internet.
Finding good remote management software on an ITX board is tough. One of the best-regarded remote management platform’s is Intel’s AMT, which allows total control of the computer via a sideband interface on the NIC. Deciding to go with AMT eliminates basically every Mini ITX motherboard in existence, since you must select a board with vPro support to get remote managment functionality. This leaves the slightly aging DQ67EPB3, and the shiny new DQ77KB, with a Q77 chipset and Ivy Bridge support. I went for the latter.
This board has a couple of quirks worth mentioning: first, it has just 4 inbuilt SATA ports, only two of which sport 6Gbps SATA III throughput. This wasn’t a big deal for me, since magnetic drives can’t get close to SATA II’s 3Gbps peak throughput anyway. But it did raise the question: how was I going to connect the boot drive? Luckily, the board also sports a full-size mini-PCIe slot which can accomodata an mSATA II SSD. I knew I wanted a solid-state drive to run the OS, and this neatly solves the problem without any cables at all.
Second quirk: this board does not use standard, zillion-pinned Molex power connectors. Instead, it has what’s essentially a laptop power port that accepts regulated 19.5V DC input. This means I can’t use the Chenbro’s built-in power supply, but I was planning to replace it anyway. I ended up just ordering a 90W Dell Inspiron laptop power supply for $20, which is a good match for the board.
price paid: $126 at Amazon.
processor: Intel Core i5-3470S
Compared to when I was in high school, and processors were simply identified by their brand name and clock speed (who else remembers overclocking Celeron Slot 1 procs? Malaysia stock, baby!), there seem to be a dizzying array of models to choose from, even just from Intel. What’s worse, I can discern no rational mapping between the marketing names of the chips and their functionality.
Luckily, Intel provides a search engine which identified all current processors compatible with my motherboard of choice. Since I bothered to get the Ivy Bridge motherboard, I wanted a gen 3 Core chip. I also had to have vPro to enable AMT. That left me with exactly one i5, one i7, and one Xeon chip to choose from. I went with the i5, which was the cheapest.
Brief rant: it’s clear that Intel vastly oversegments their processor lineup to squeeze out margins. I suspect that there are only a handful of actual wafers, and that Intel just blows resistors on the package to determine what features and frequency a particular chip will run. This explains why I have to pay $200 to get a CPU with vPro support which probably has the same guts as an i3 at 2/3rds the price. Shame on you Intel!
price paid: $198 at Amazon.
memory: Corsair 16GB Dual Channel DDR3 SODIMM
When I was a wee babe I used to give a shit about RAM. What’s the CAS latency on those DIMMs, bro? I probably overpaid by 50% or more for exotic enthusiast memory. Now, I just don’t care. I know I want it to be dual channel, and I want there to be lots of it. So I got the cheapest 16GB DDR3 SODIMM kit I could find, which happened to be this Corsair.
price paid: $70 at Amazon.
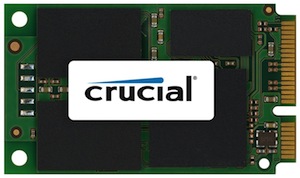
boot drive: Crucial CT032M4SSD3 32GB mSATA SSD
As I mentioned in my discussion of the motherboard, I decided to go with an mSATA SSD for the boot drive. I don’t need much space at all, just that sweet, sweet SSD speed and the mSATA form-factor. So, I went for an mSATA version of Crucial’s well-regarded m4 SSD, at 32GB.
price paid: $55 at Provantage.
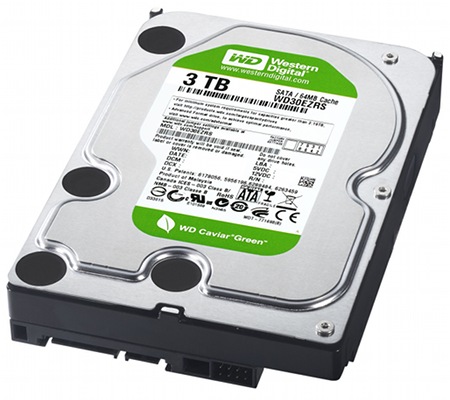
storage drives: Western Digital Caviar Green 3TB
The heavy lifting heart of any NAS: a whole mess of spinning platters. There has been a lot of consolidation in the hard drive industry over the years, with the exit of IBM and Fujitsu, two of my favorites. It used to be that I wouldn’t touch a Western Digital drive with a 10-foot pole, but their Caviar Green drives make a compelling contender for the NAS server: low power, quiet, and cheap. I know what you’re going to say, though: what about the recently launched Red drives, which are explicitly designed for the NAS market? Well, they are probably a bit of a better fit, but at an extra $30/drive, I just smelled more needless market segmentation. Plus, I already owned one 3TB Caviar Green from a near-death experience with my current NAS, so there was a nice uniformity to this choice. 4TB drives are now becoming available, but they’re quite a bit more expensive per GB.
price paid: $125 x 3 = $375 at Amazon.
Total cost: $950
All the parts are winging their way to me now. Once they arrive I’ll do another post describing the build, and then one more describing the software setup.


