When we moved into the new house last year, one of the things we inherited was a big back porch and deck, built around 1999. It was impressively sturdy for something over 20 years old, but it was gray and dingy and I assumed we’d have it replaced, because 20 years seemed like more than a reasonable lifespan for a wood deck.
Then I was trying to put a screw in a post to mount a light, and the screw just snapped as I tried to drive it. The wood was incredibly hard and dense, and after some googling I concluded it must be a hardwood, probably ipe, also known as an ‘ironwood‘ because it sinks in water. This wood can last for generations and I wondered: could I restore it?
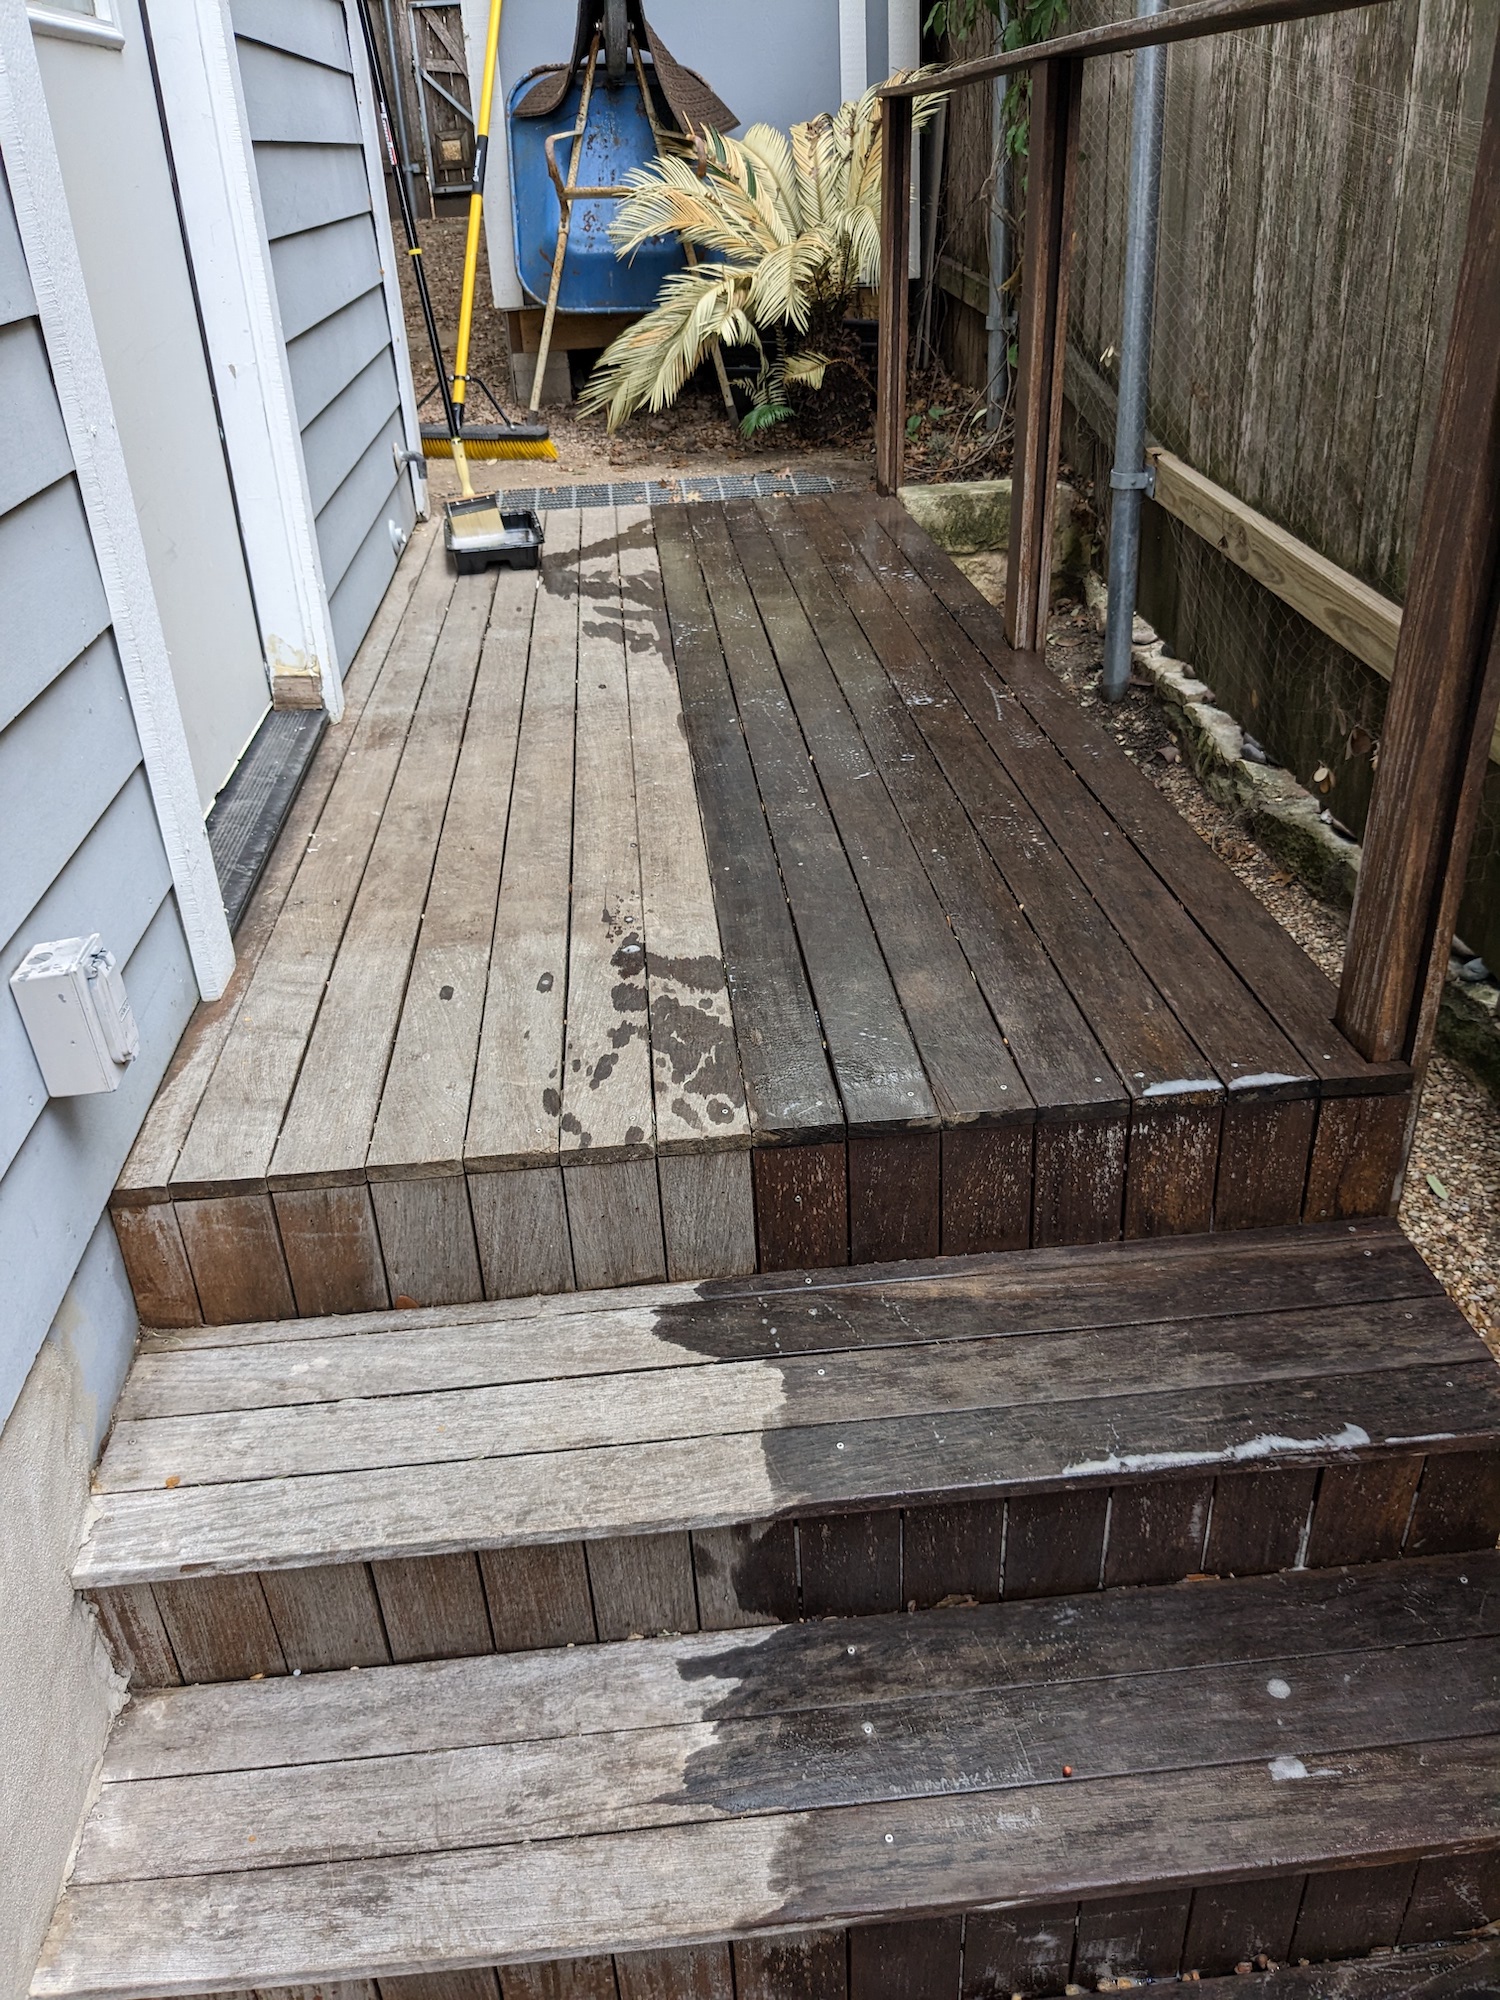
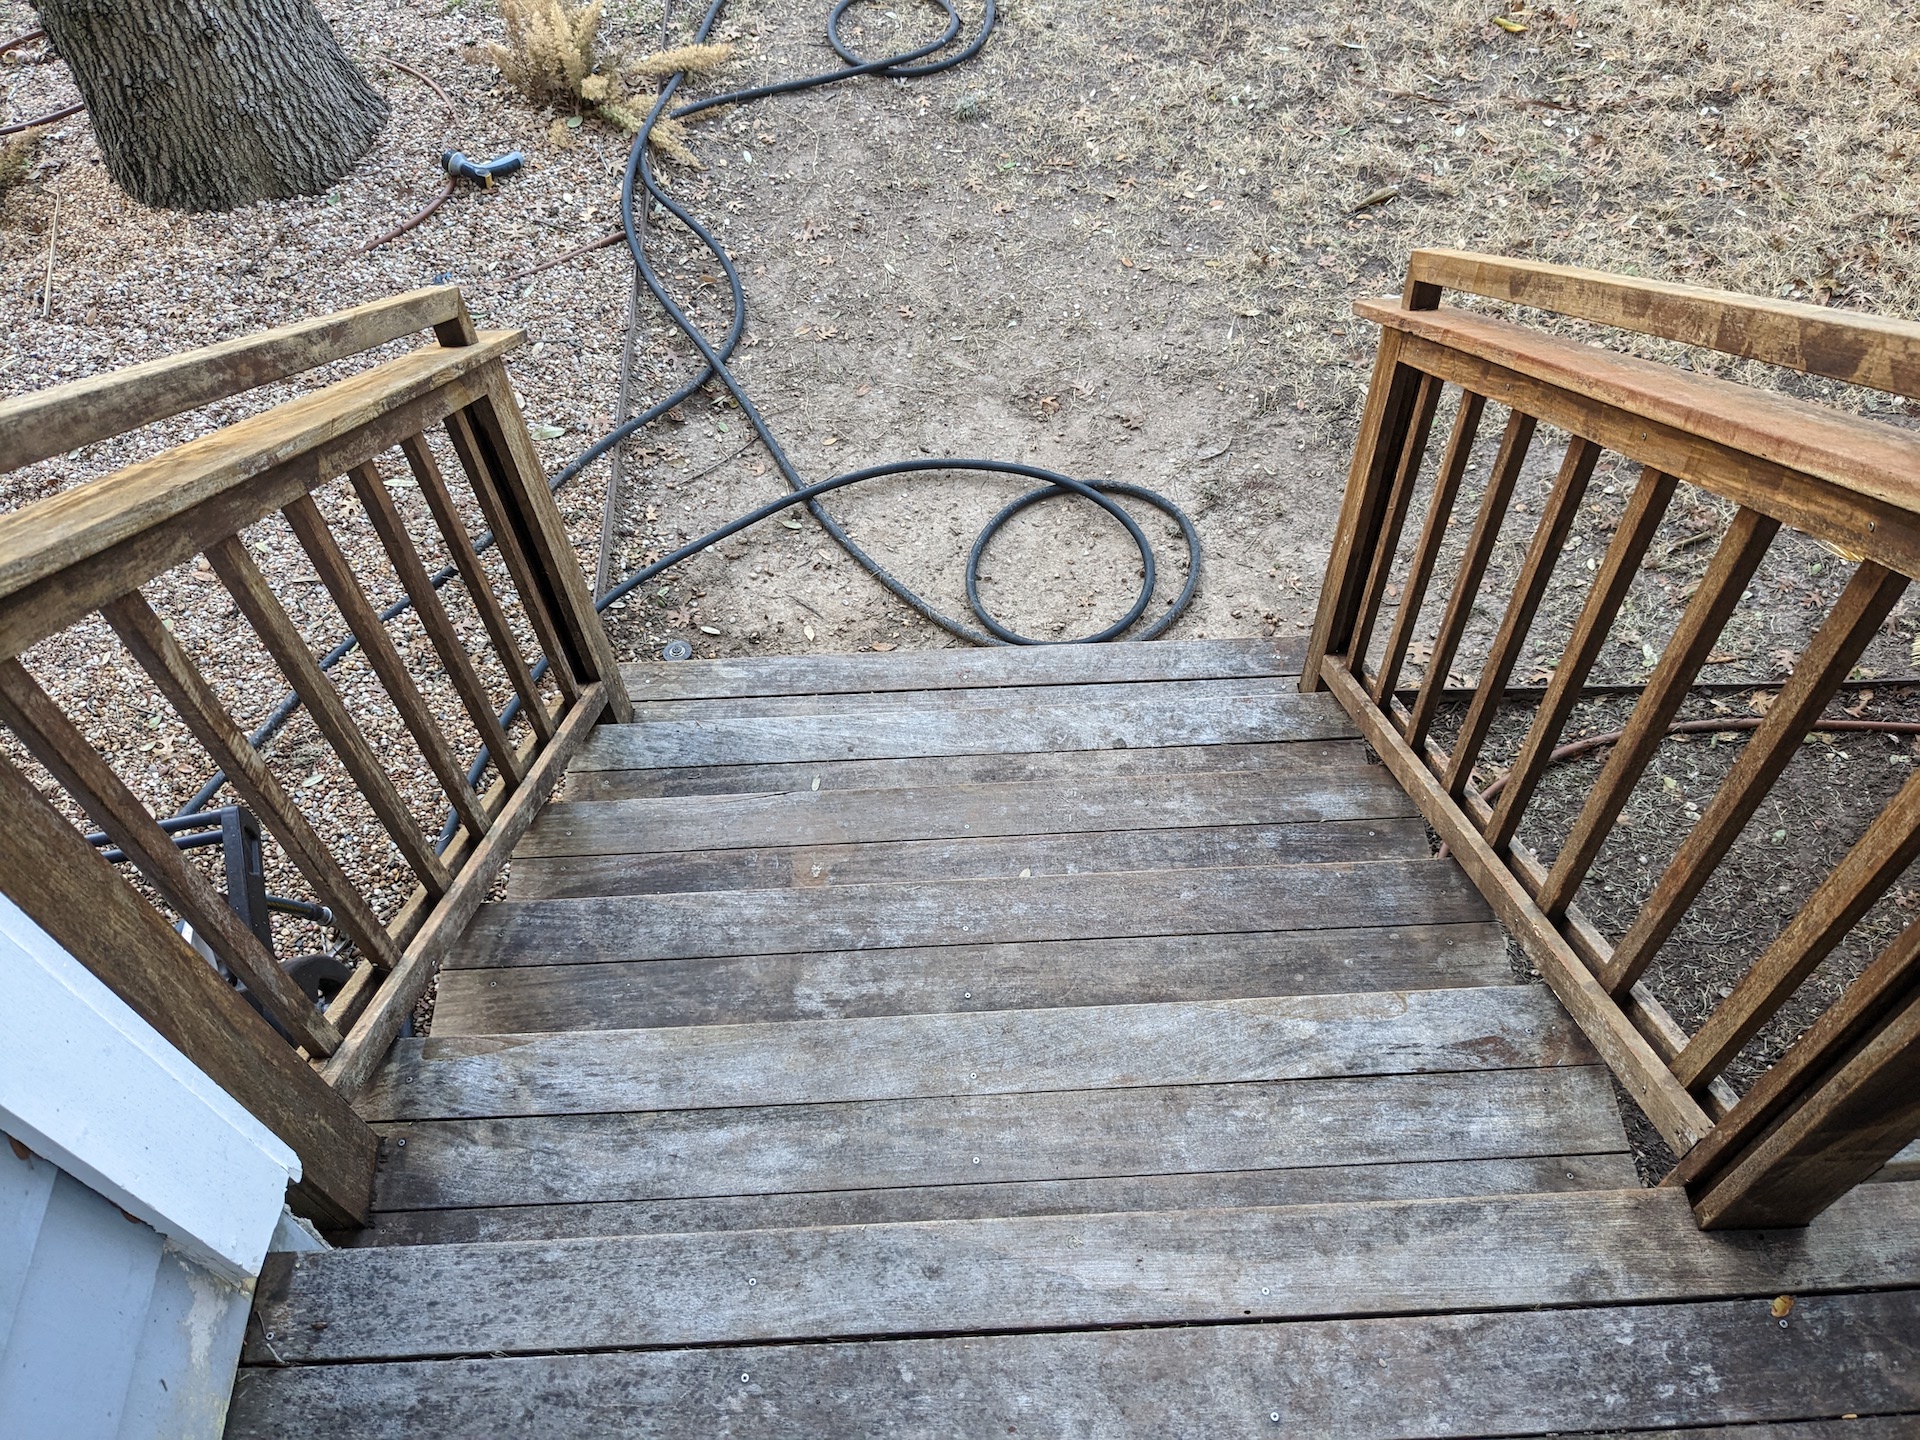
The side-deck test
The was a small landing and stairway on the side of the house made of the same wood that I decided to use as a test. Here’s the deck in the middle of stripping–probably unnecessary given how little finish was left.
What was really amazing is when I started to sand it. Just getting a tiny layer off was a lot of work–this wood is harder to sand than anything I’ve ever encountered, eating up 80-grit sandpaper in just a few minutes. But it revealed brand-new looking wood underneath:
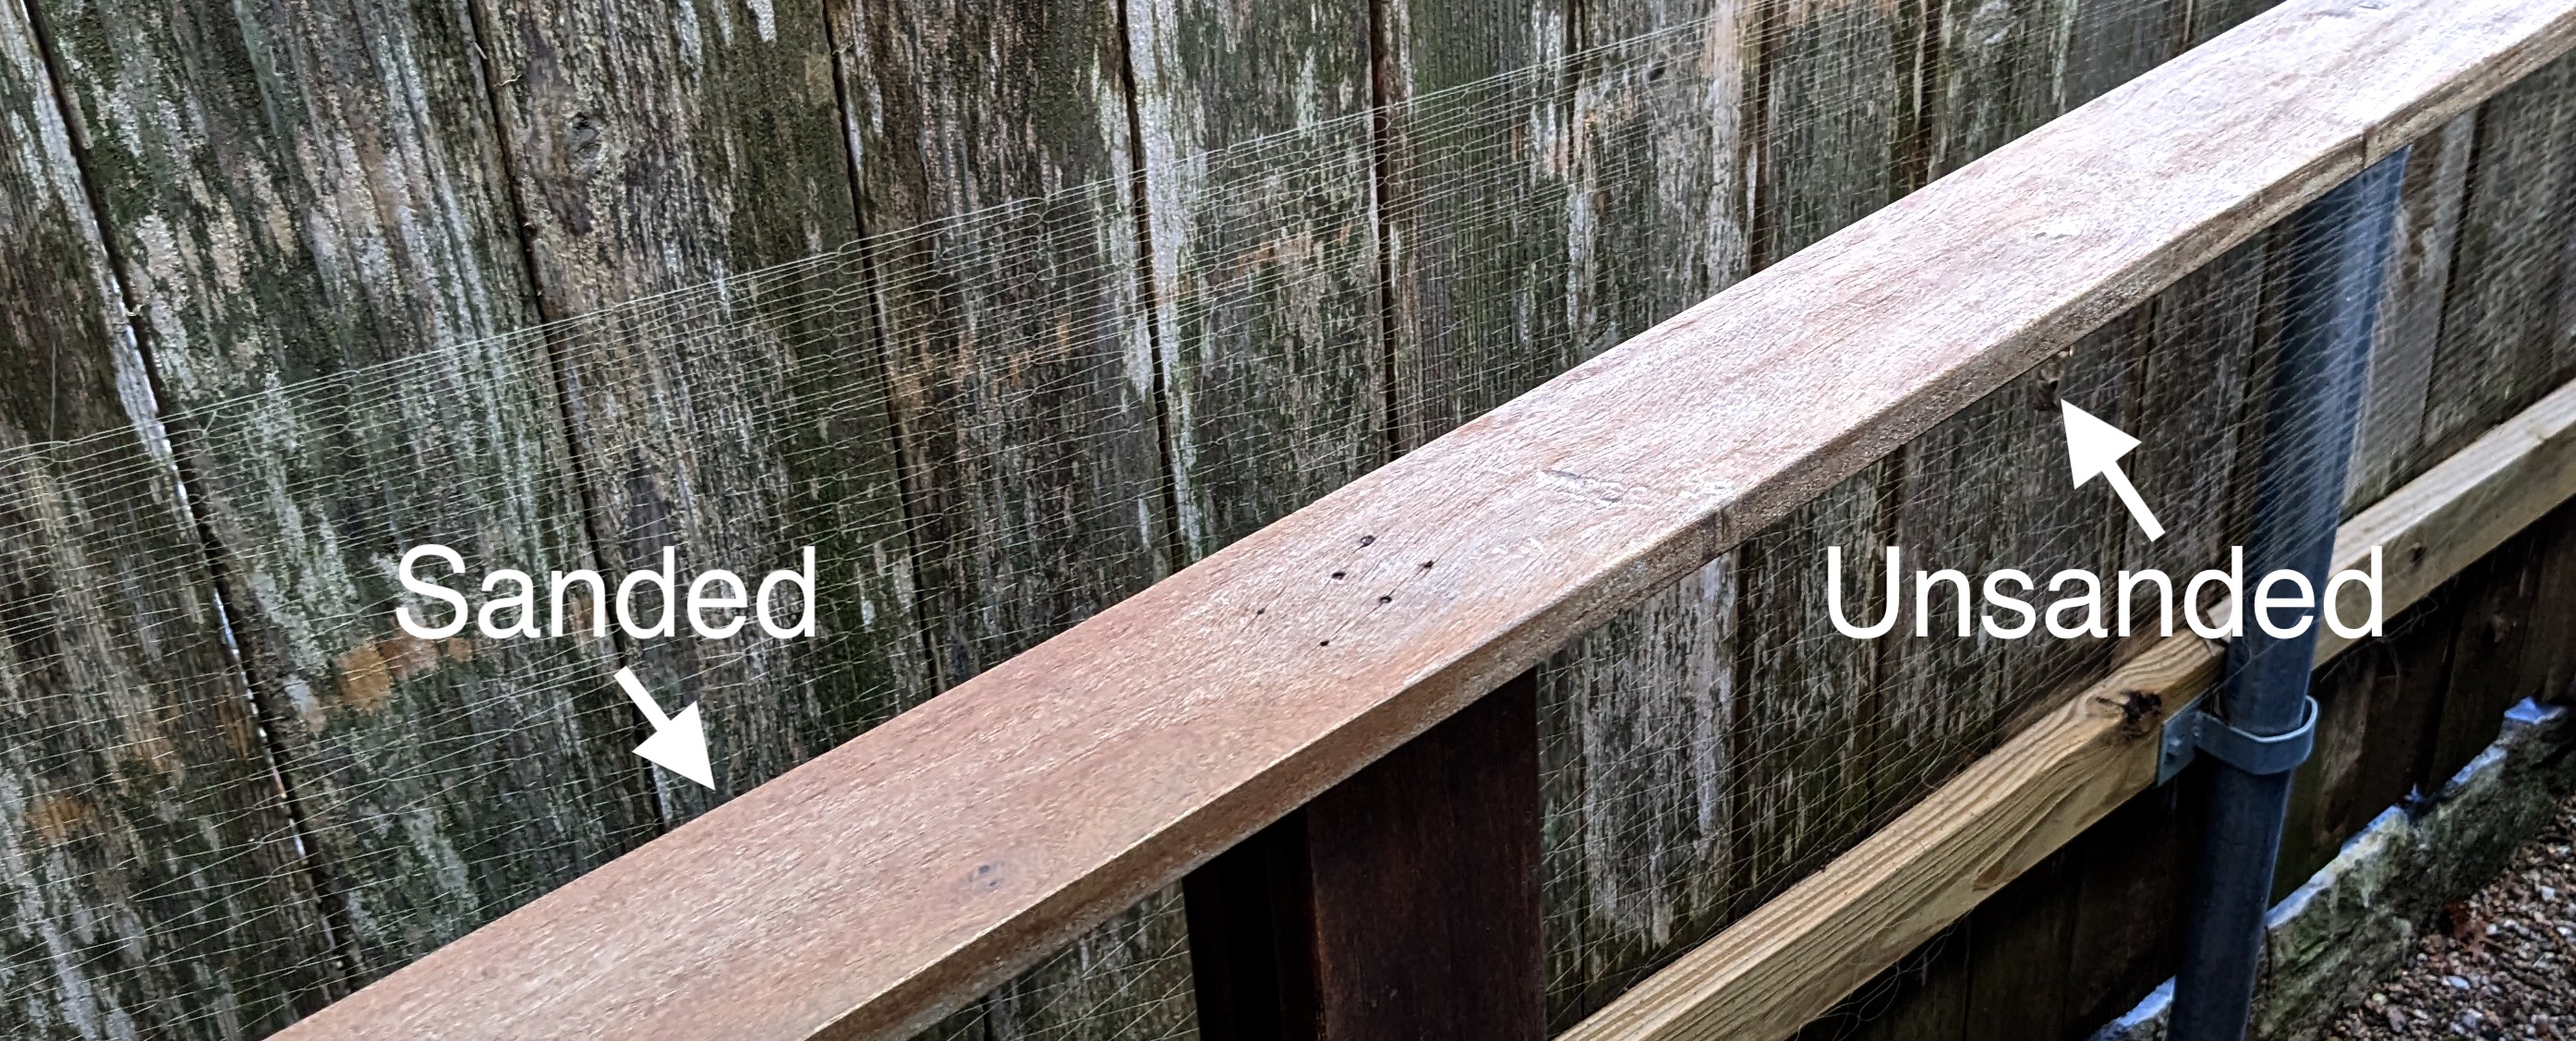
And then adding a layer of hardwood oil (Penofin) really made it pop:

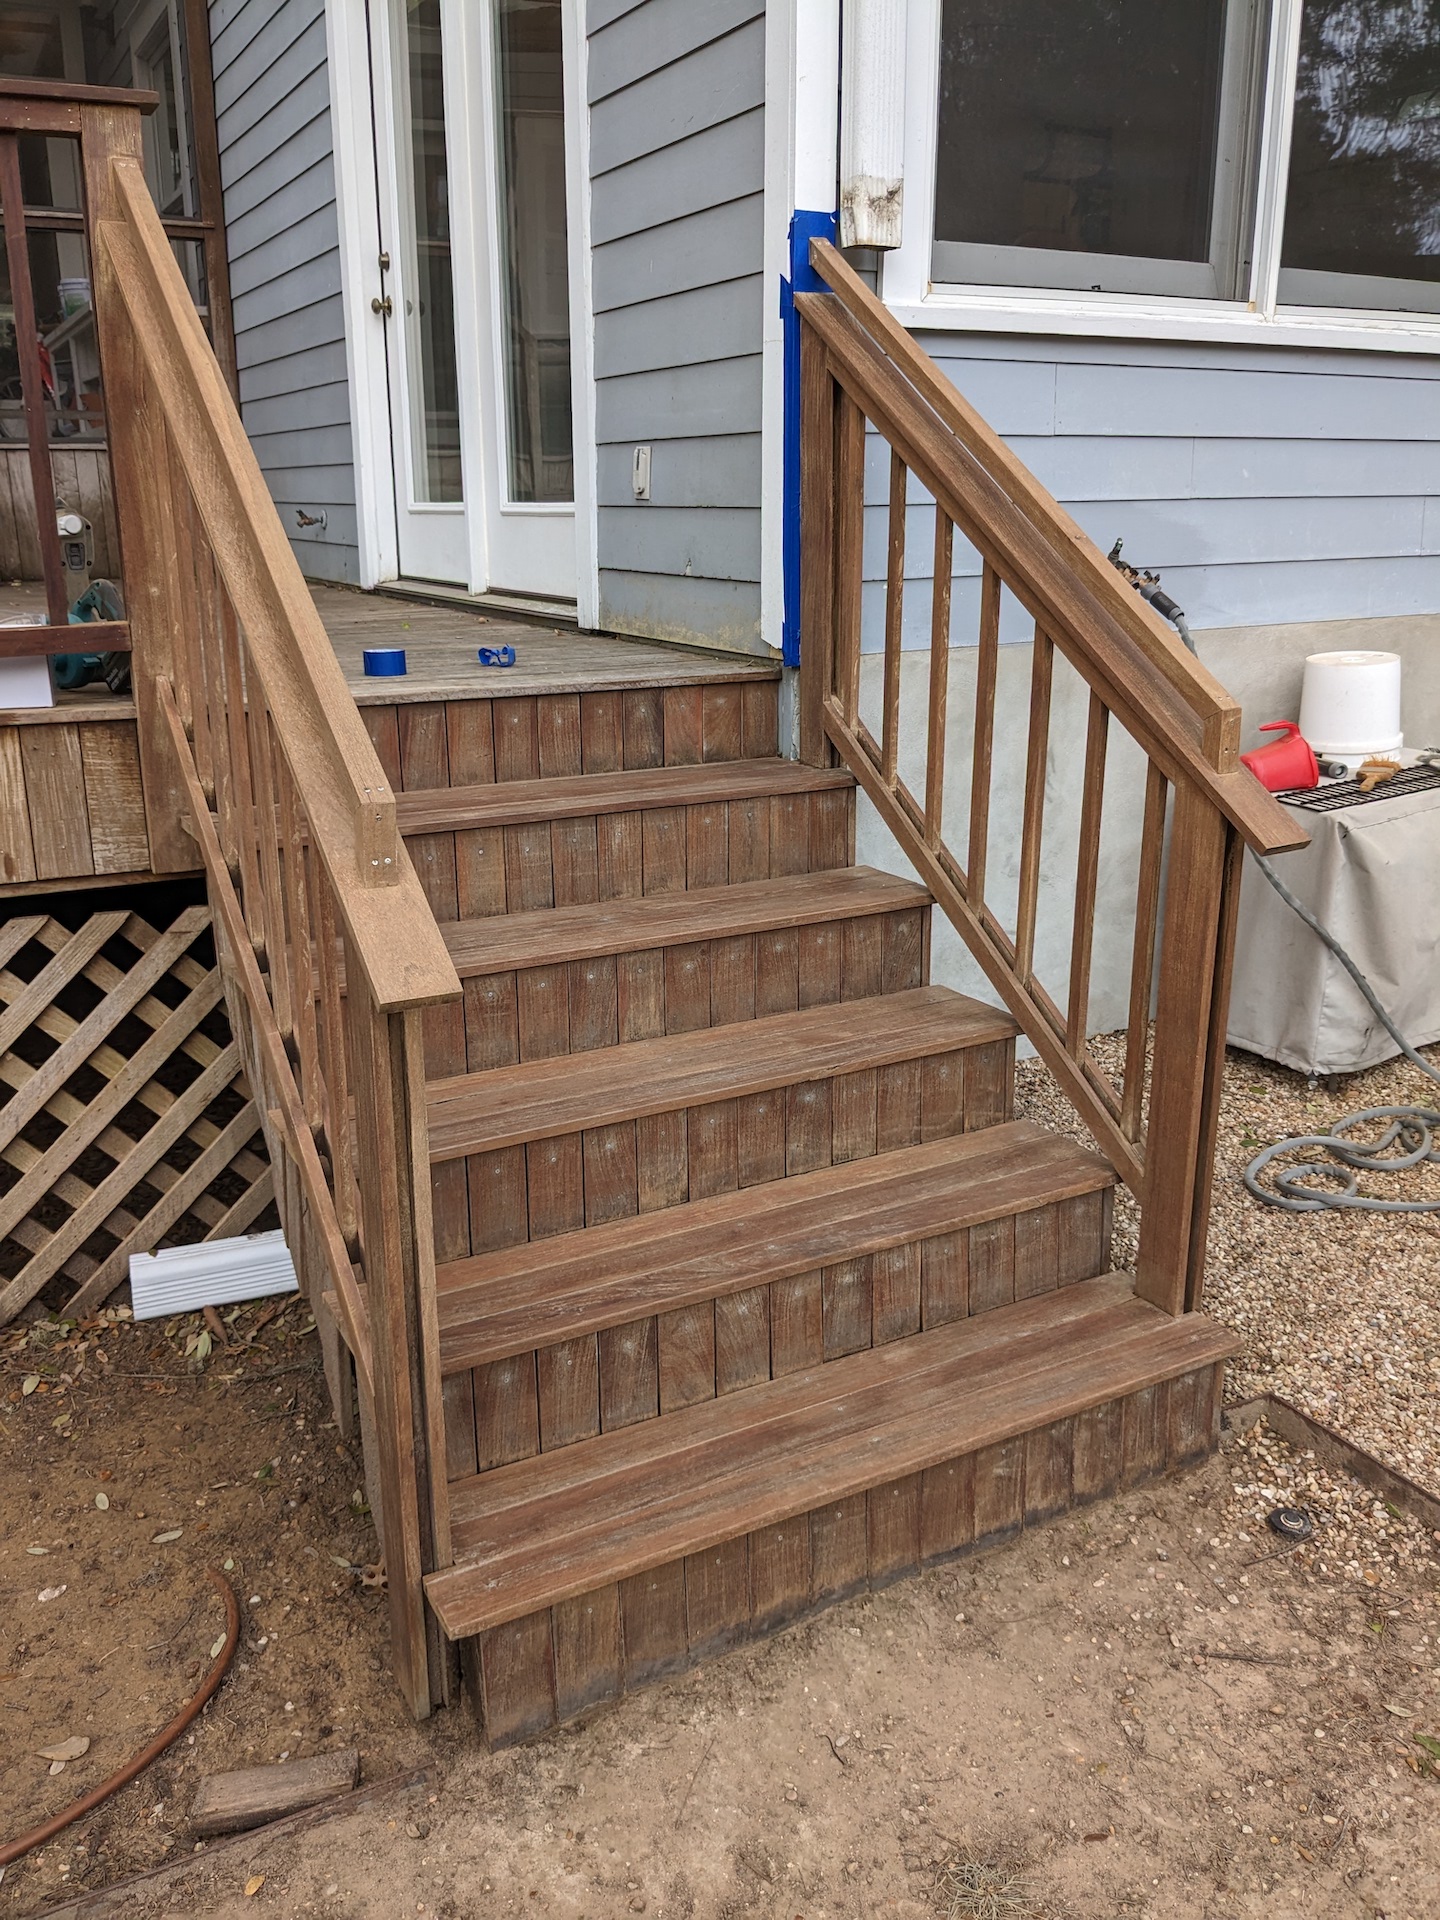
Wow! I got pretty excited by this result and went ahead and sanded the rest of this small side deck, steps and railing. I was pretty happy with the result.
So I decided to undertake refinishing the entire deck. Given that this small side deck took me about 10 hours to sand, a wiser man would at this point hire a professional to take over the job. But there is something about this kind of work I actually find incredible soothing and satisfying, so I decided, what the heck, I’ll do it myself!
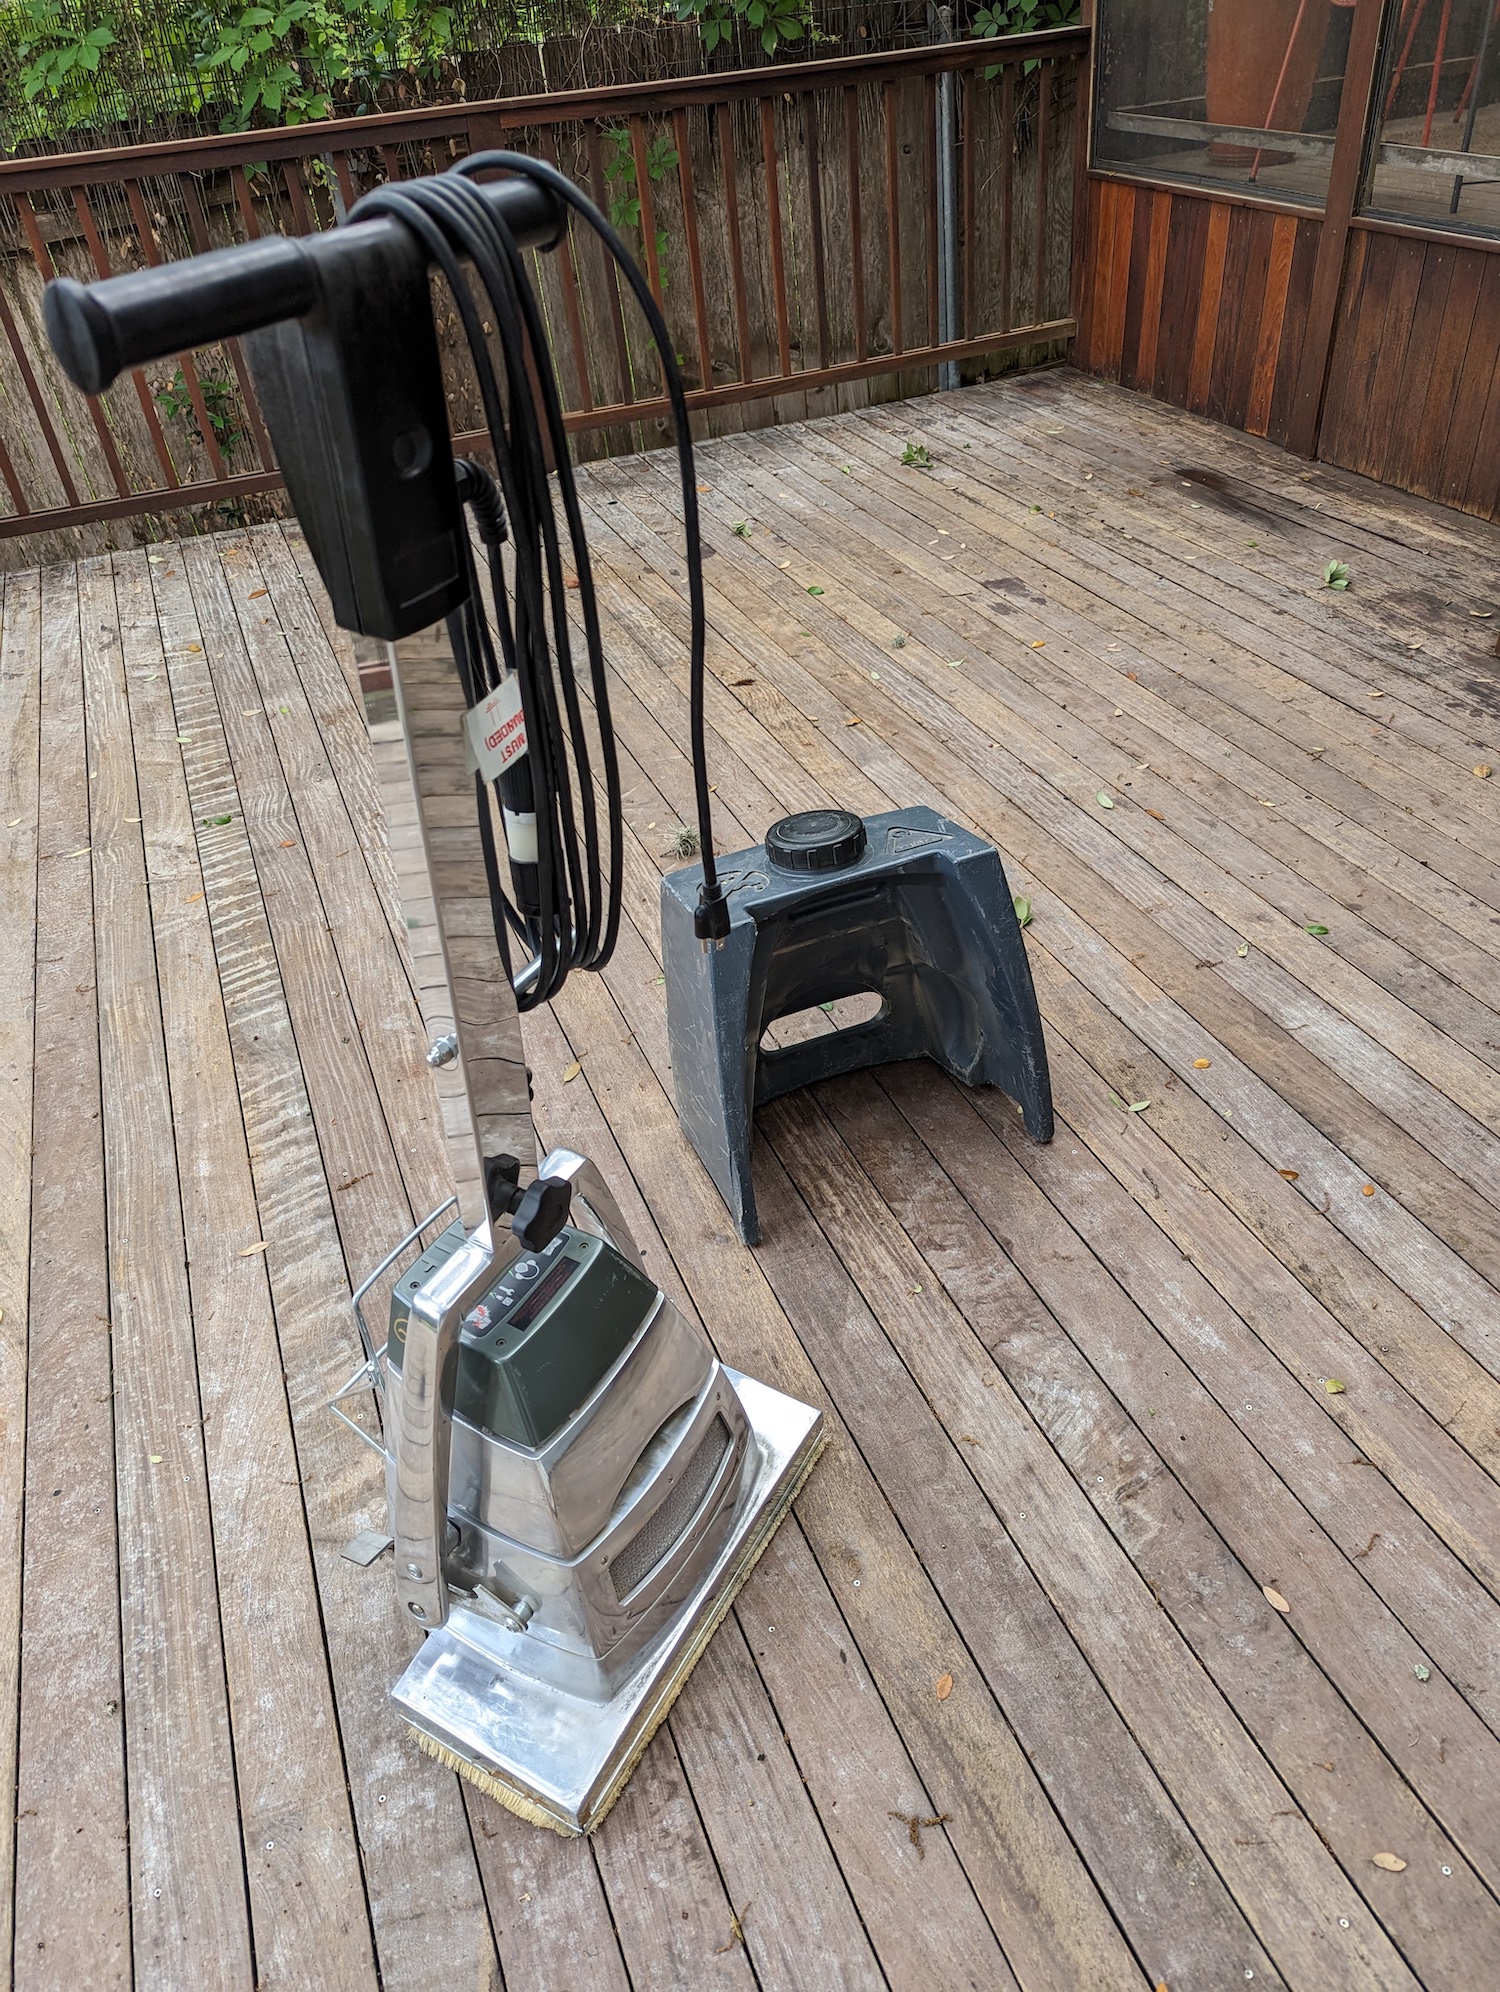
The tools
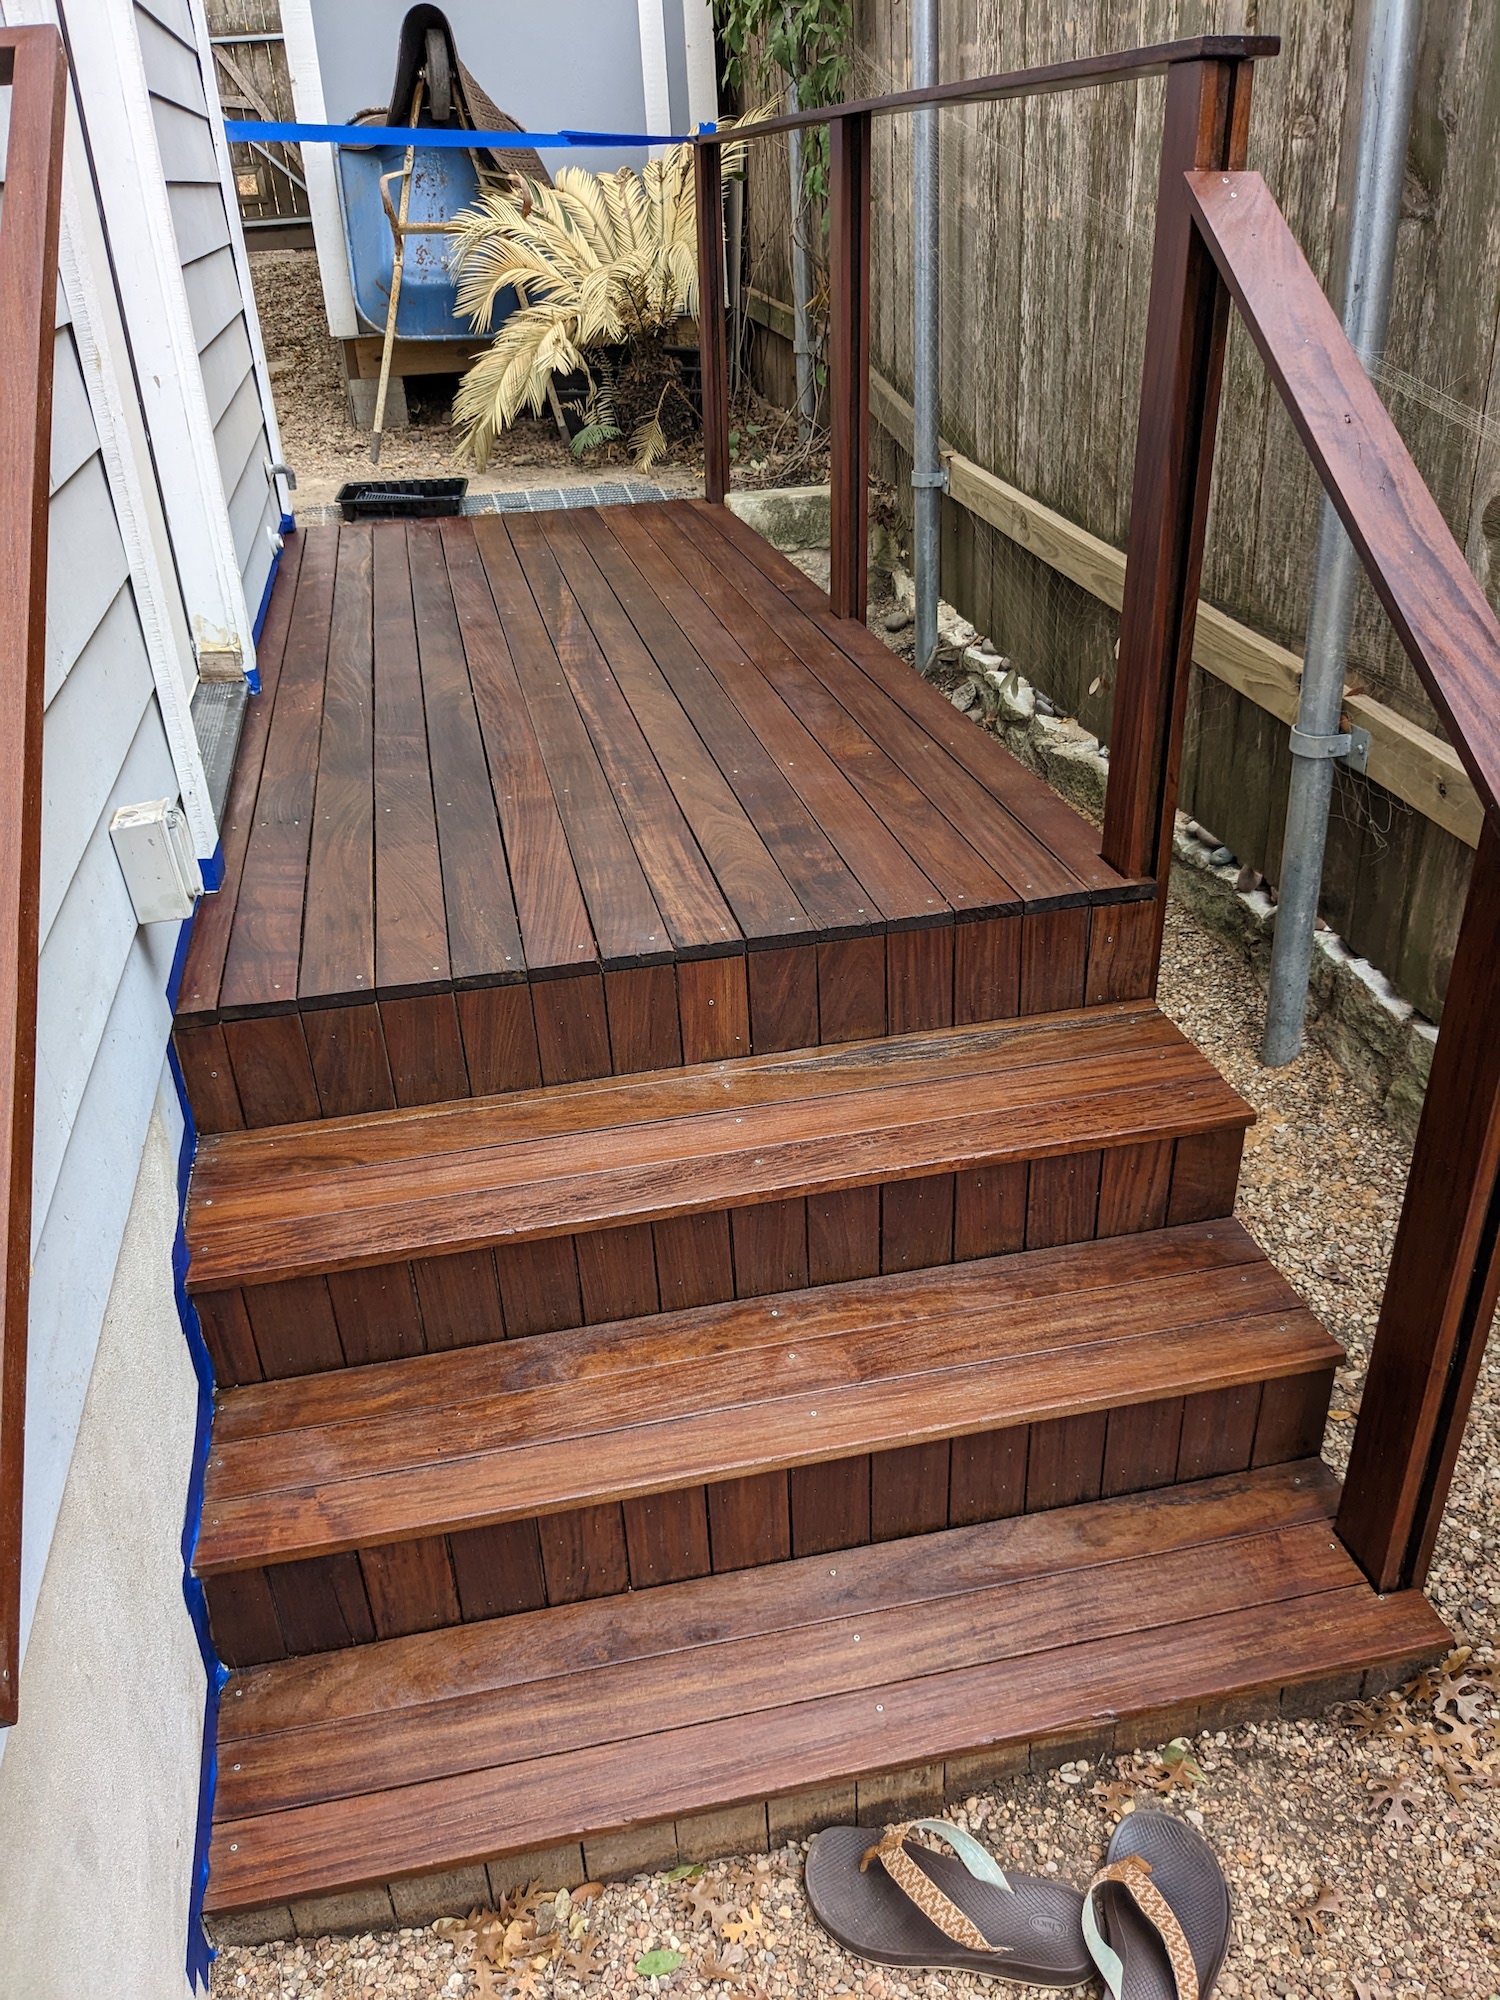
I decided to start my work on the main deck with the railings, which needed to be sanded with a hand-held sander. I alternated using a 5 inch random-orbital sander:
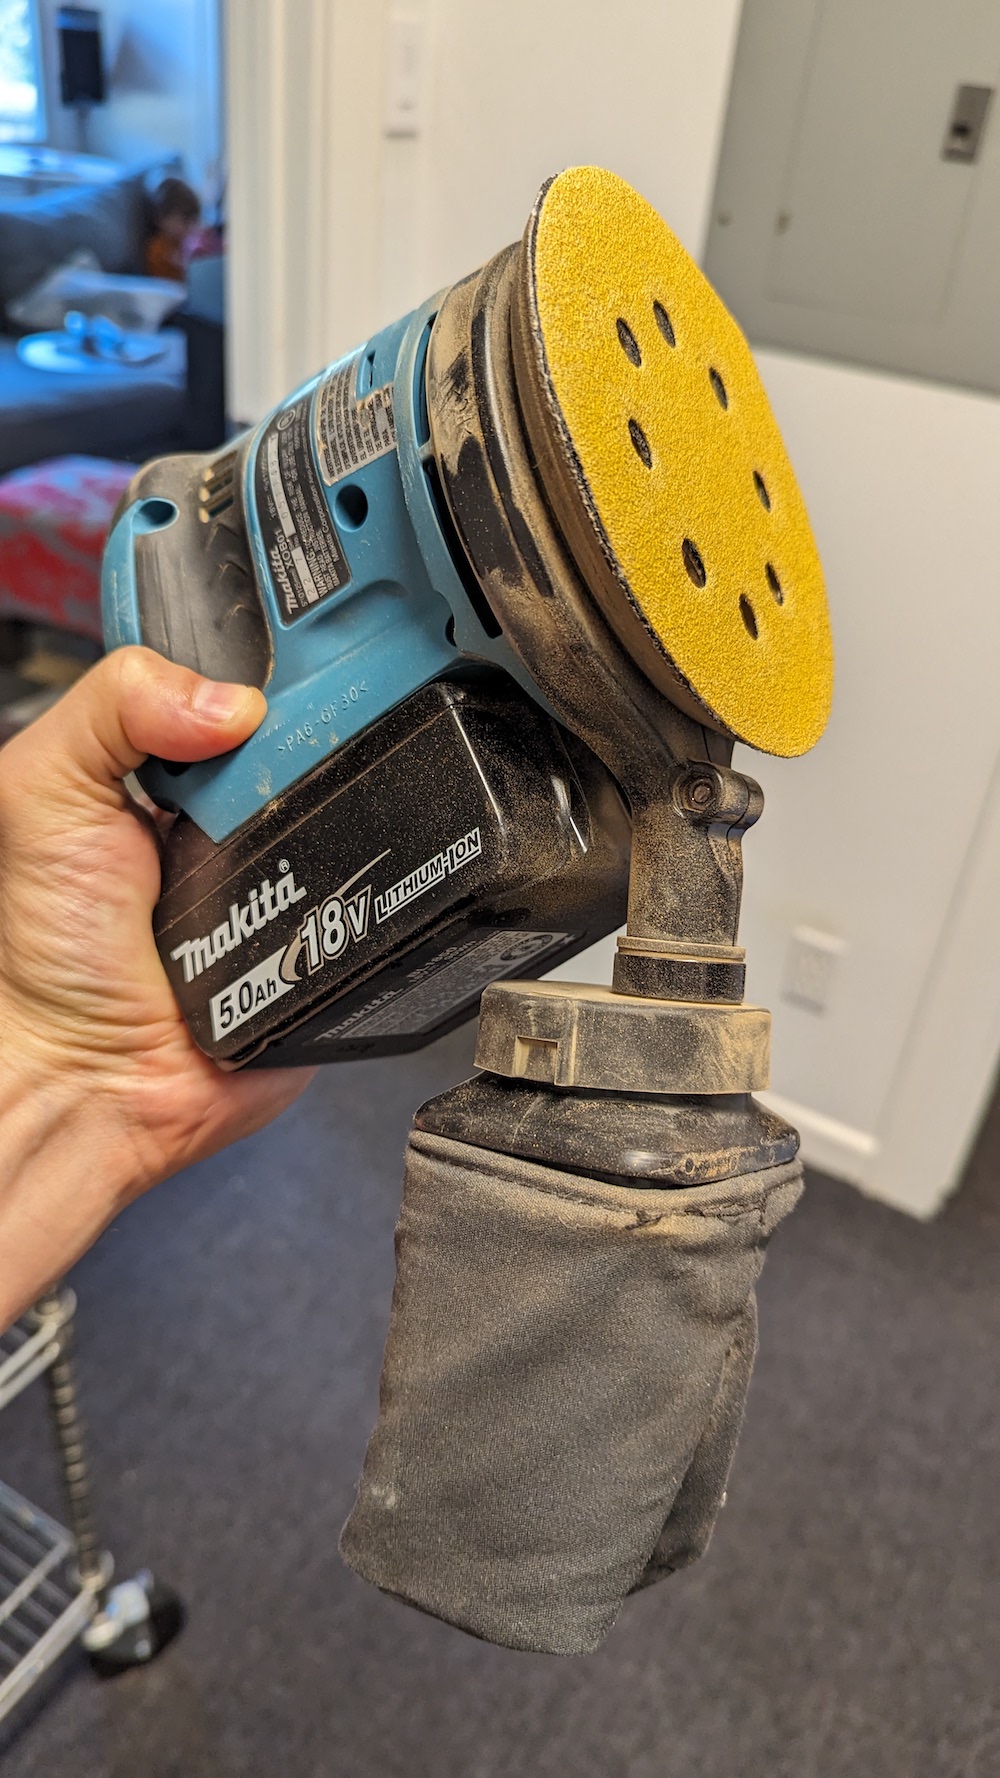
But this was too big to fit between the slats of the railing, and it couldn’t reach into corners. For that, I had to use a sanding attachment for my multitool:
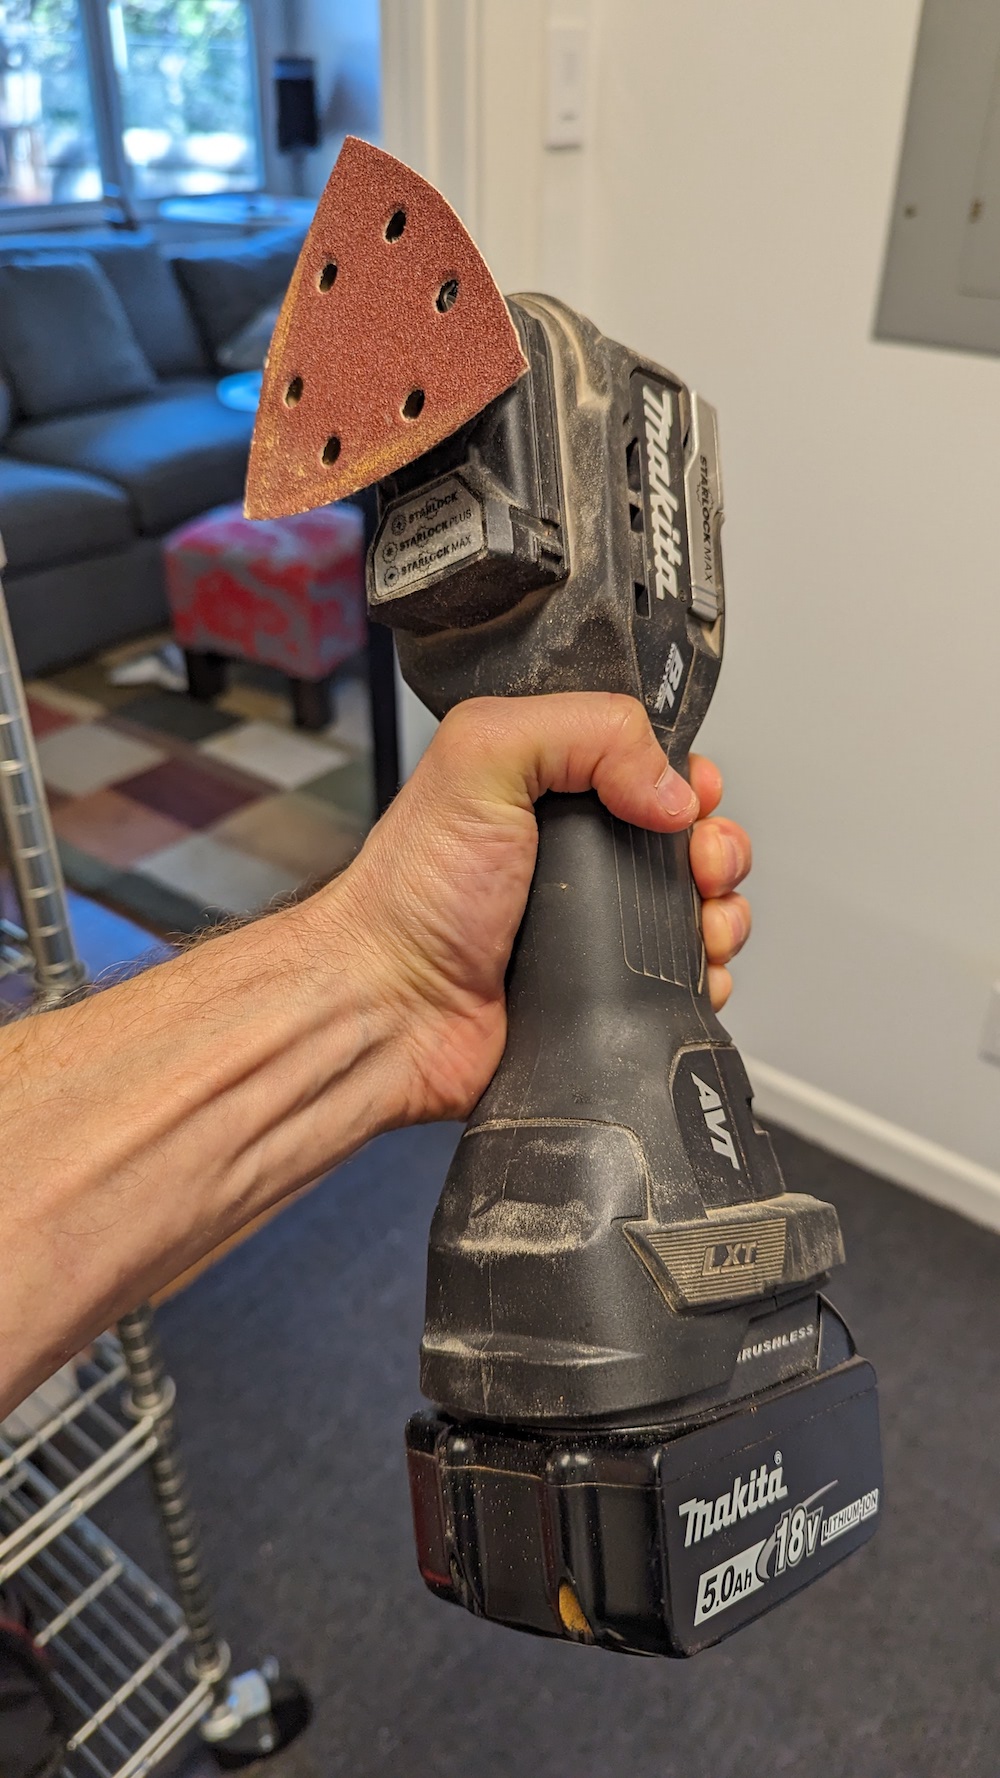
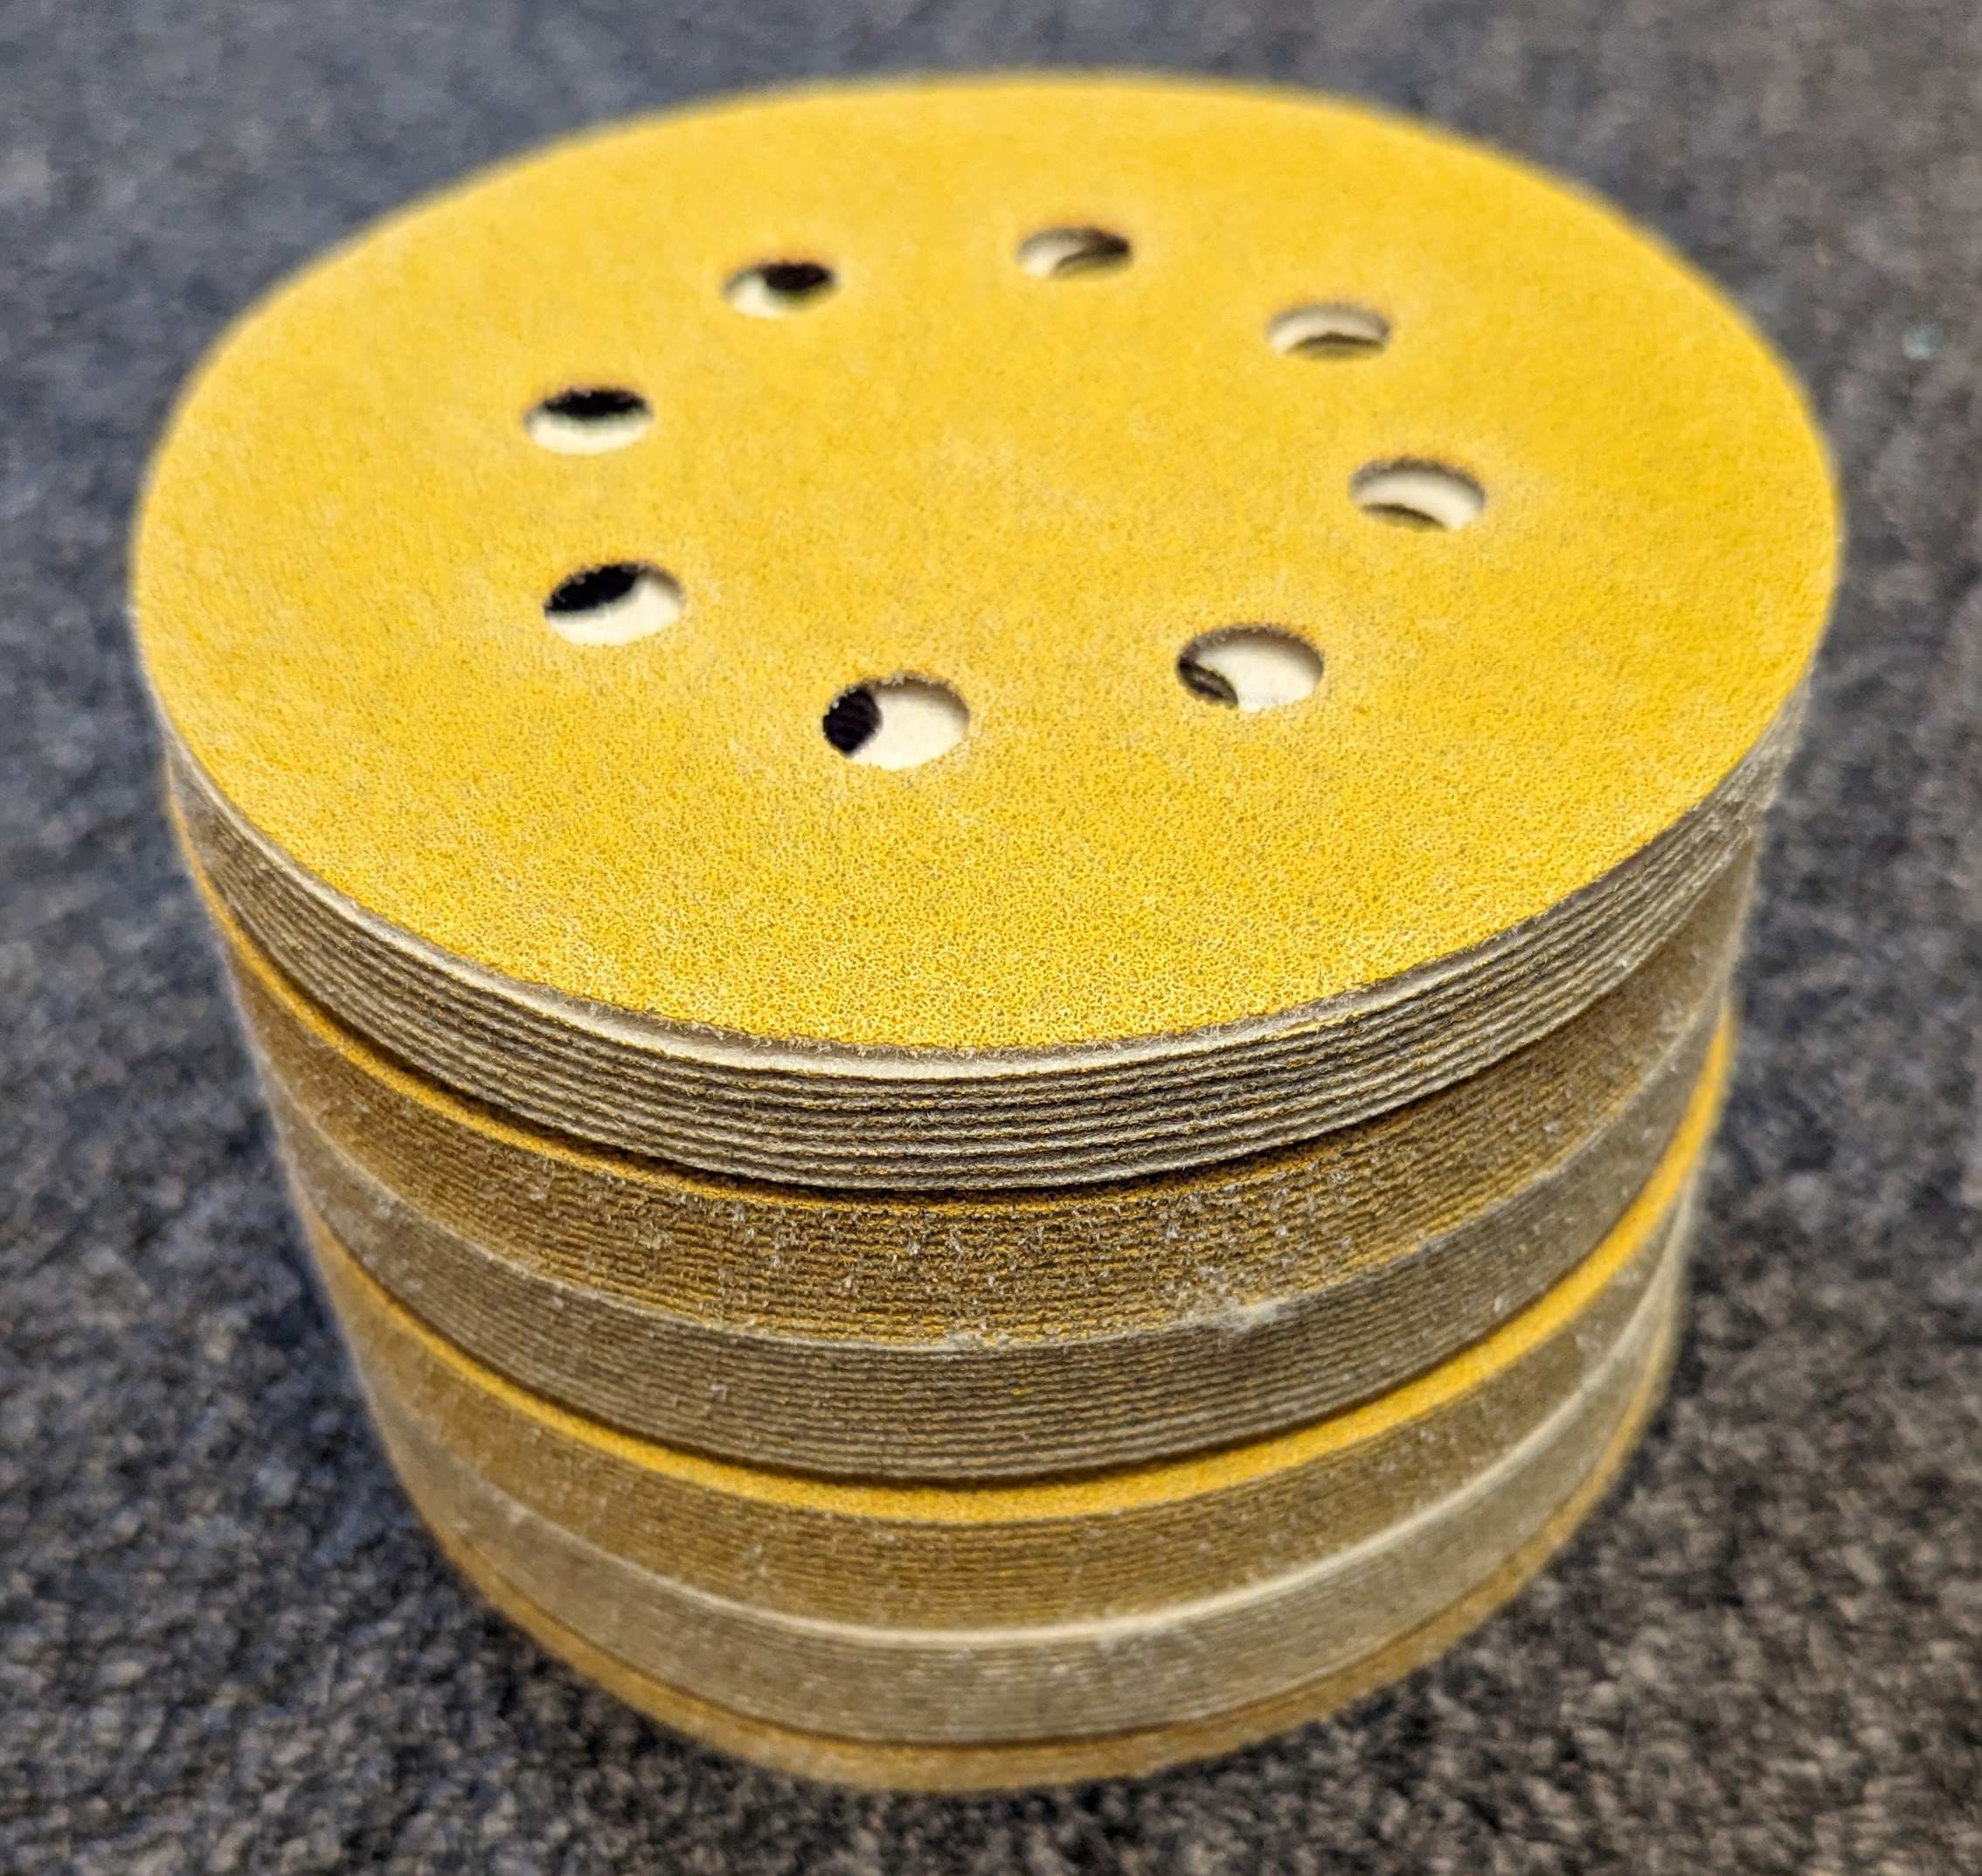
And there were many places where neither of these fit and I just had to sand holding the paper in my hands. I went through approximately 200 of these 5″ sanding pads, before even touching the main decking surface.
The main deck
I started out giving the same wash, sand, and oil treatment to the stairs leading down into the yard.
I even had some help with the many, many hours of sanding. You see me using an industrial-grade sander that I hoped might be faster on the ipe, but it was no better than the battery-powered Makita.

Here’s the fully sanded stairs
And oiled

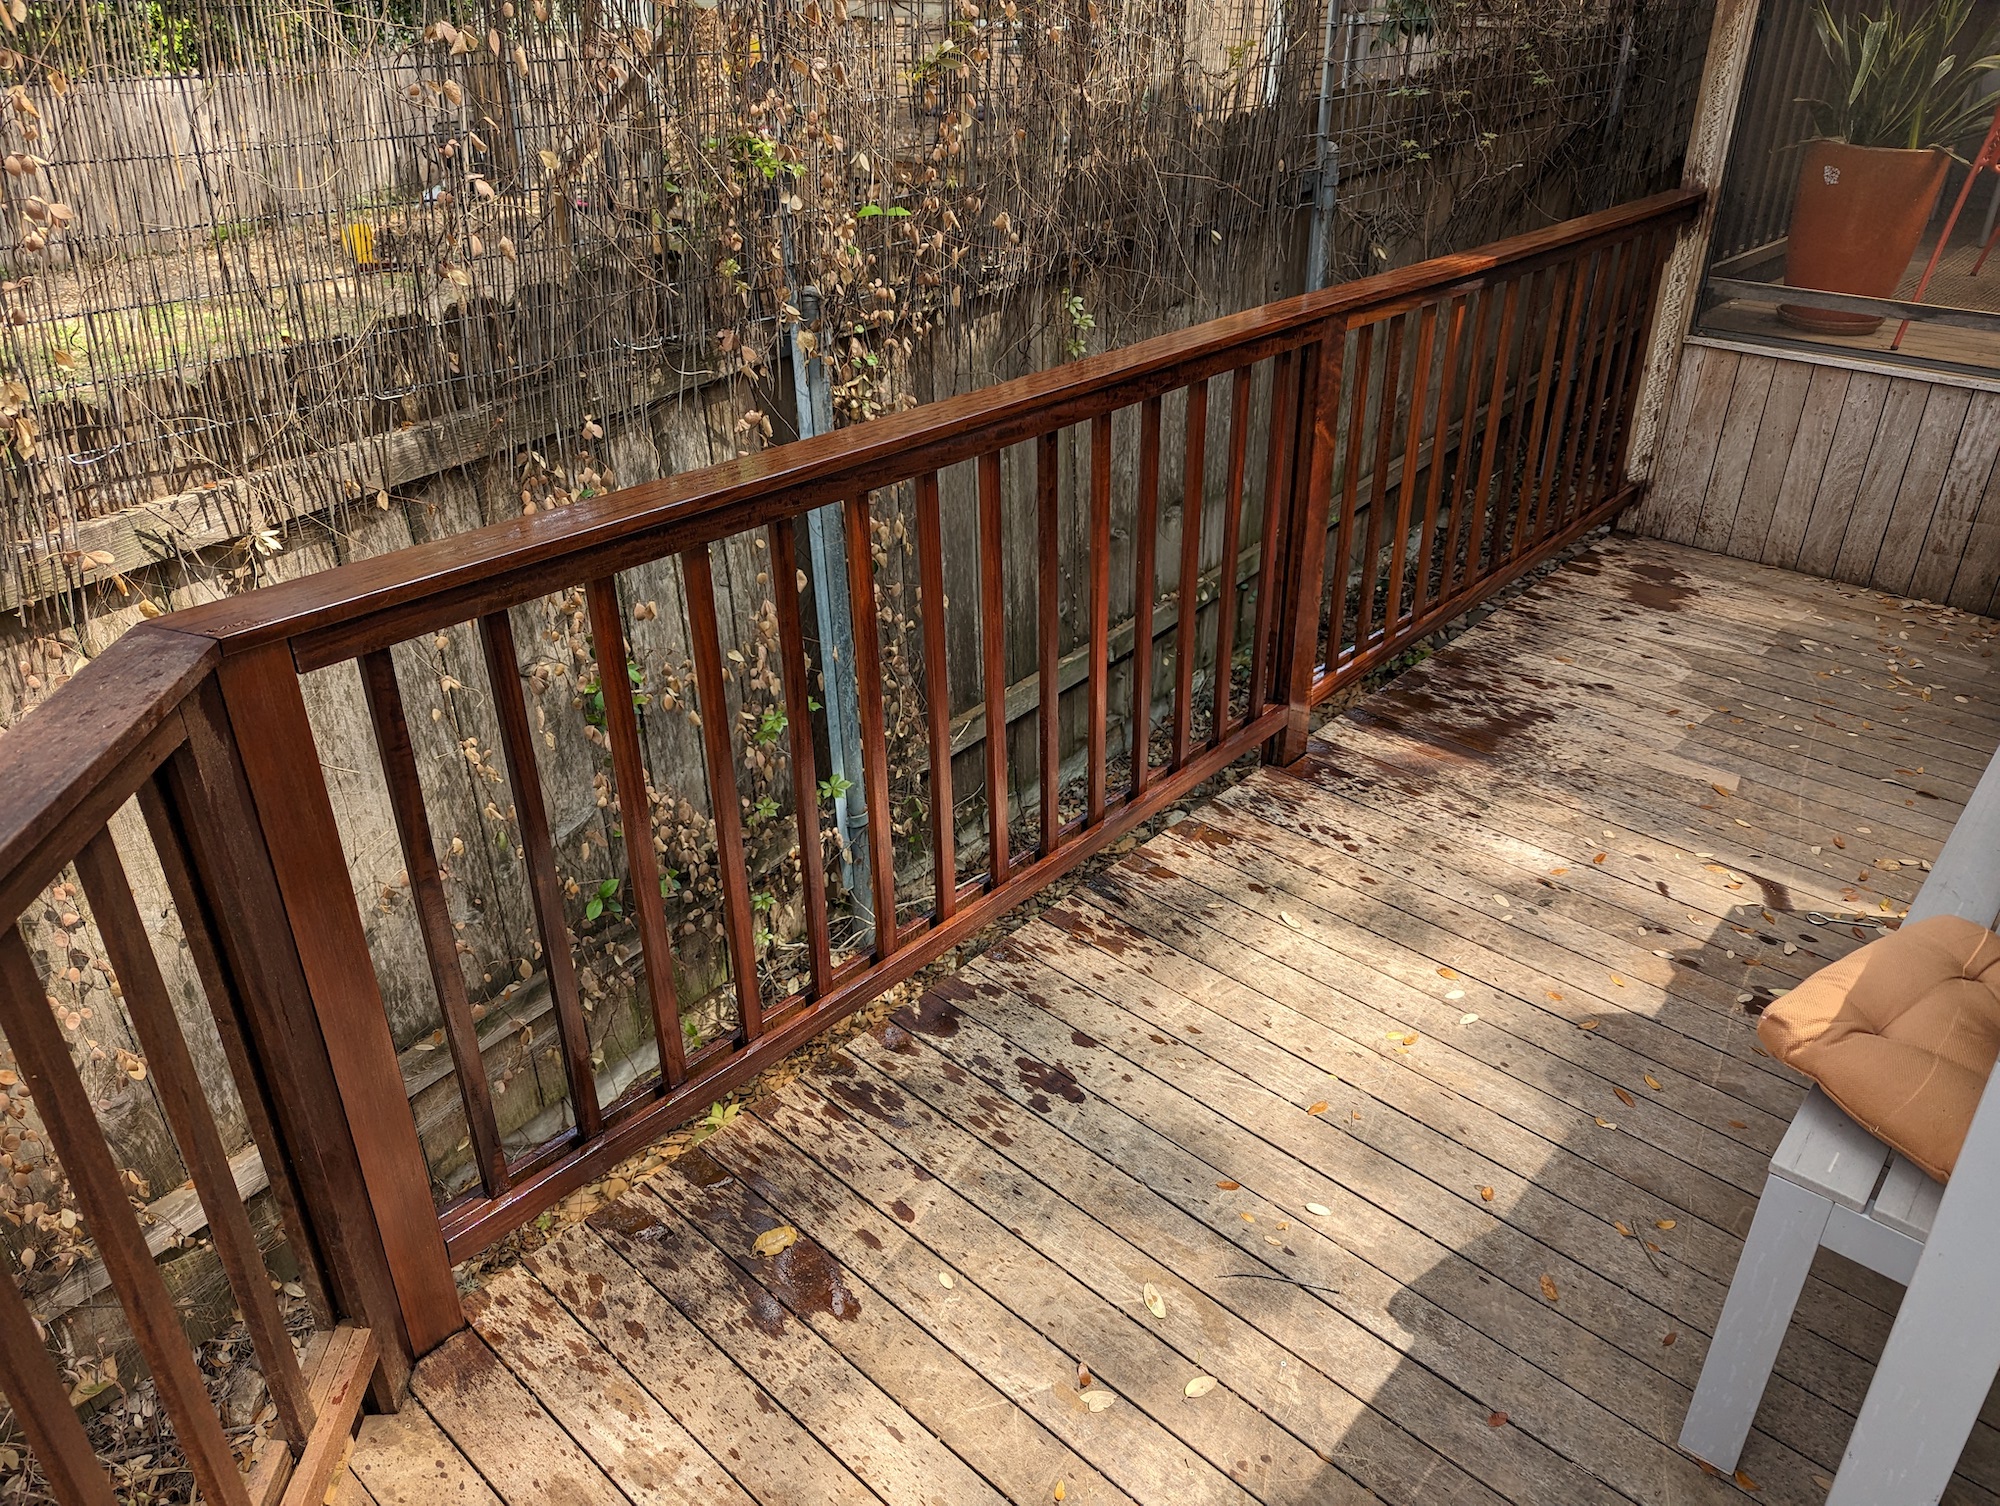
So. Many. Railings.
The railings took the bulk of the time with their vexing tight spacing and so many surfaces. But I loved the results.
The main event
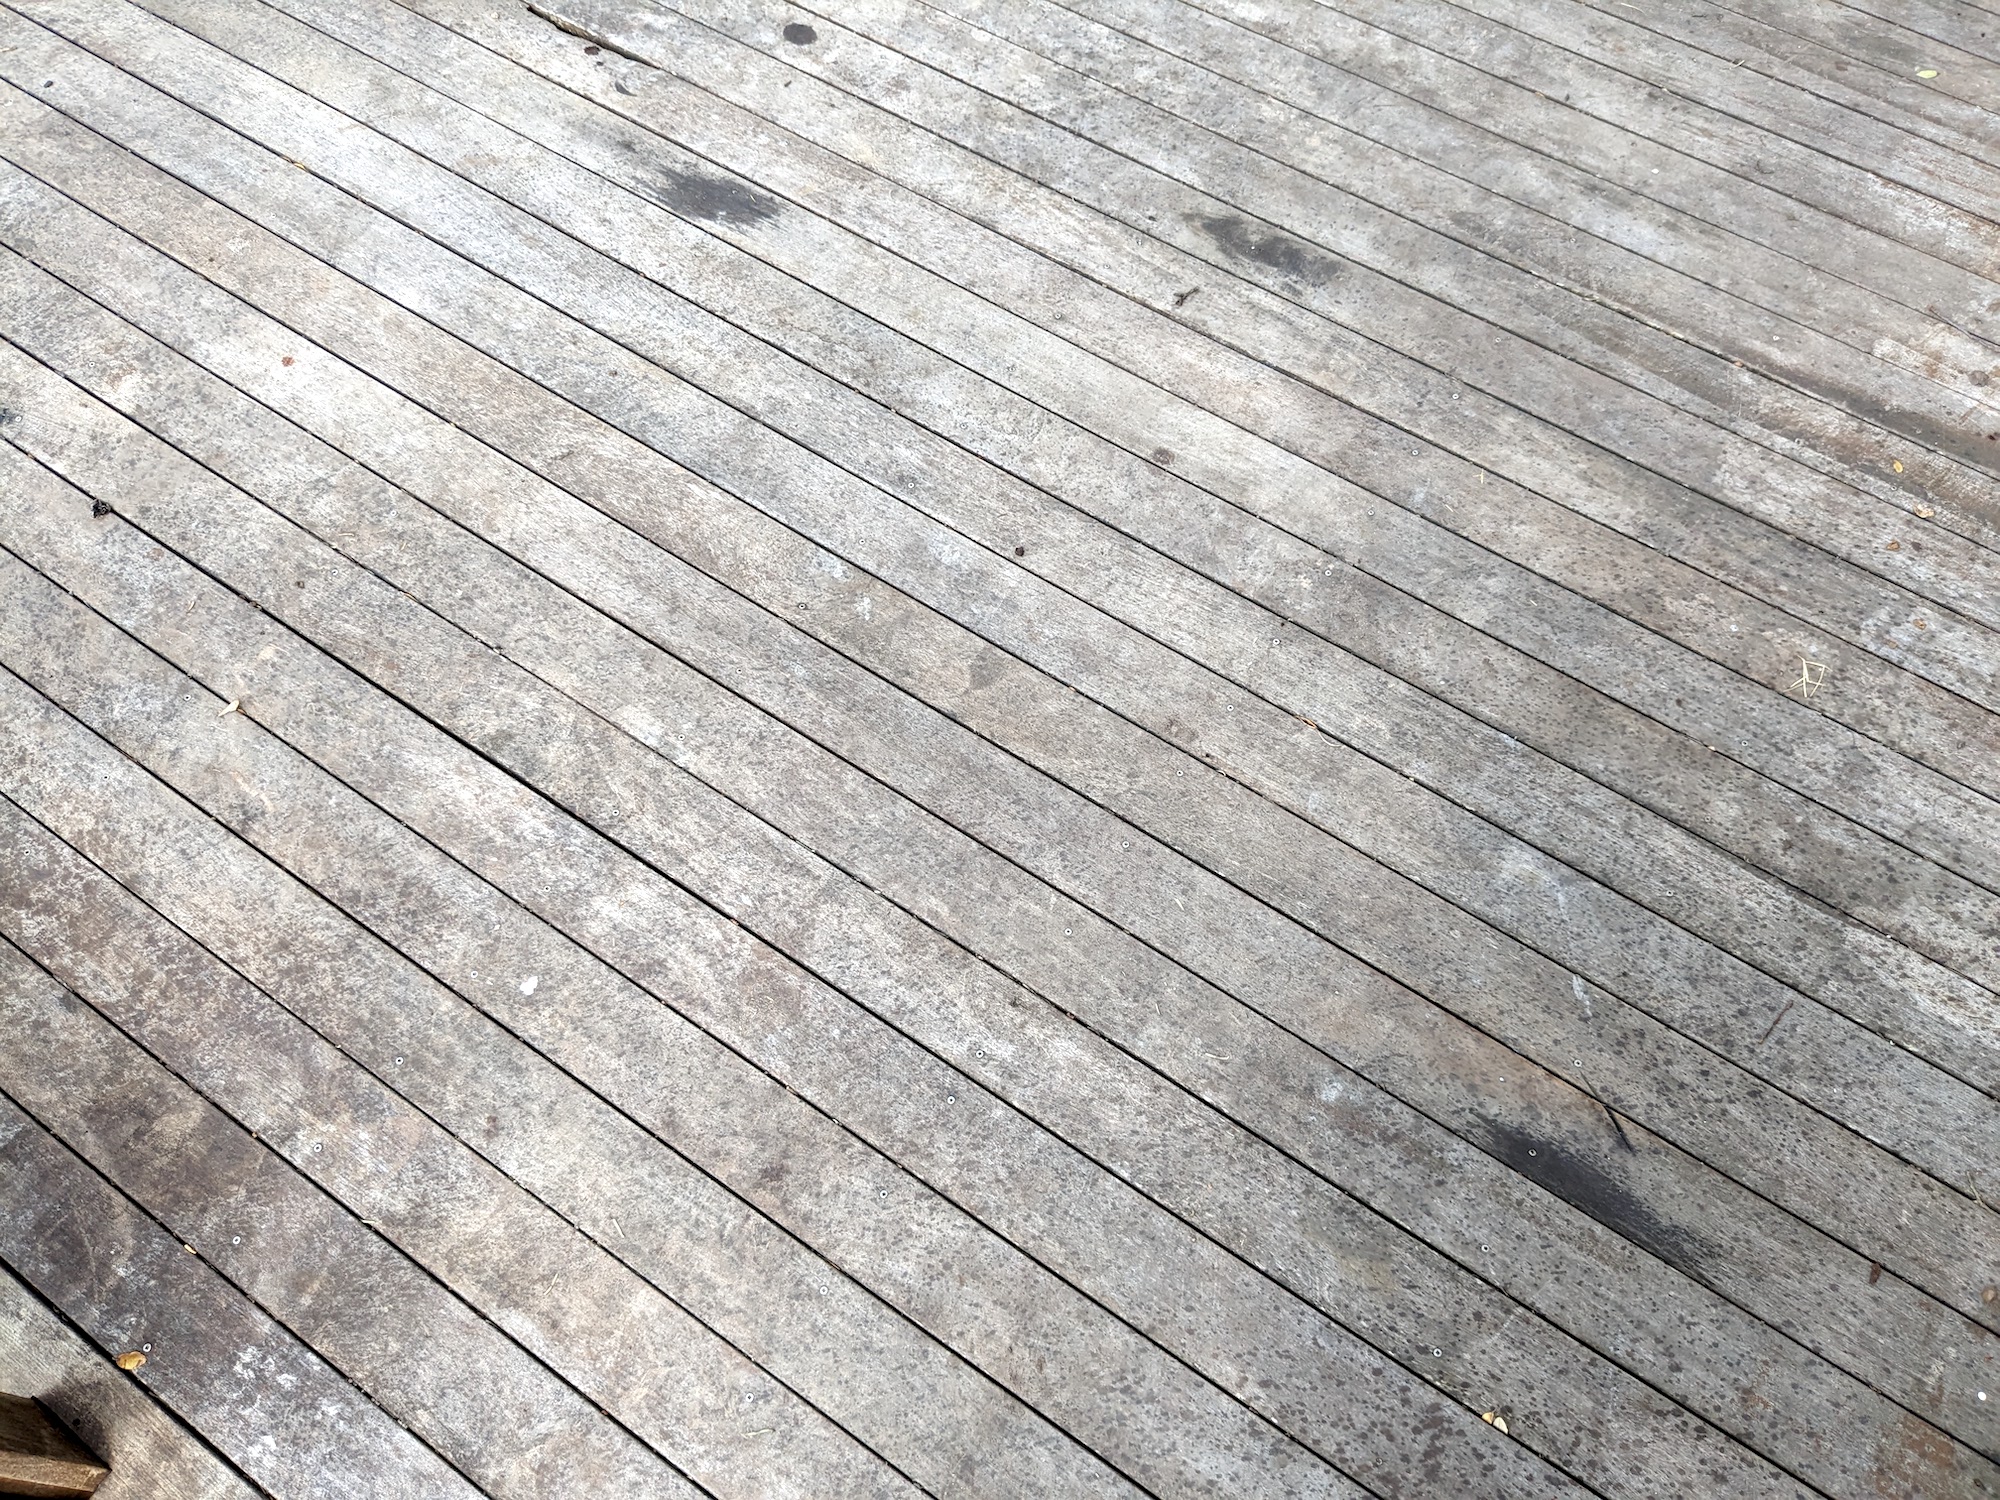
Once all the railings were done, I gave the main deck surface a final power wash, and it was ready to sand.
I finally, I had an area that I could use a big commercial sander on, so I rented one from Home Depot for 24 hours, and I was off to the races
I sanded until dusk, with pretty satisfying results. Not as good a finish as if I had used the hand-sander, but in 1/100th of the time, it seemed.
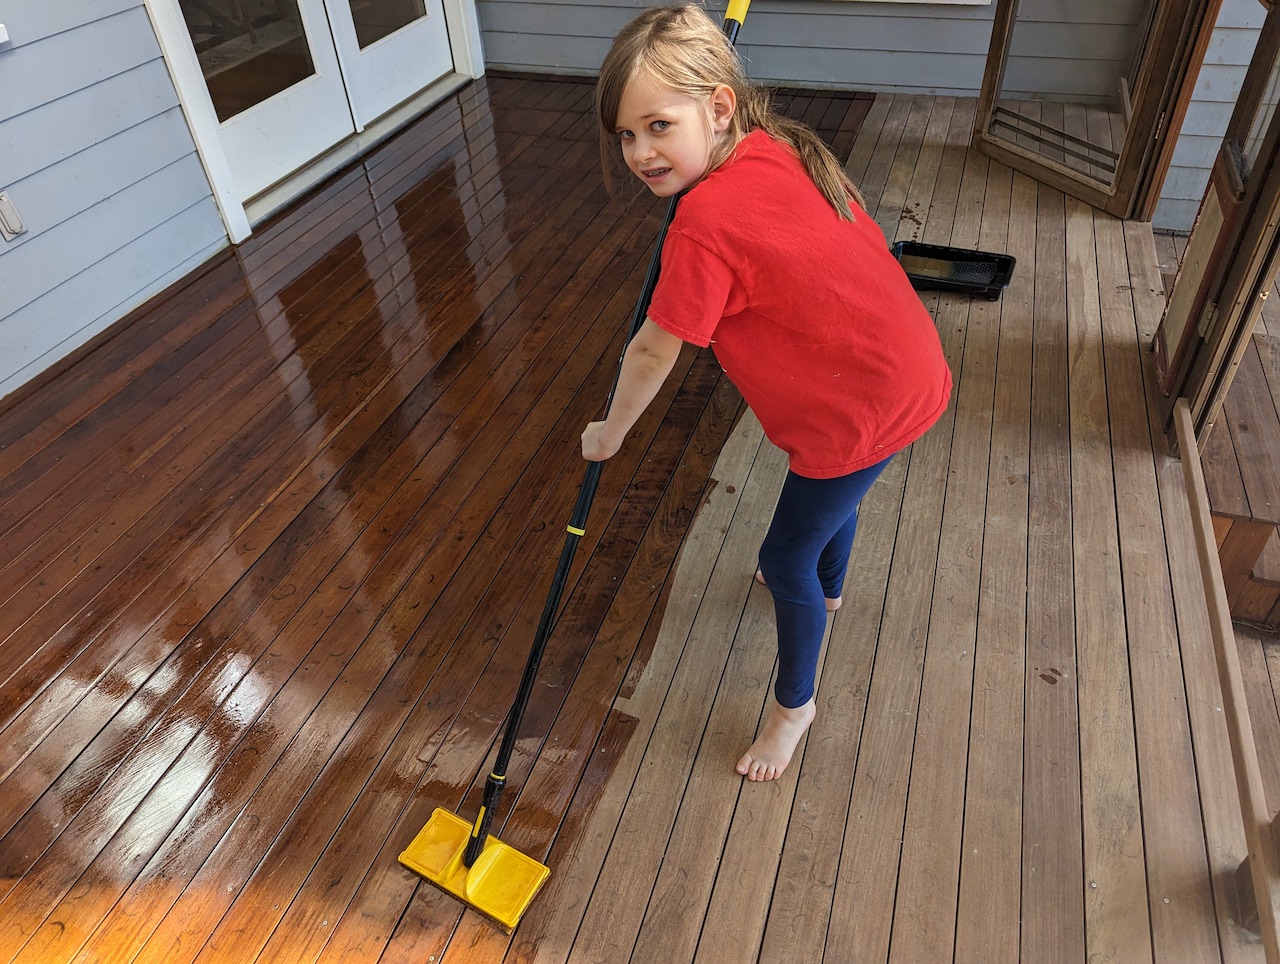
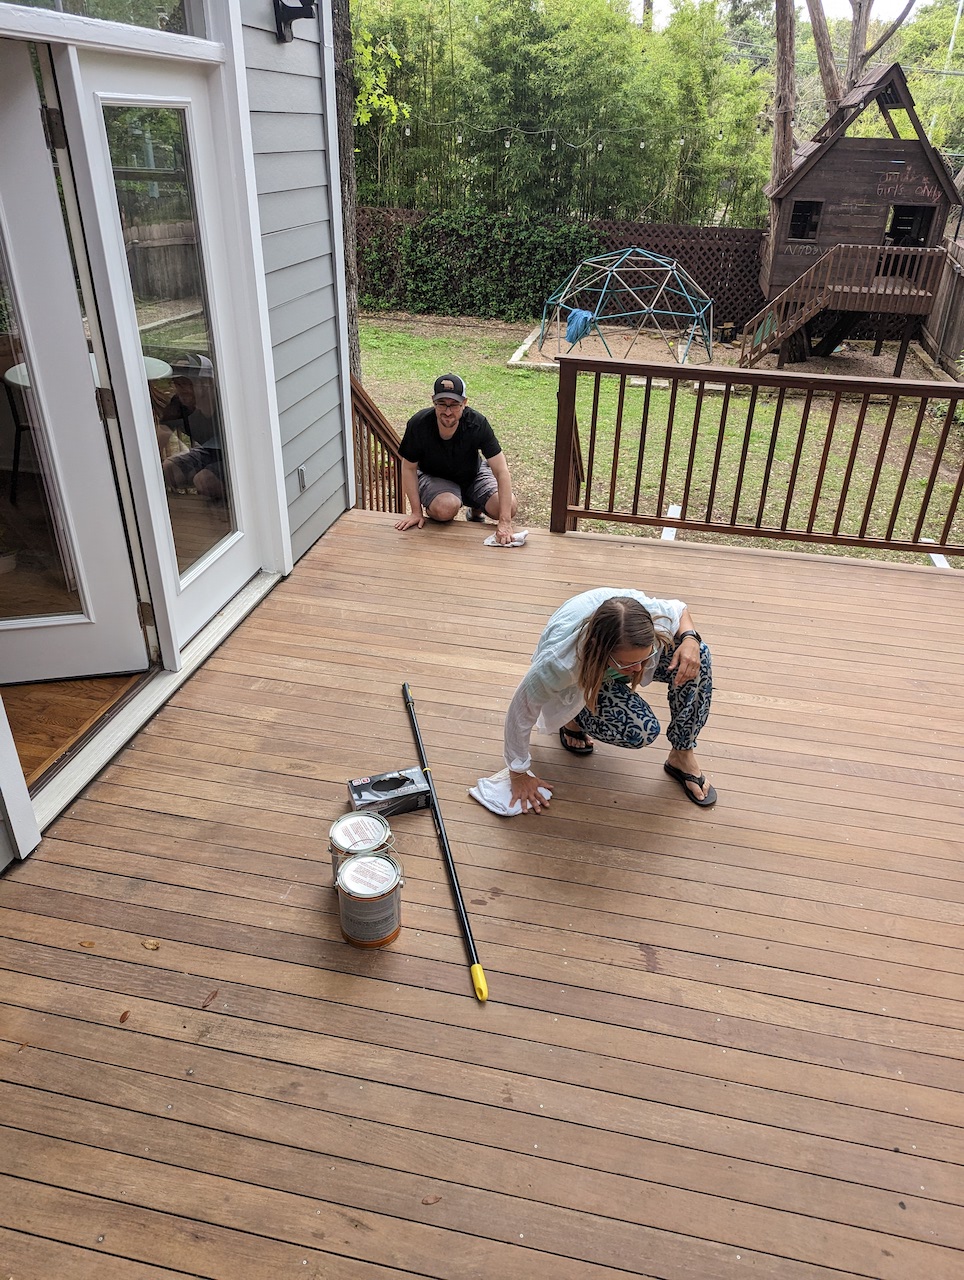
Finally, we oiled the main deck. You have to put the oil on after 2 days of no rain, and when there won’t be rain for two more. It was hard to find that magic moment with spring weather and school schedules, so the Sunday I wanted to do it we had friends coming over. To my surprise they were totally game to help with the whole process, along with Annie 🙂

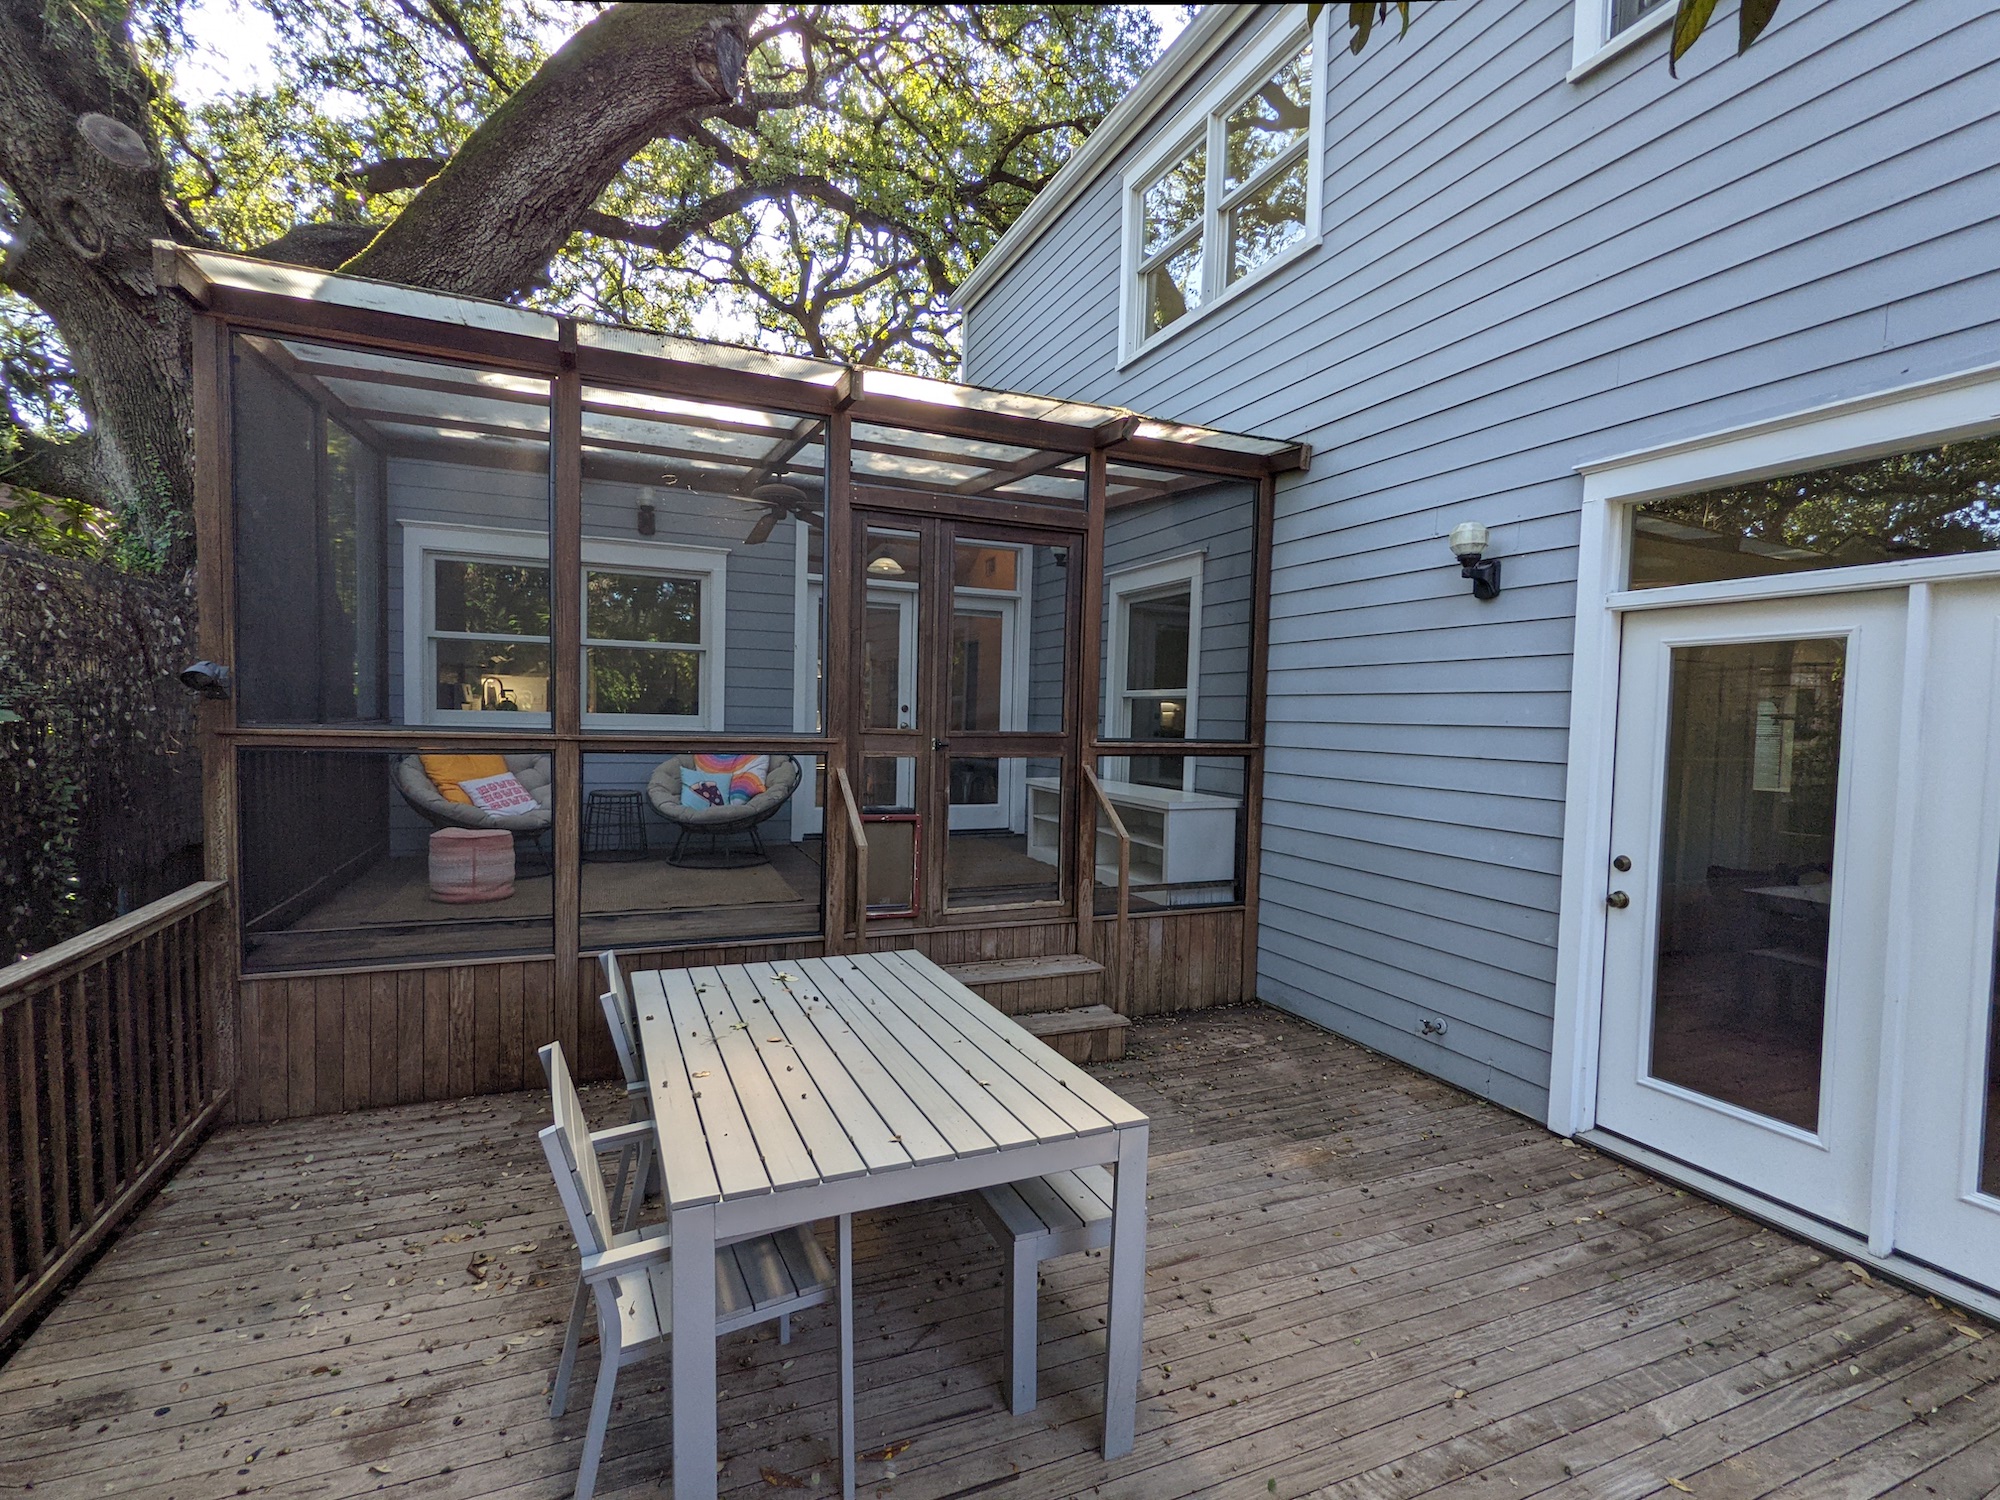
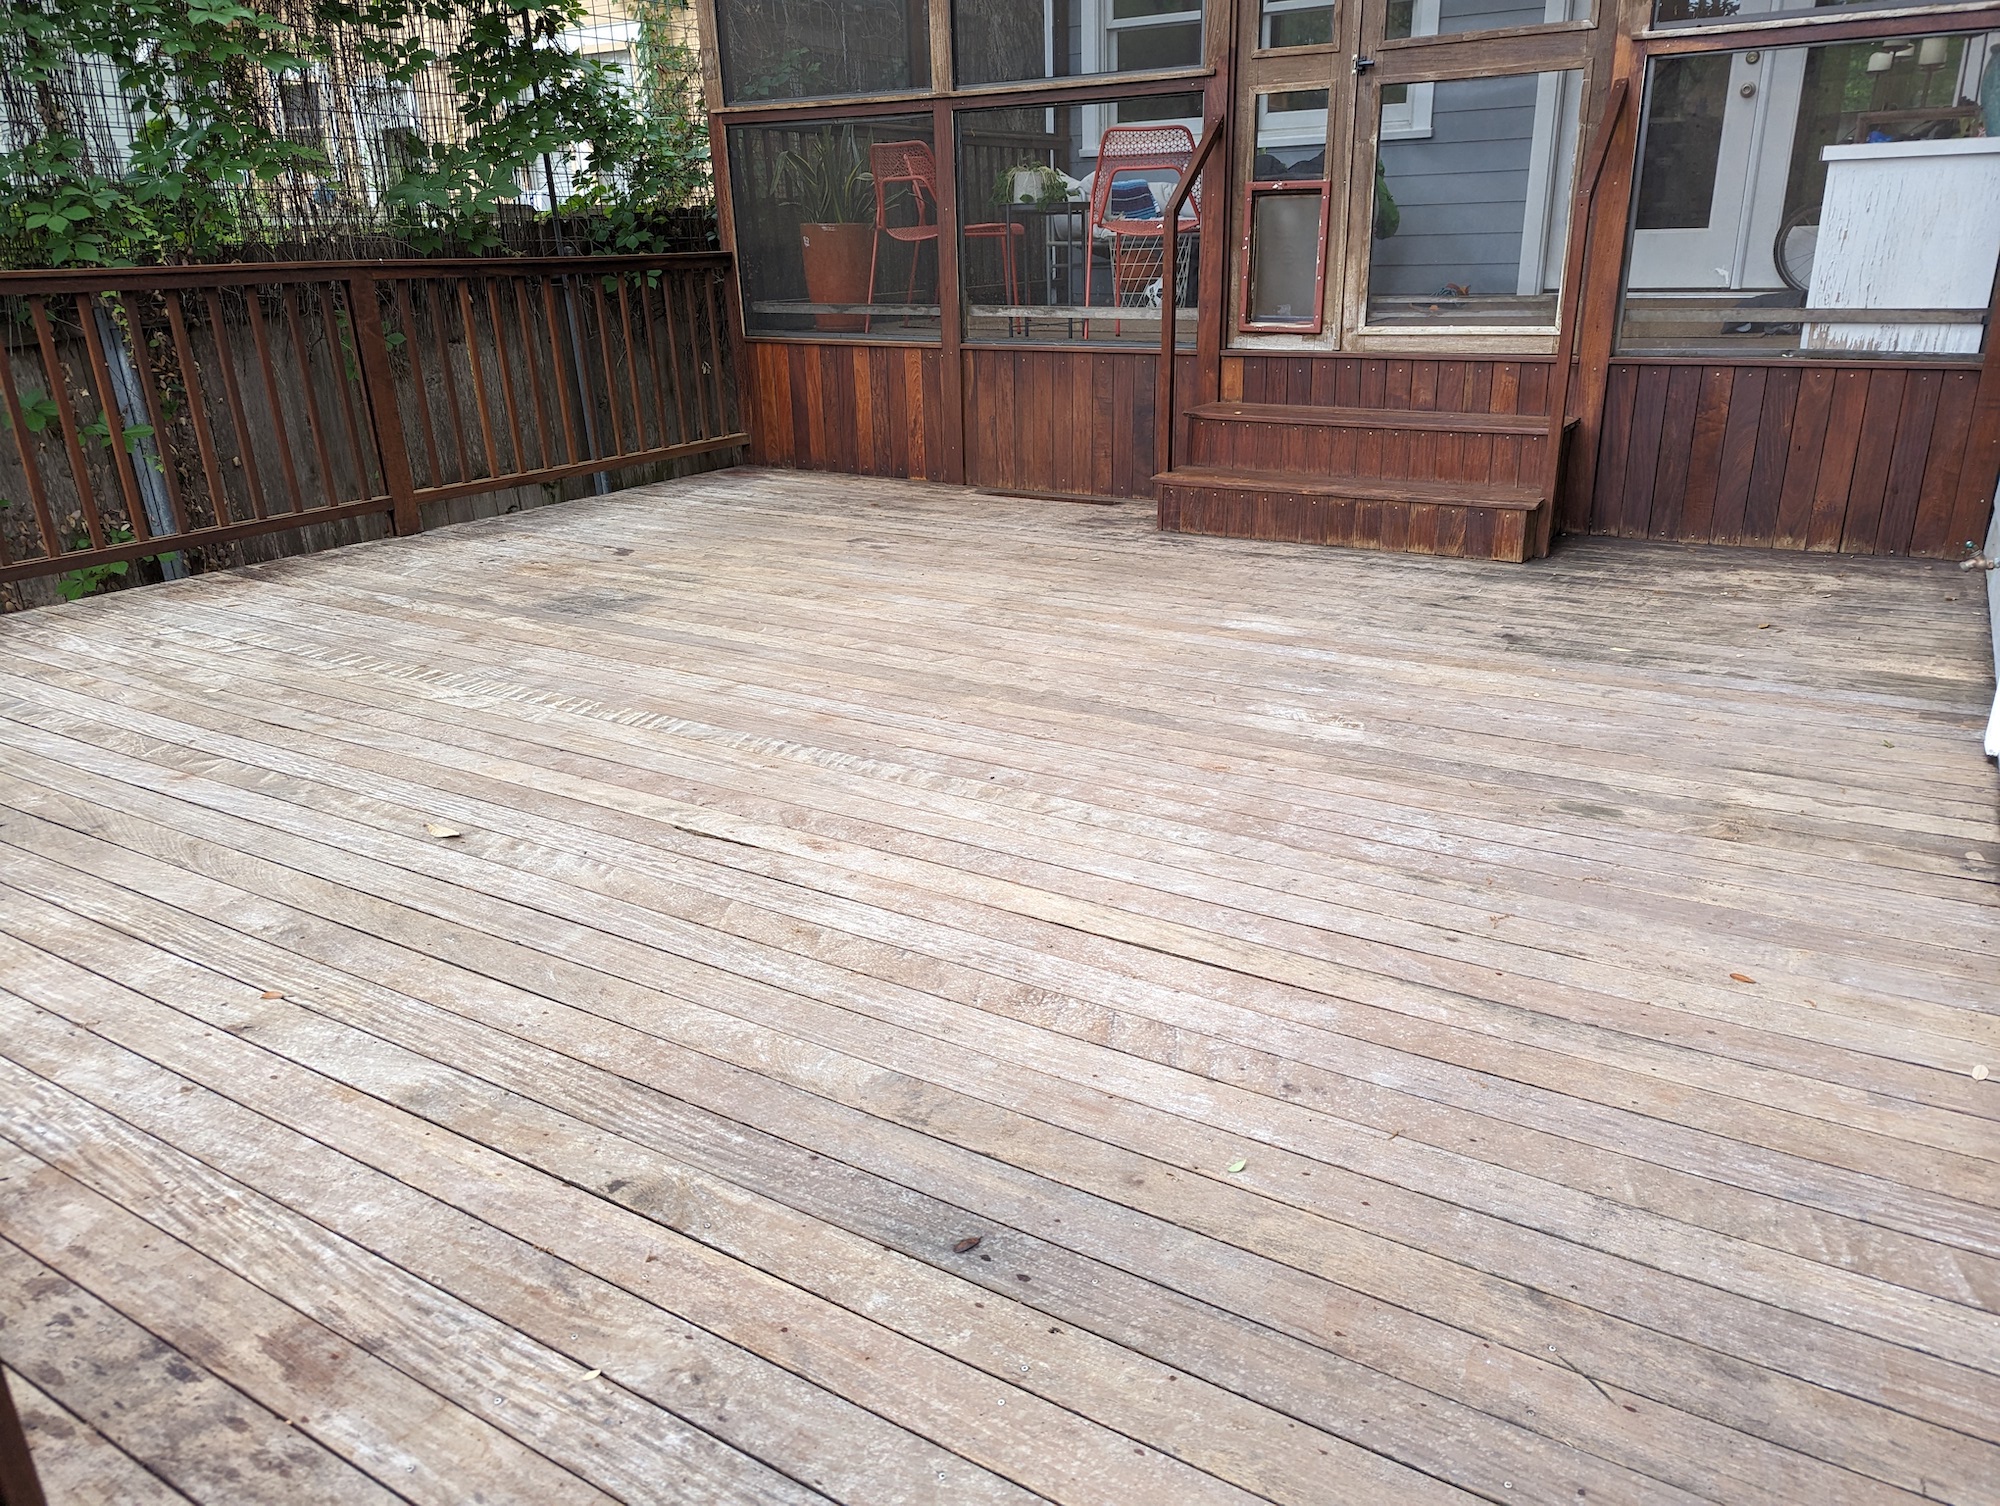
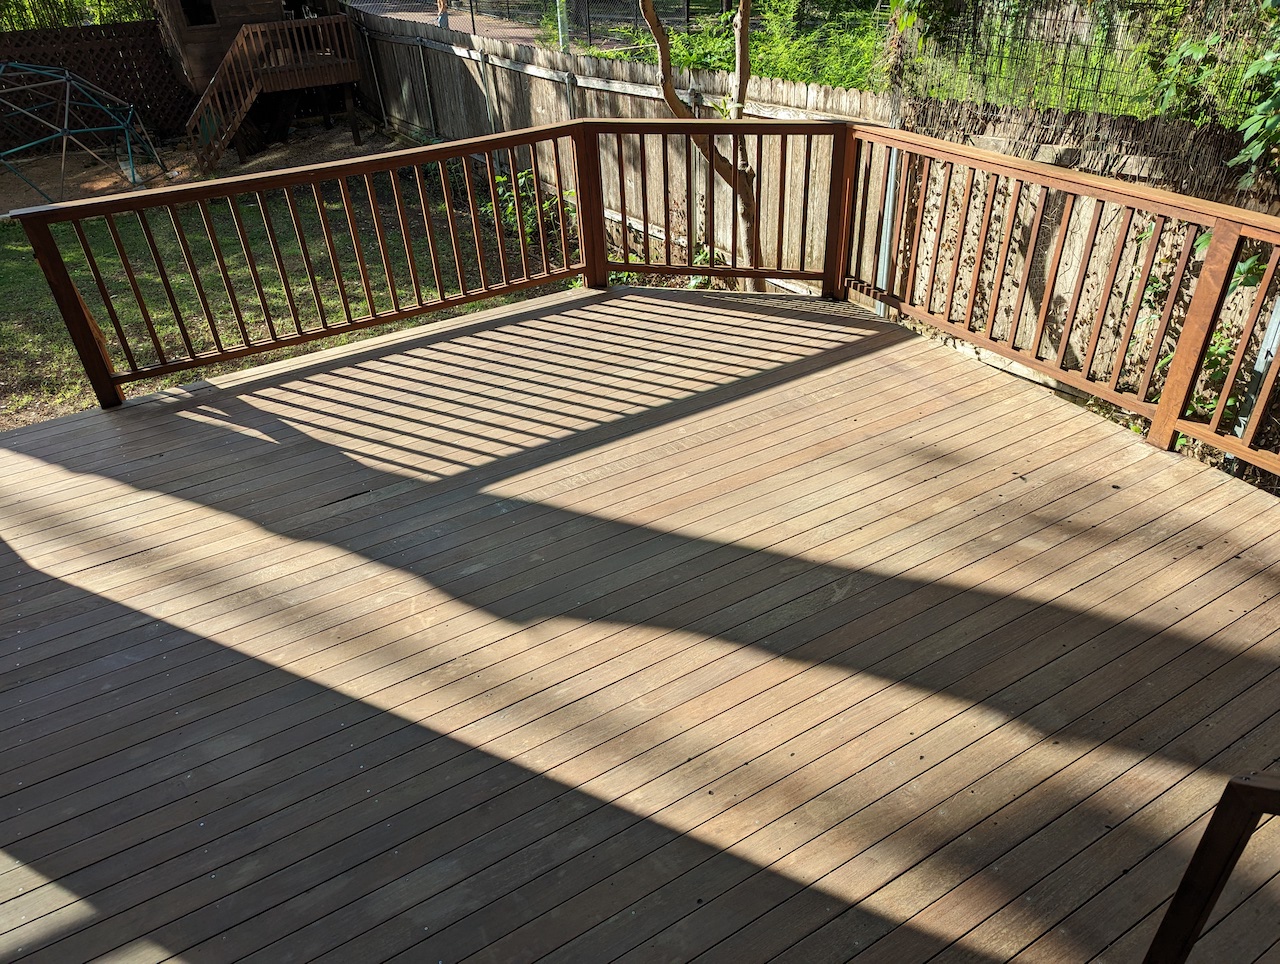
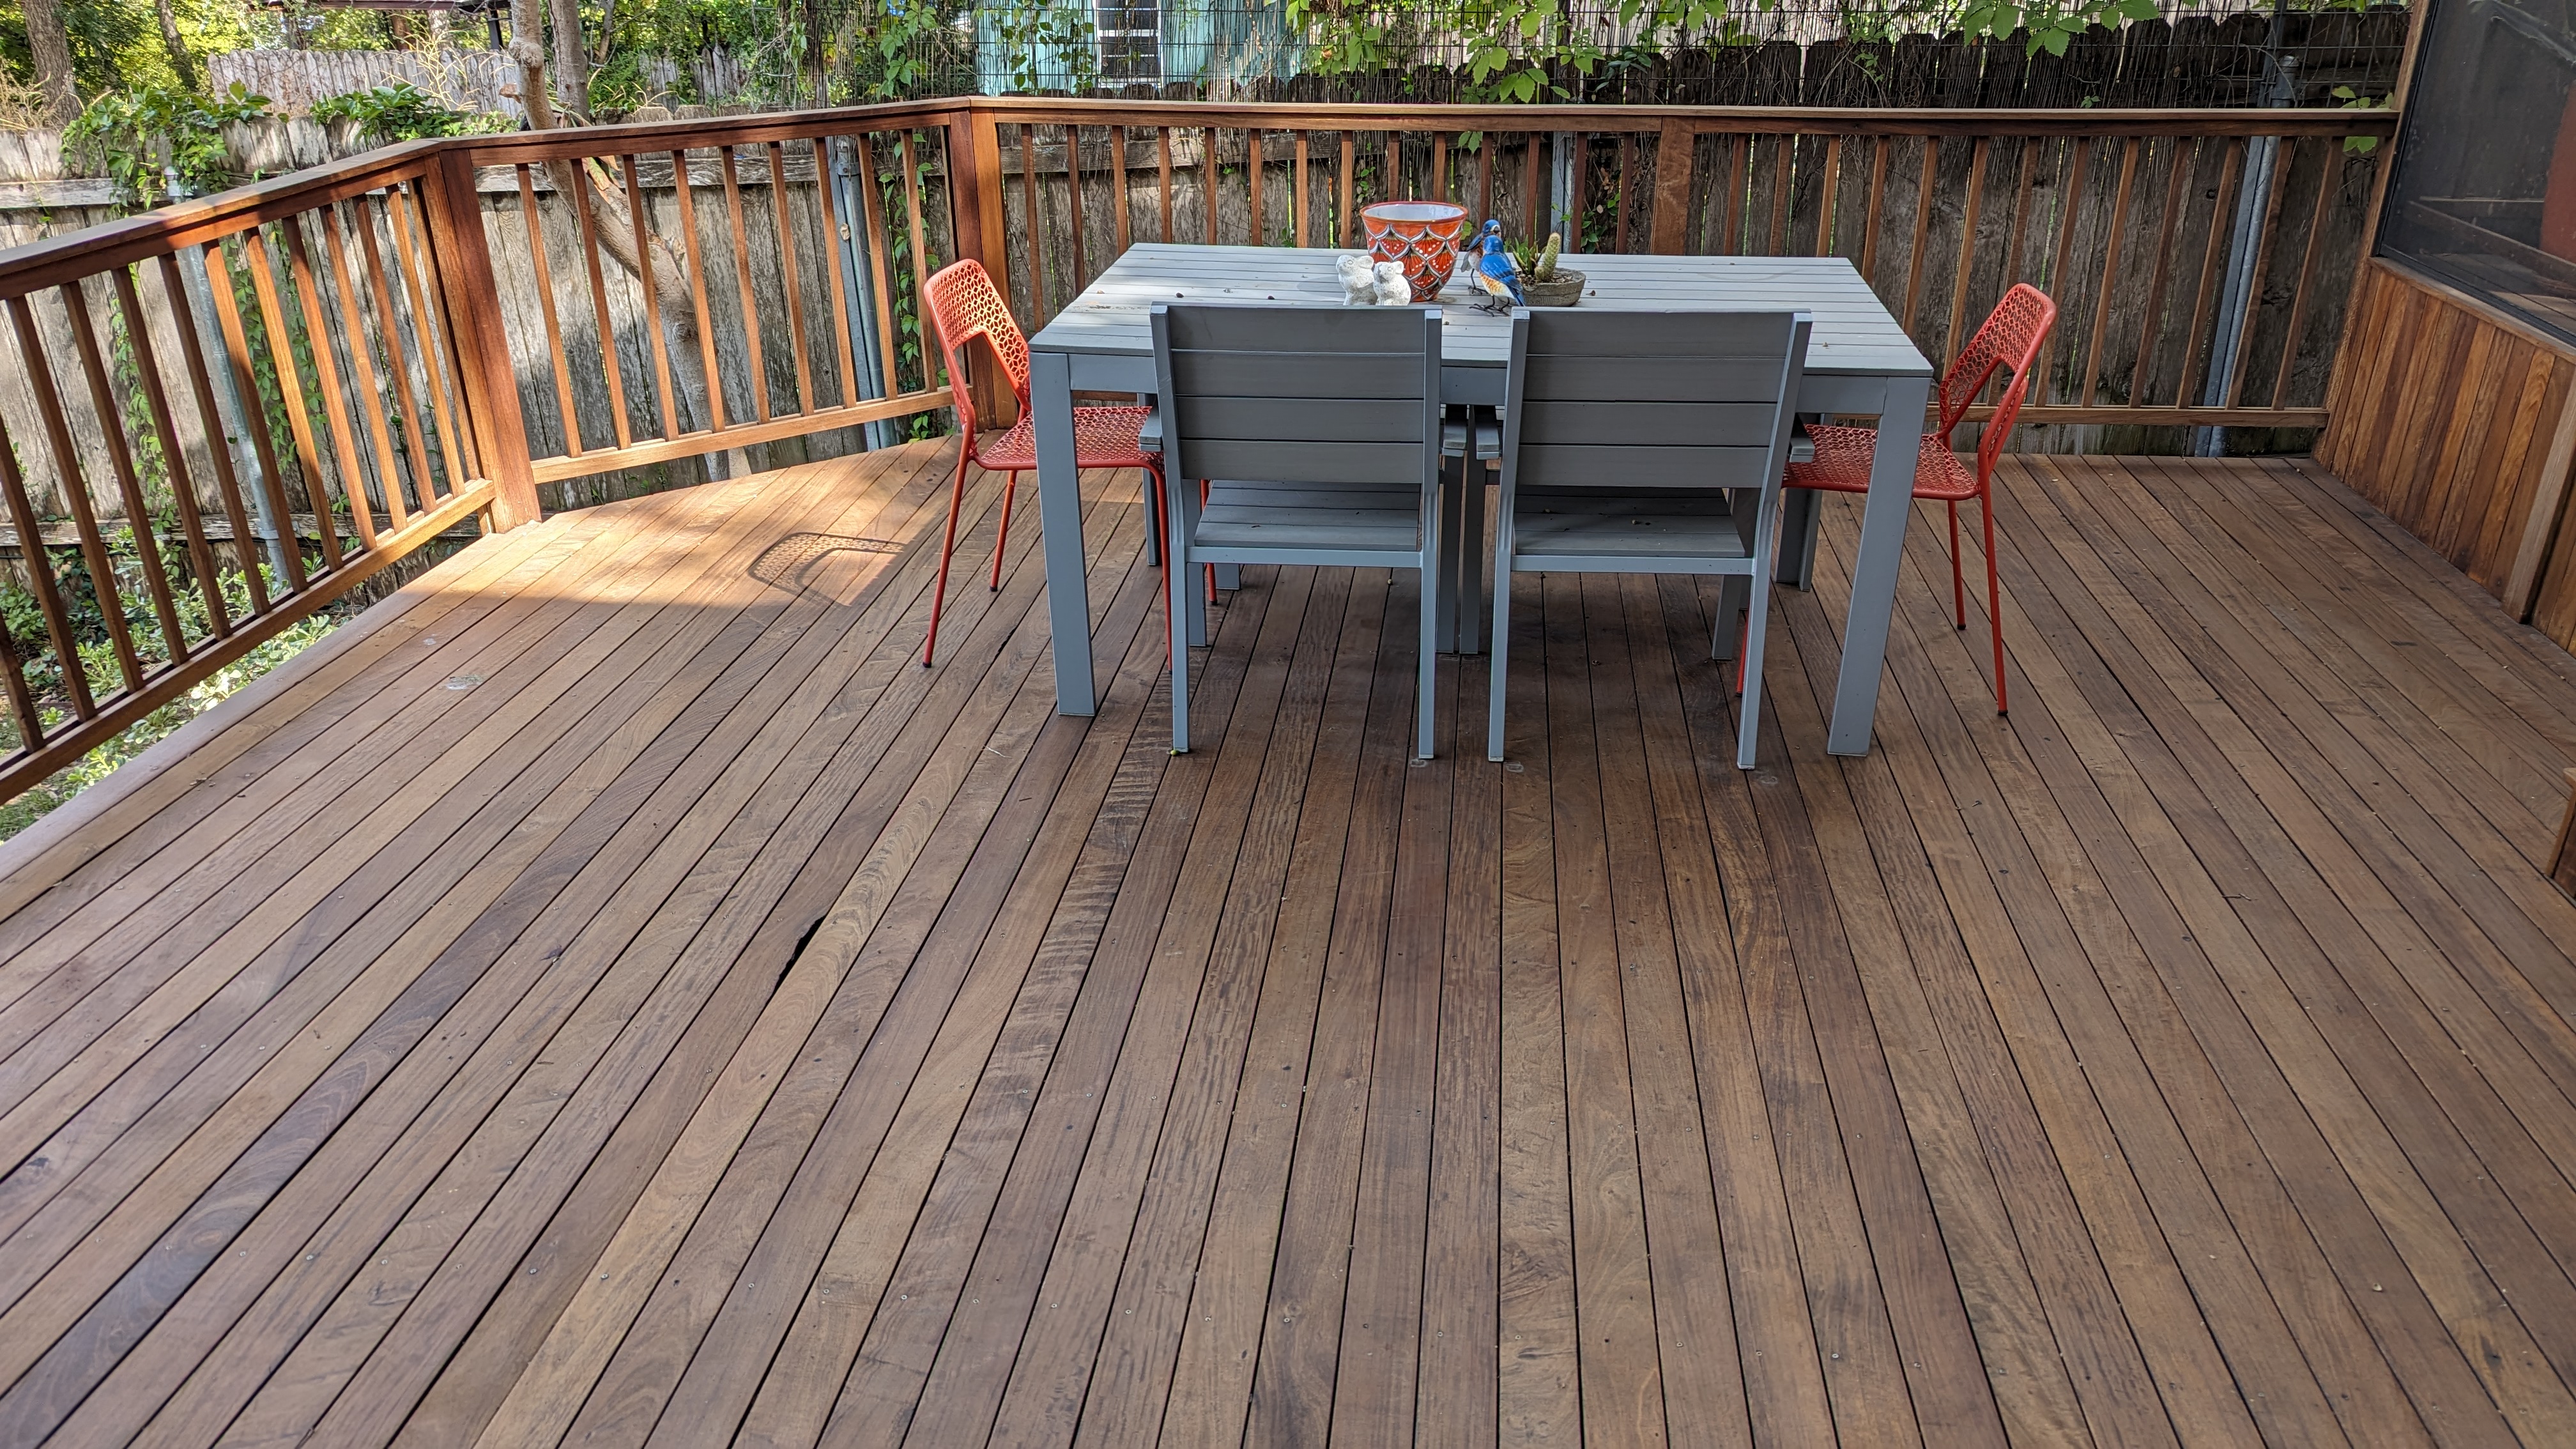
The finished product
Here’s a shot of the deck I took today, about six months after we finished the job. Ipe is some pretty amazing stuff! I also have to give credit to the original deck builders, whoever they are, for making it so sturdy in the first place.
Very nice article! The before and after pictures are really good.
I also have epi decks on the front and back of the house in the Florida Keys. I can say for a fact that your comments are spot on. I have rebuilt some of the stairs using the original epi wood. Yes, hard as a rock. I had to pre drill all screw holes. Had to countersink each hole as the screw heads will not penetrate flush in epi. Your article has spurred me on to use epi oil to preserve the handrails. Yes, I’ve used 40 and 60 grit sandpaper – much patience needed. This wood is really hard as a rock. It will dull saw blades and drill bits in short order.
Should you use epi wood? Comes from a Brazilian rainforest. I’ll be using a composite type wood for new decks. Leave the epi where it belongs.