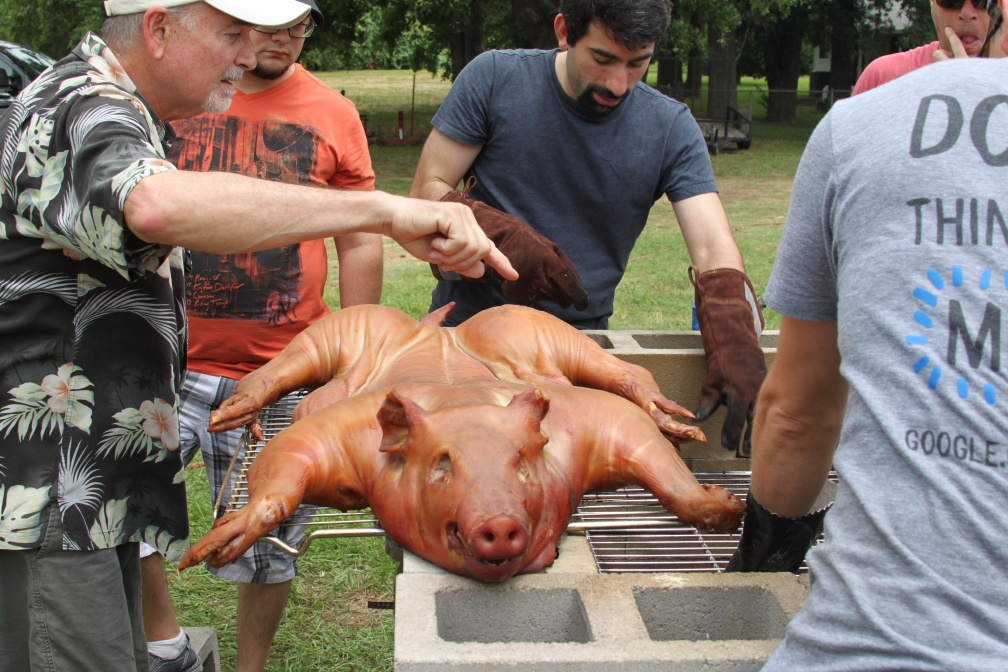
I posted the pig roast pics on gallery. I’ll try to write up the process of cooking specifically later, but for now you can get the texture of the weekend by reading through the captions.
I posted the pig roast pics on gallery. I’ll try to write up the process of cooking specifically later, but for now you can get the texture of the weekend by reading through the captions.

T-minus 24 hours to the roast!
This weekend we headed up to Tool, Texas to build a roasting pit for our Memorial Day pig roast. Here’s Leslie doing a test fit with “Wilbur”:
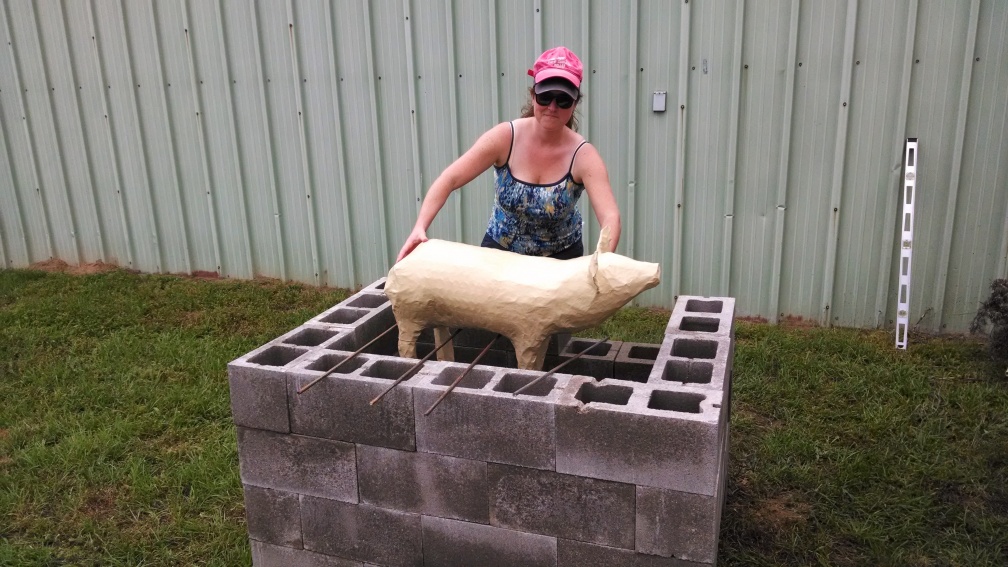
Paper-mâché doesn’t roast up very well, though, so instead we tested with a pork shoulder:
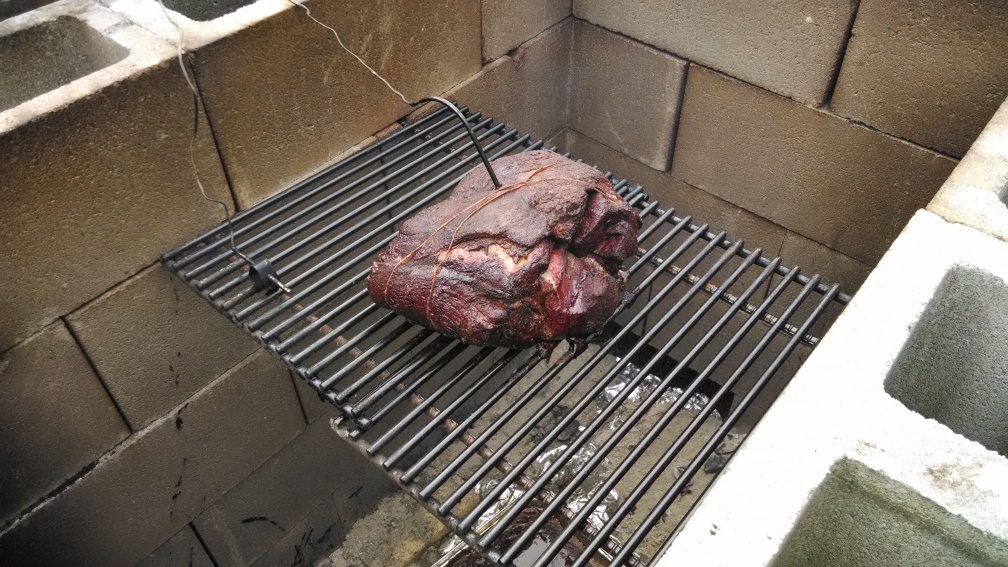
It turned out well! You can see more pics on gallery.
After 9 months of searching for contractors, picking doors, waiting for doors, waiting for contractors, and monitoring all the work, we’ve finished our first big home improvement project, which was to replace all the interior doors in our house as well as the front door.
Here’s the old front door:
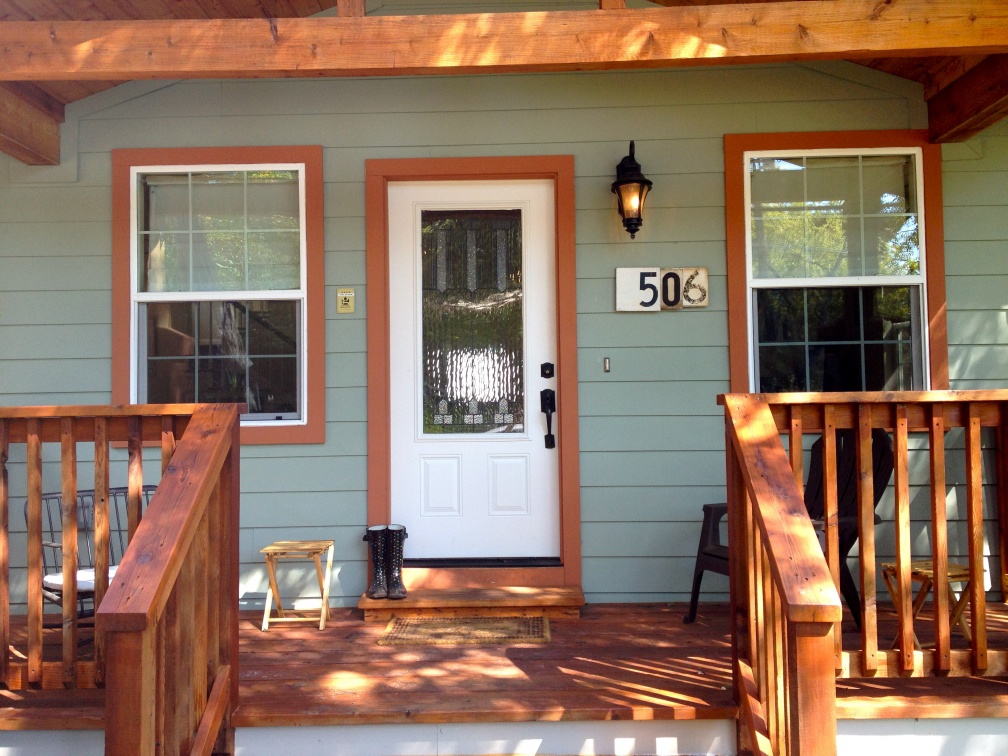
And today, with a few changes to make it more us, most recently our custom designed new front door:

The whole idea started because we were annoyed by the way several of the doors in our house swung, like into the pantry, eating up 30% of its storage space, or into our bedroom so that they blocked the light switches. Also, we had several doors that just didn’t fit in their rooms, swinging way out and blocking access.
It turned out the cost of changing the swing on doors was more in labor than the cost of new doors, so we decided to replace the cheesy molded masonite doors with “Shaker” stile-and-panel doors that were much more our speed. I guess you don’t really take pictures of doors very often, because this was the only one I could find of the old doors:

And here are some pics of the new doors as they arrived:

Being painted:

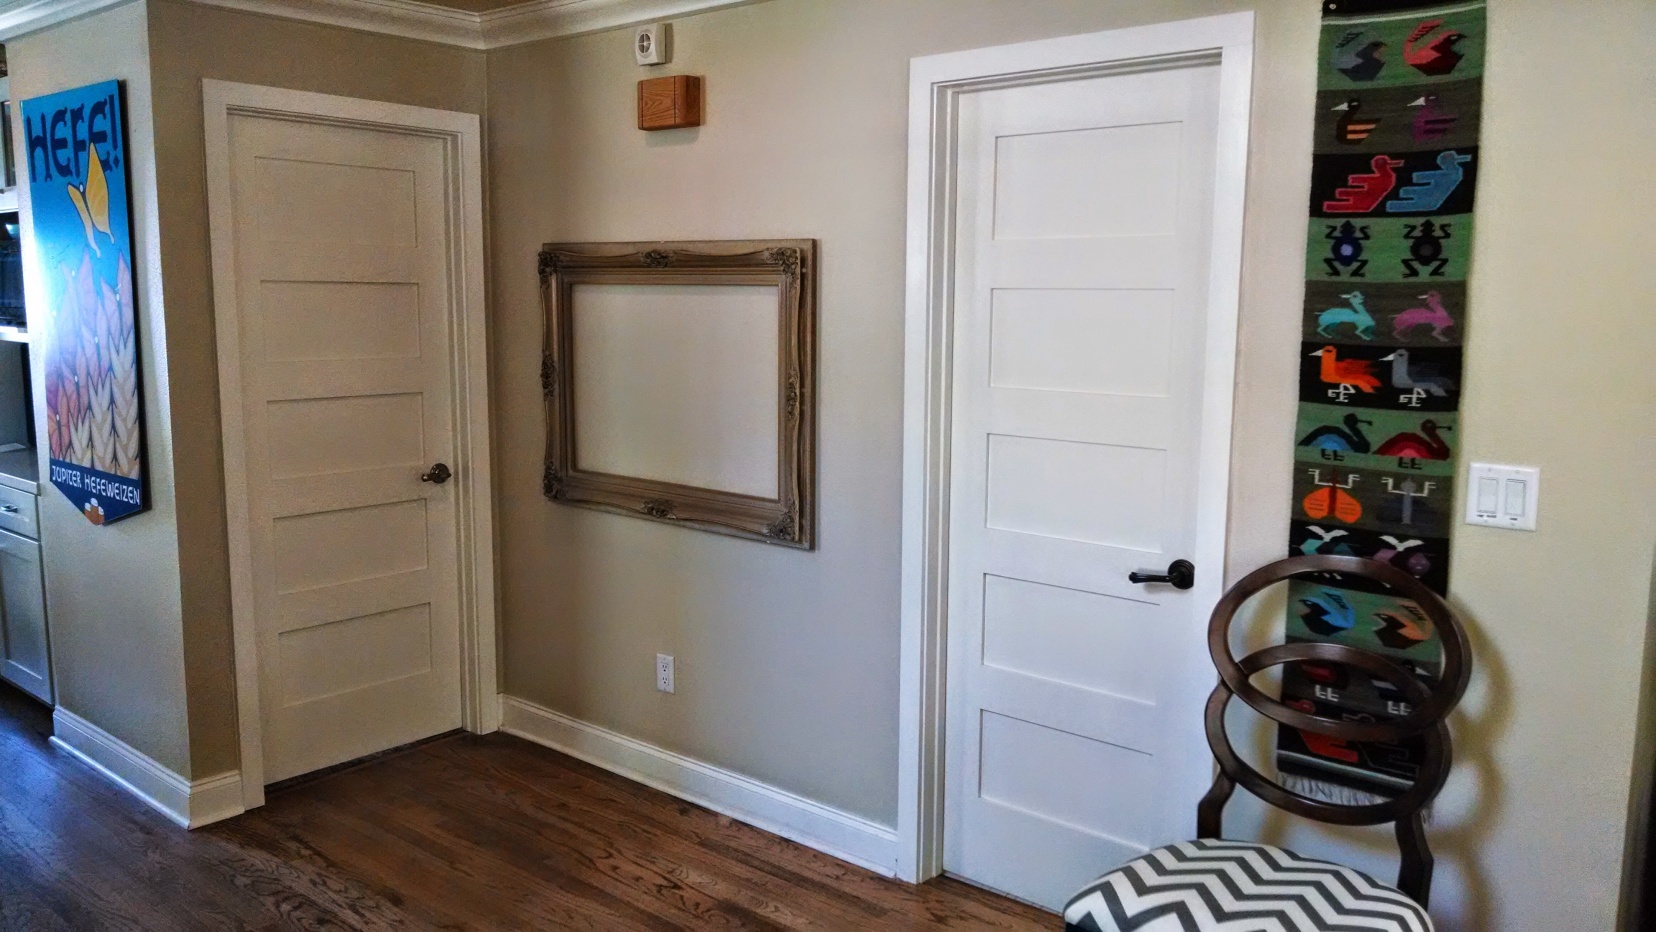
Finished barn door installation:
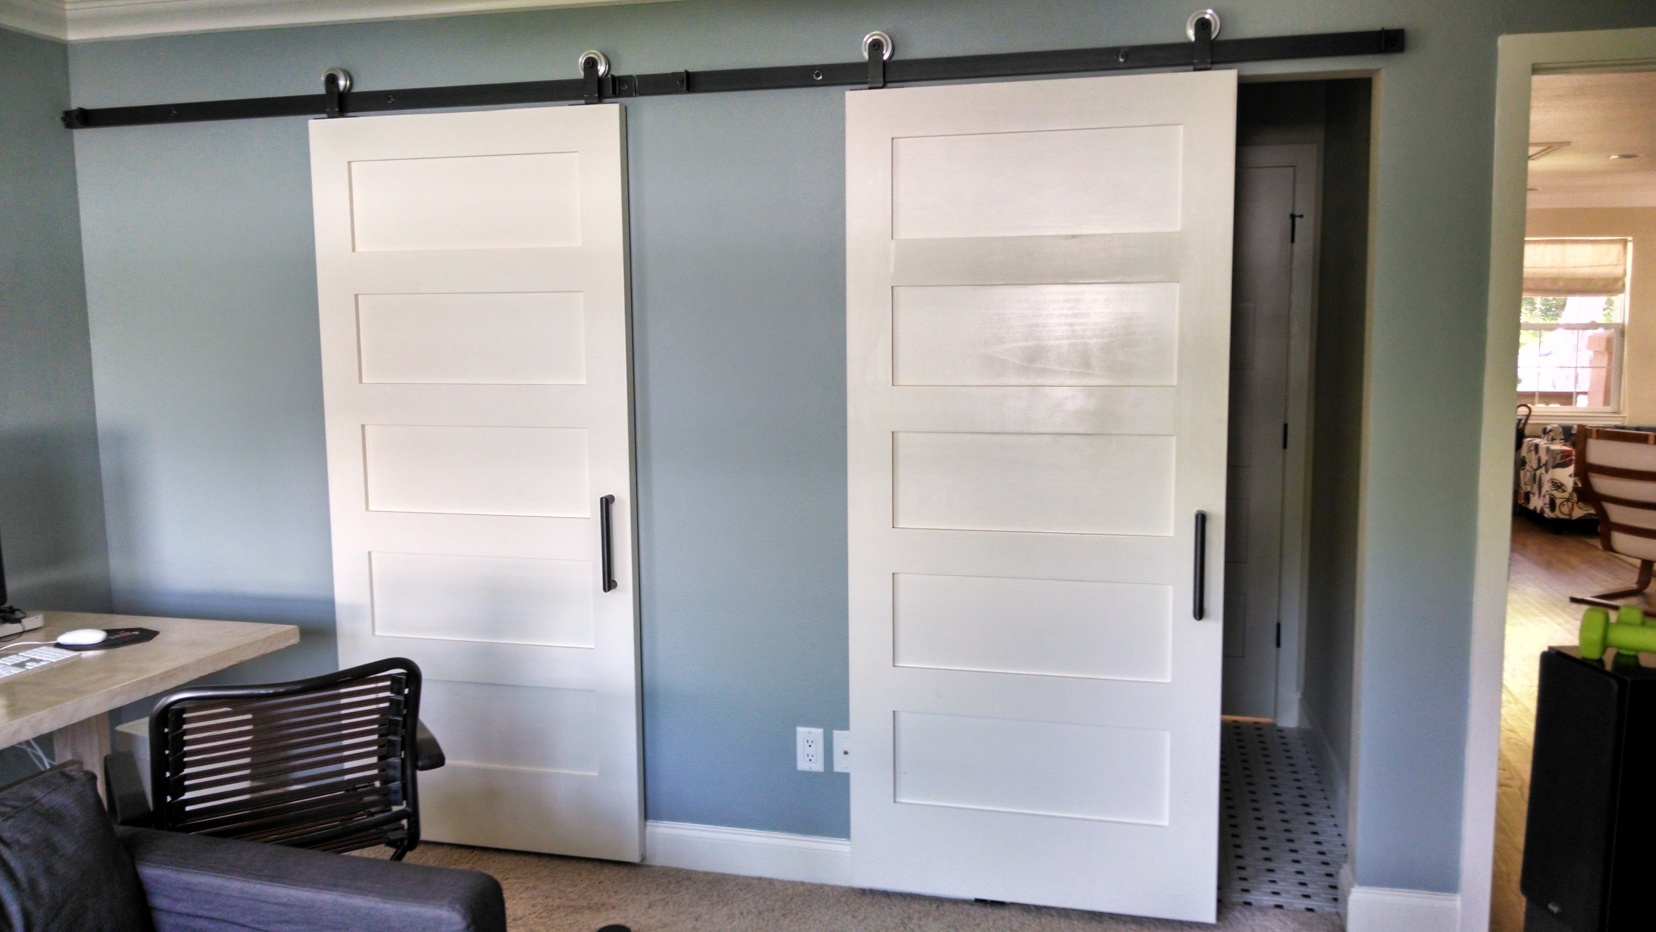
Another interior shot:
I’ve always wanted to finish the Cap 10k under 45 minutes, and this morning I did! The official Cap10 timing was 44:05
Pictures are up from our visit to Borobudur in Java. Borobudur is the largest Buddhist temple in the world, and we visited at the recommended time, dawn. This involved a 4am wakeup call but was totally worth it:

Pictures fall behind reality: I’ve just finished posting pics from Ubud, Bali while we’ve physically just landed in Sydney.
Ubud is an idyllic paradise in the interior of Bali where we mostly gaped at staggering natural beauty and drank Bintang beer. Many pictures and even a few movies are up on gallery, please to enjoy.

We’ve been in Bali a few days now, and lo it is glorious. As I type this I look out across one of three decks in our private villa in Ubud. It would be crazy to spend too much more time here typing, and our breakfast arrives soon, so I’ll just point you toward gallery which has the first few days of pictures already up.

Oh, and check out what’s got to be my coolest Strava track yet:
Thanks to Leslie, many, many new events worth of pics are up on gallery, including at least six weddings, a ridiculous obstacle course, and the opening of the Wright Bros Brew & Brew. Have a look!

Last week we ate at a hyped new restaurant in town, Qui. It is Paul Qui’s first solo joint, which he has founded since leaving his role as exec chef at Uchiko.
The restaurant doesn’t take reservations so we arrived promptly at 5pm and were joined by Matt and Amanda who had the night off from their baby. It was no trouble to get seated by 5:30 after we’d enjoyed a custom cocktail at the trendy, locally stocked full bar. I popped up to snap a pic of the very jolly and friendly Paul overseeing his kitchen:

The food was high-end but not too pricey, and universally delicious. My favorite dish was rabbit 7 ways, which included consomme in this cute rabbit cup:

The rest of the presentation was nice too:

The food was inventive, playful, delicious, and the whole place was very down-to-earth and unpretentious. The staff seemed to be having a great time and was really into the food and the service. Paul visited our table several times to see how we were doing and gently nudge us toward the real wasabi (“the good stuff,” he called it) and to make sure we ate our cheddar cracker ice cream sandwich with our fingers and not utensils.
There are a few more pics on gallery. I would definitely visit again!