refinishing an ipe deck

When we moved into the new house last year, one of the things we inherited was a big back porch and deck, built around 1999. It was impressively sturdy for something over 20 years old, but it was gray and dingy and I assumed we’d have it replaced, because 20 years seemed like more than a reasonable lifespan for a wood deck.

deck_old

Then I was trying to put a screw in a post to mount a light, and the screw just snapped as I tried to drive it. The wood was incredibly hard and dense, and after some googling I concluded it must be a hardwood, probably ipe, also known as an ‘ironwood‘ because it sinks in water. This wood can last for generations and I wondered: could I restore it?

old_deck_worse

The side-deck test

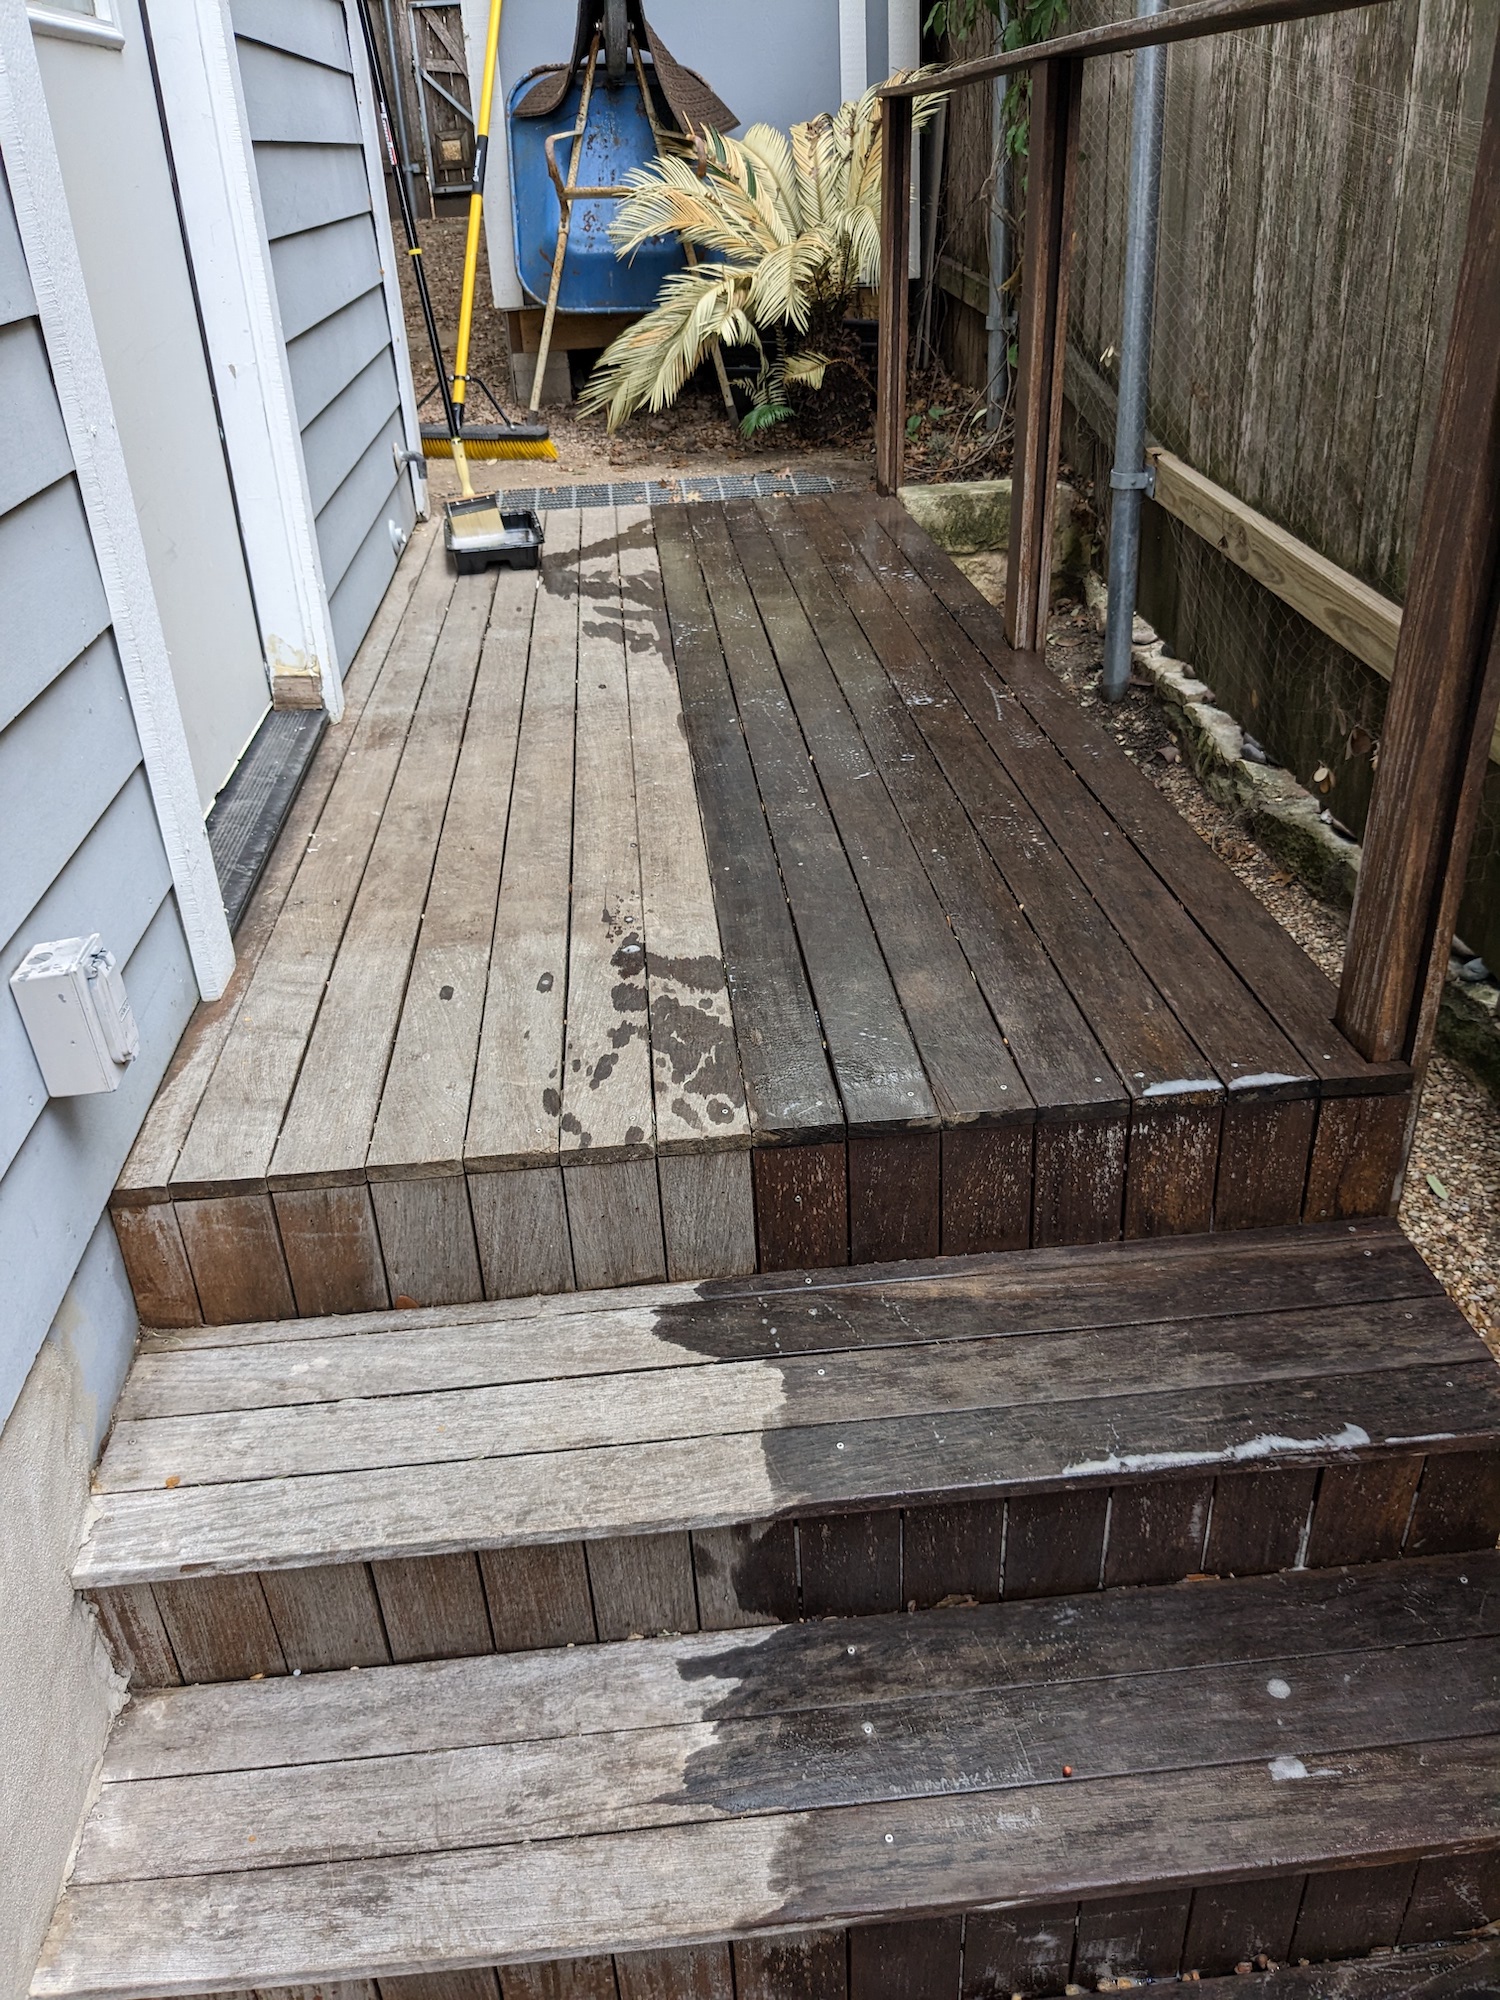
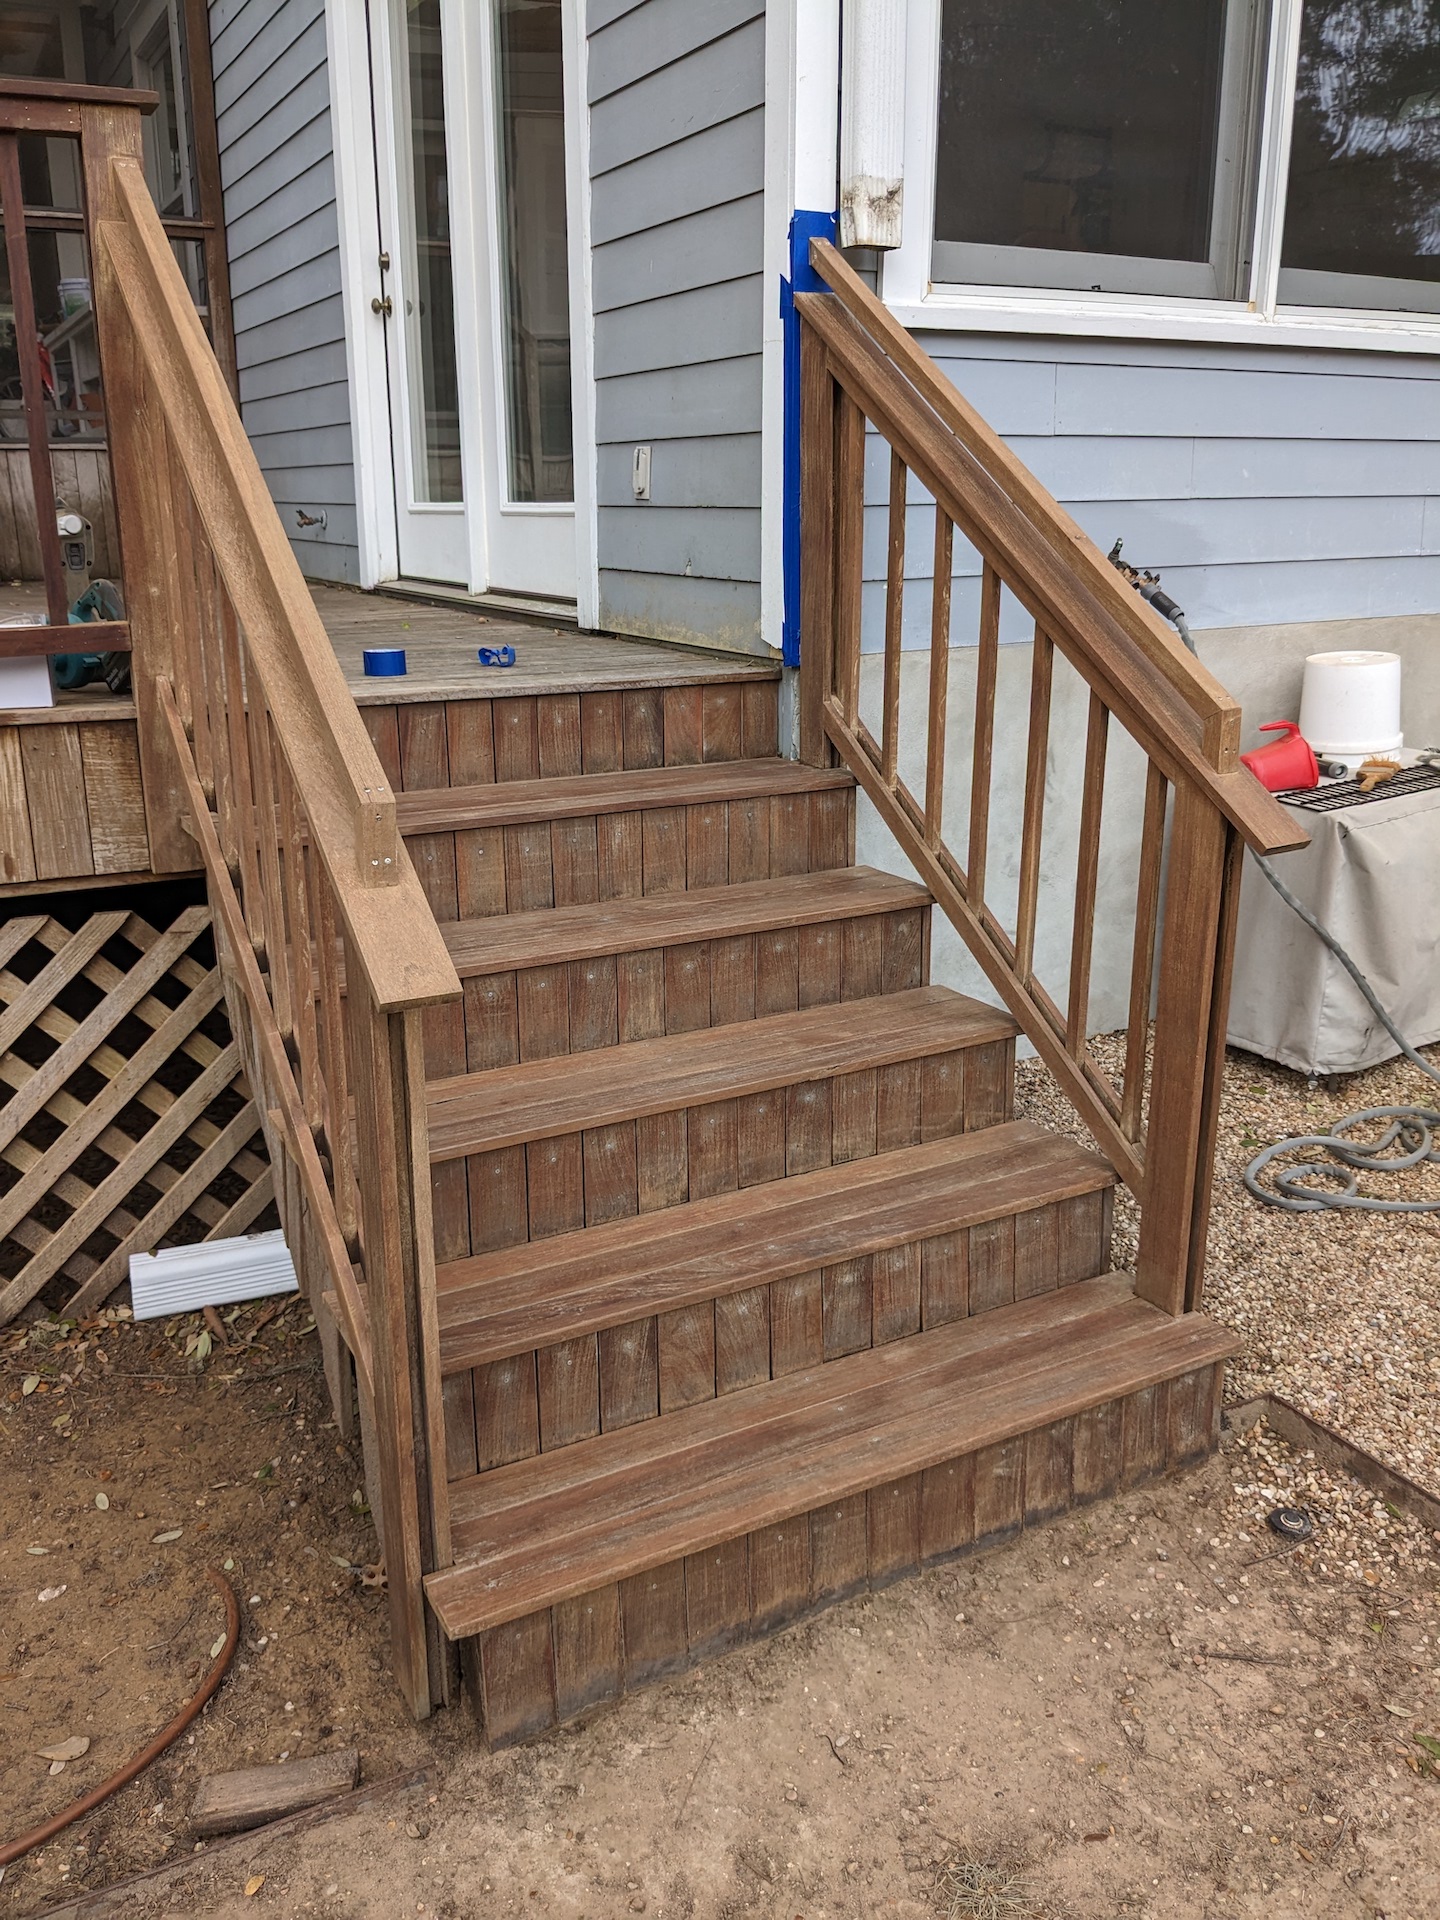
The was a small landing and stairway on the side of the house made of the same wood that I decided to use as a test. Here’s the deck in the middle of stripping–probably unnecessary given how little finish was left.

side_deck_stripping

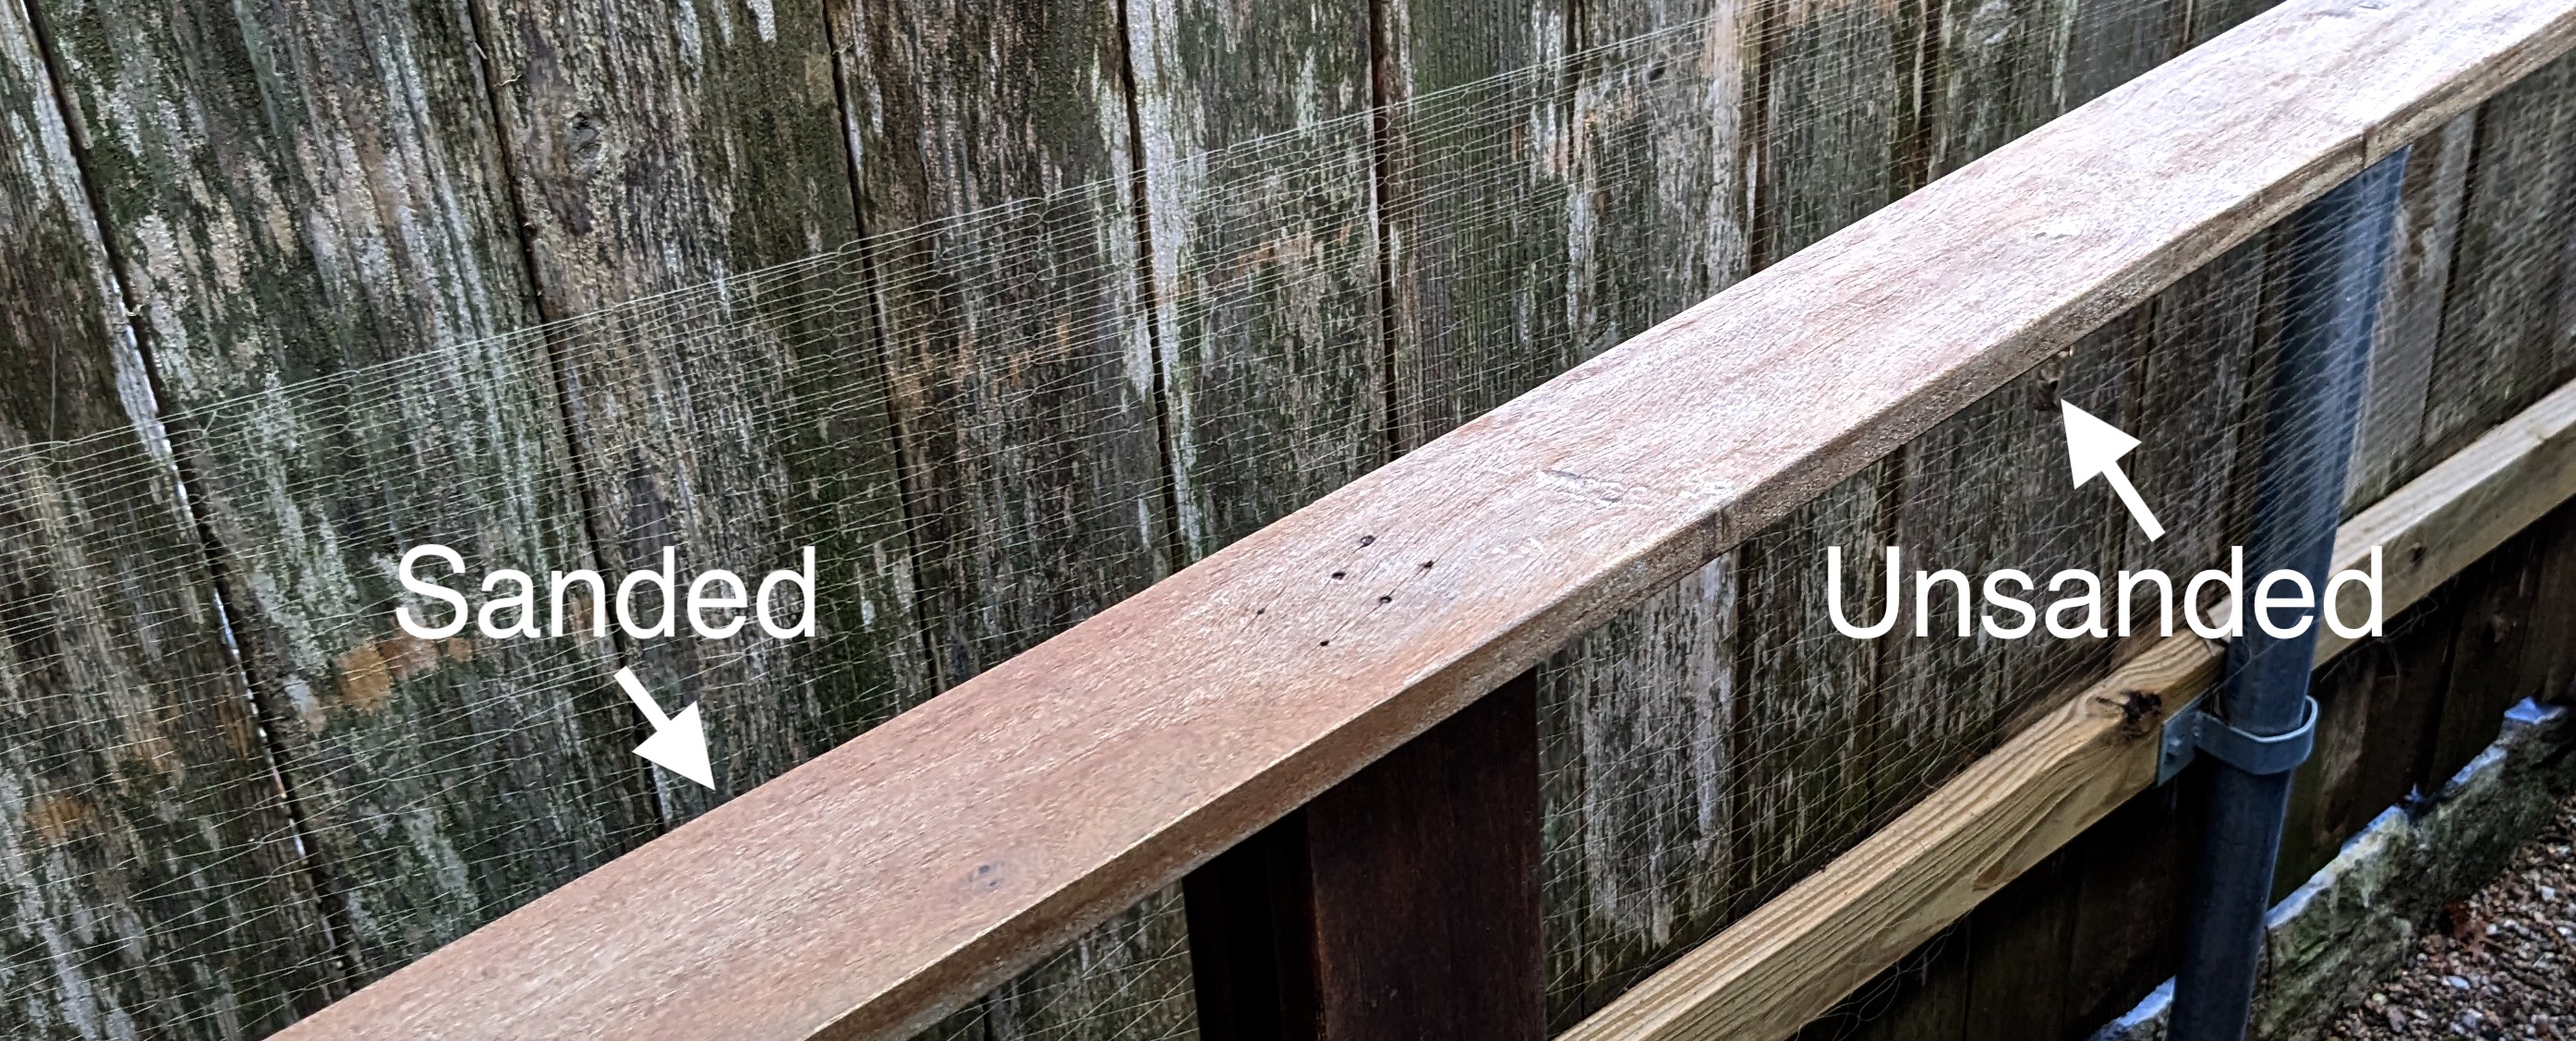
What was really amazing is when I started to sand it. Just getting a tiny layer off was a lot of work–this wood is harder to sand than anything I’ve ever encountered, eating up 80-grit sandpaper in just a few minutes. But it revealed brand-new looking wood underneath:

sanded_vs_unsanded

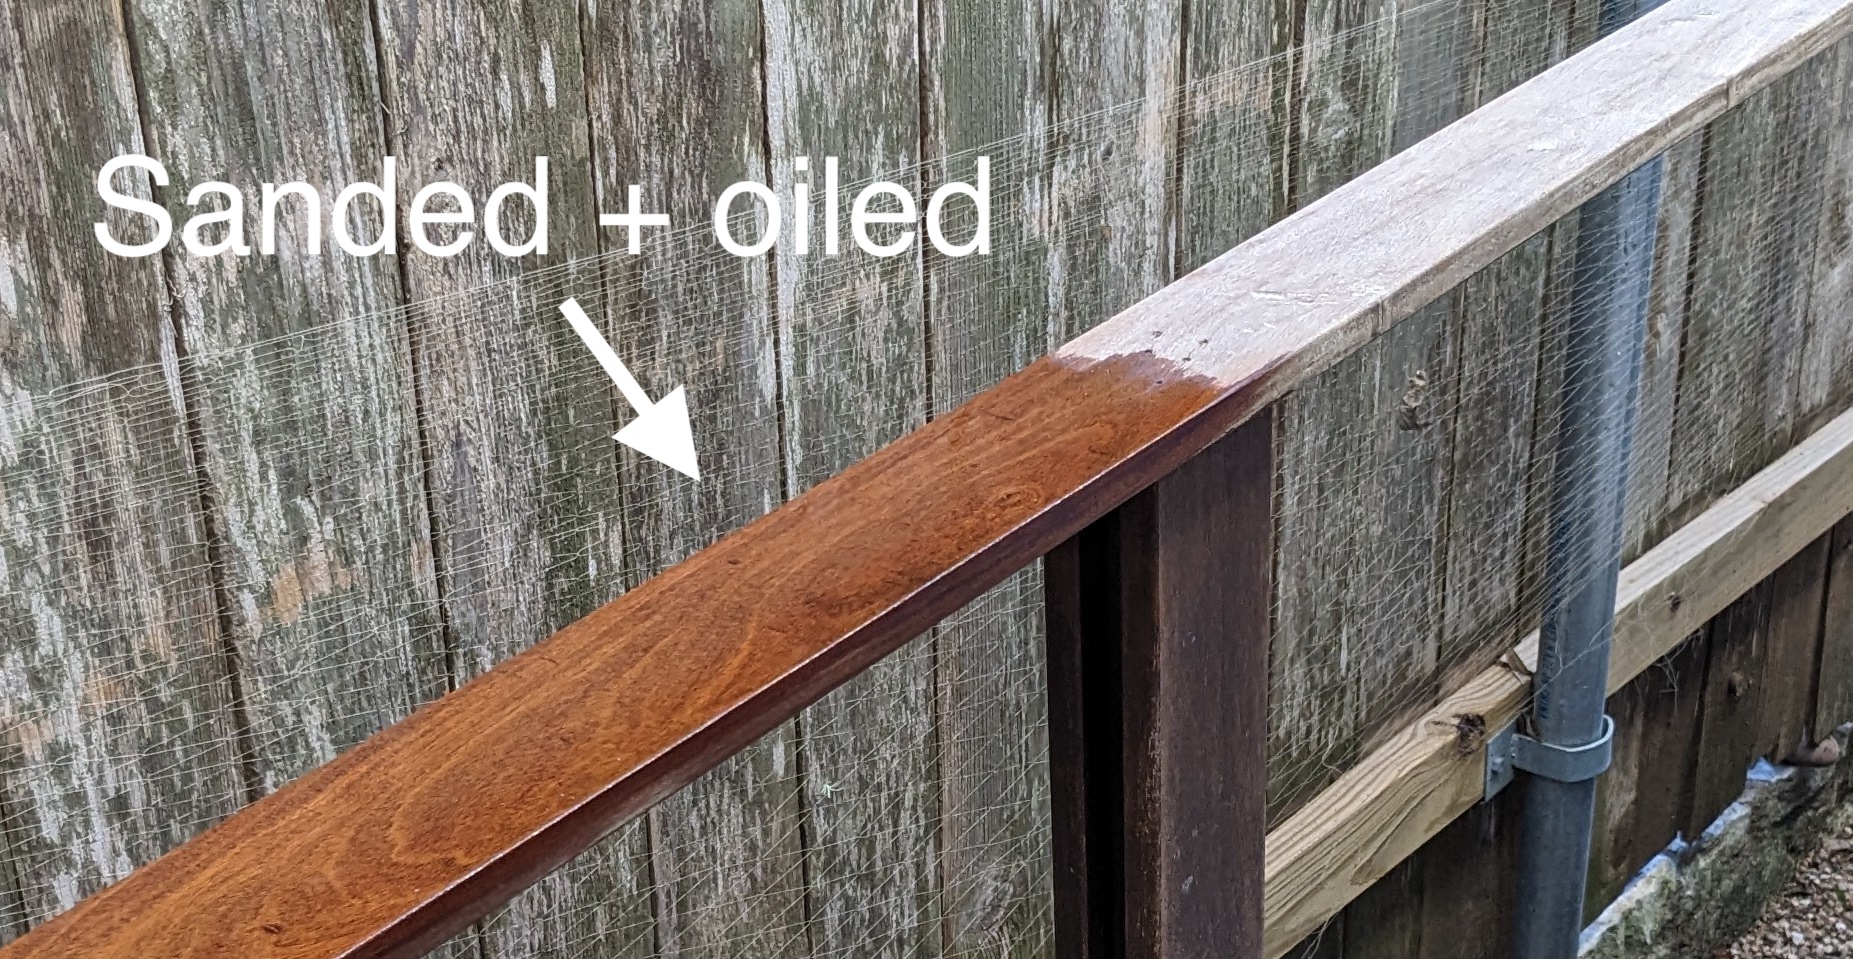
And then adding a layer of hardwood oil (Penofin) really made it pop:

sanded_and_oiled

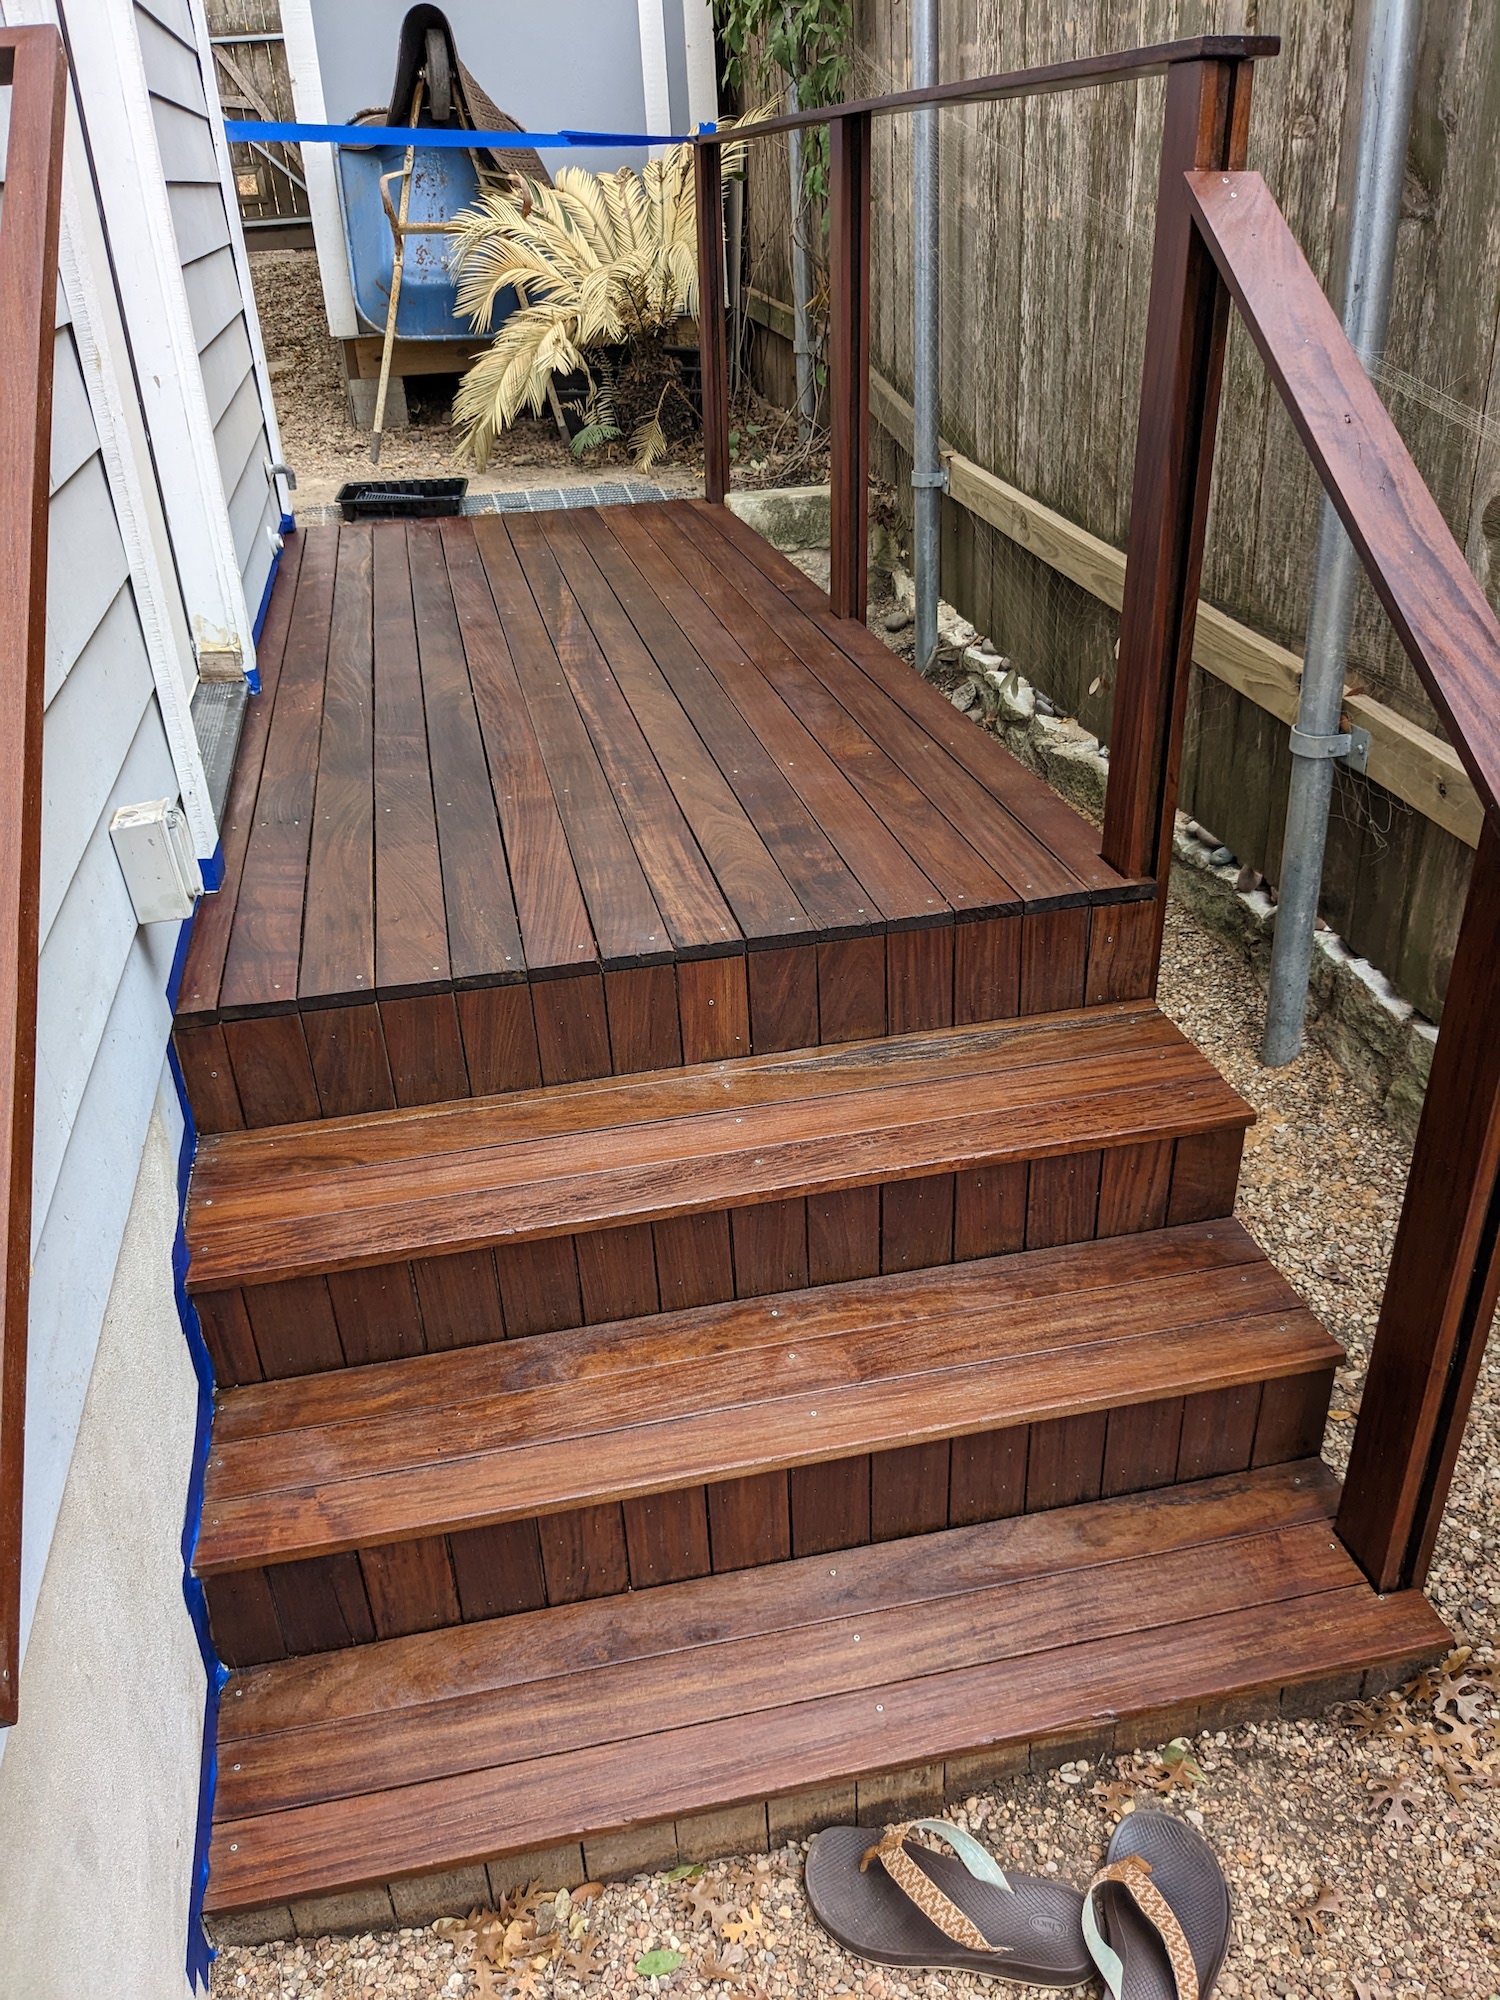
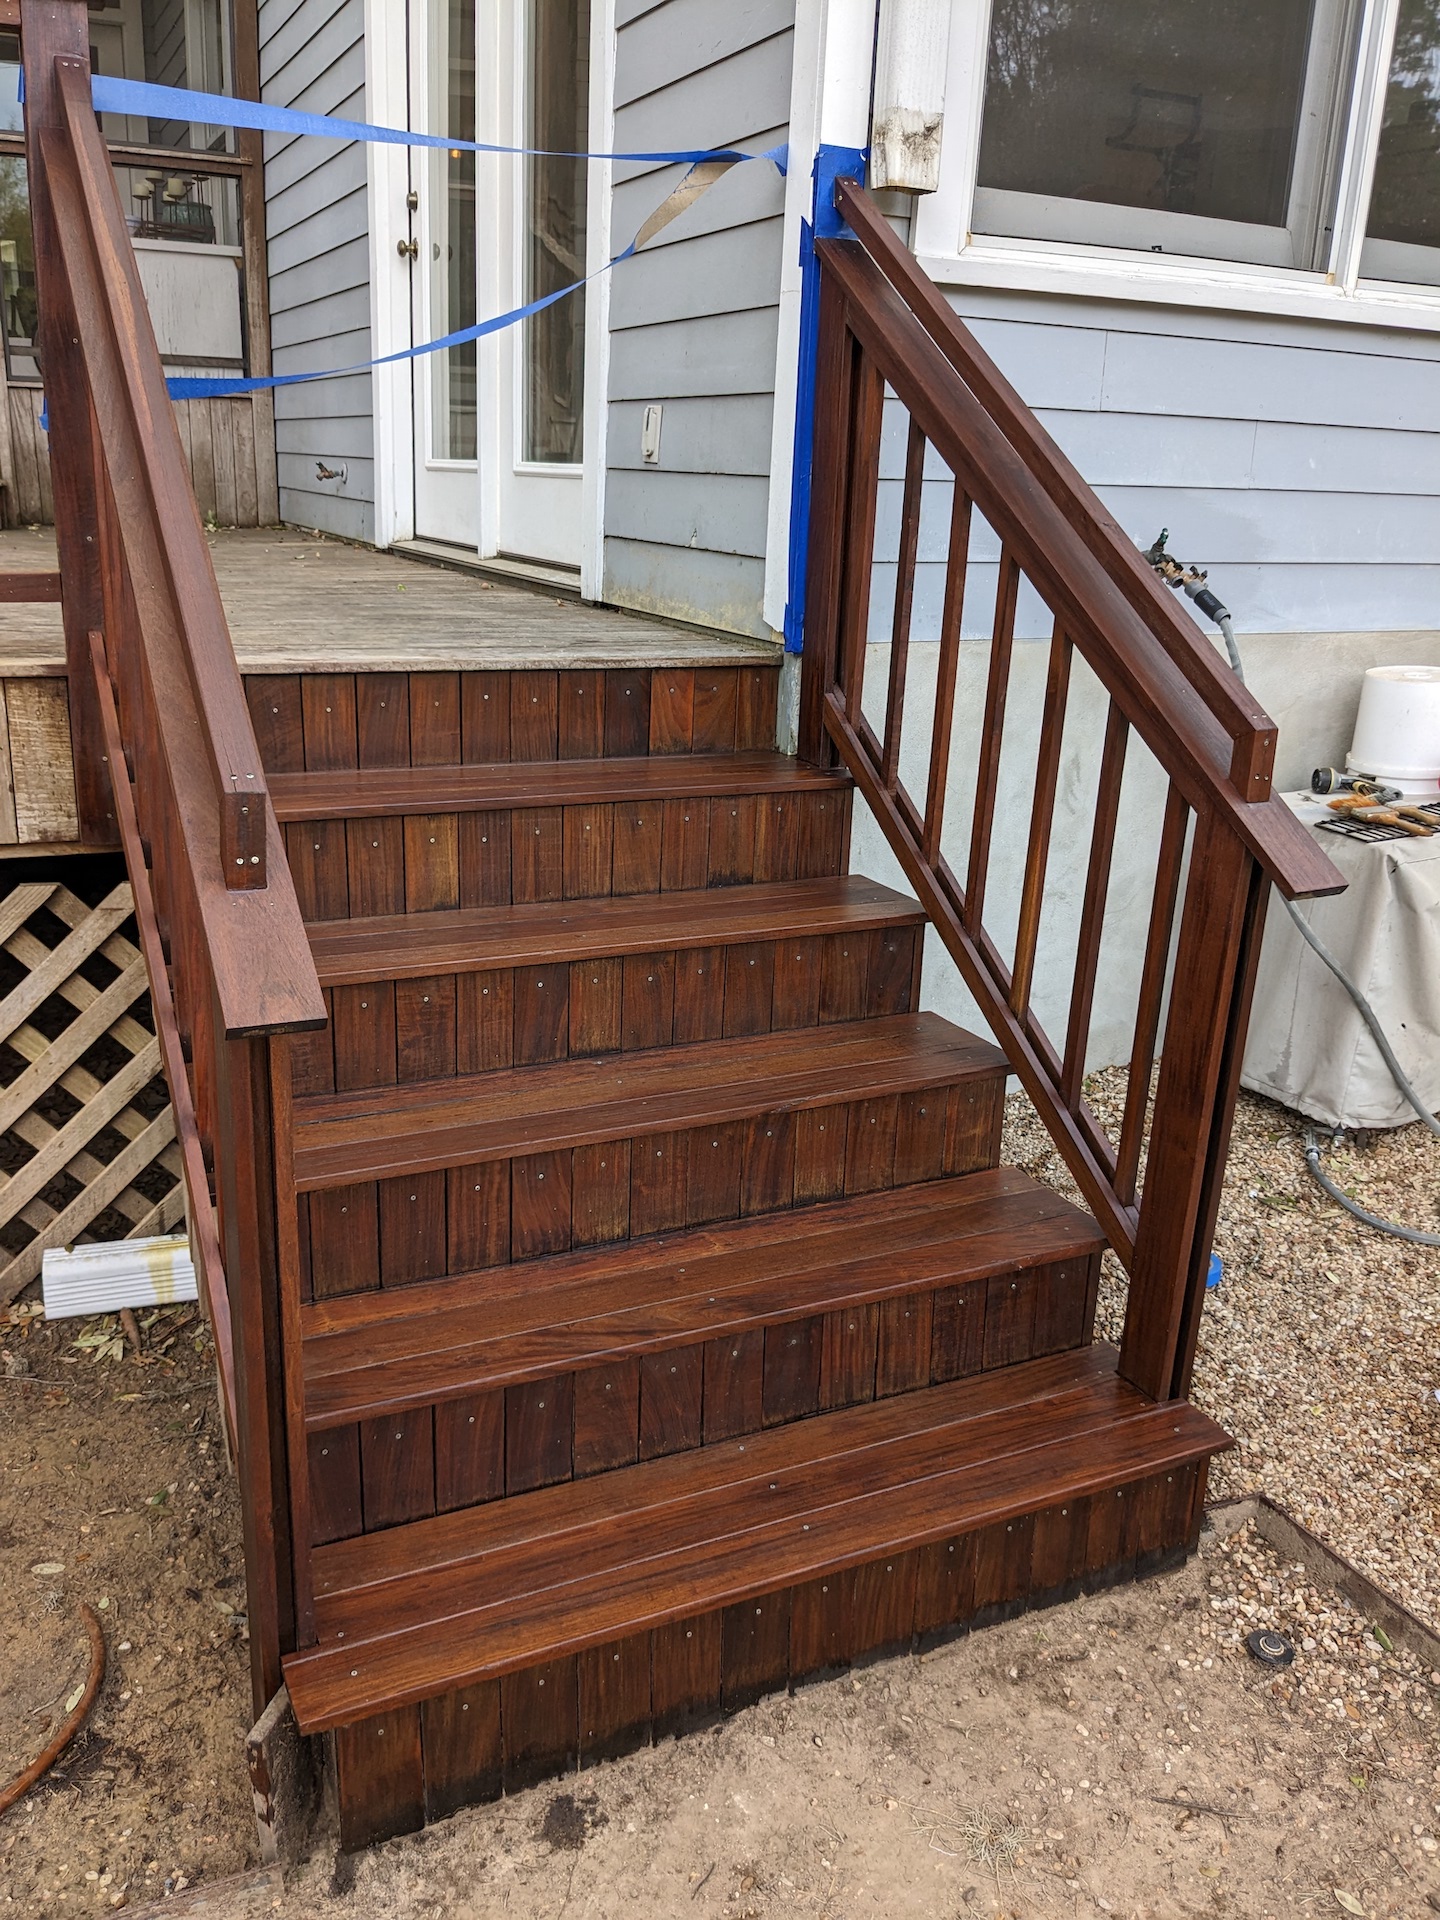
Wow! I got pretty excited by this result and went ahead and sanded the rest of this small side deck, steps and railing. I was pretty happy with the result.

side_deck_finished

So I decided to undertake refinishing the entire deck. Given that this small side deck took me about 10 hours to sand, a wiser man would at this point hire a professional to take over the job. But there is something about this kind of work I actually find incredible soothing and satisfying, so I decided, what the heck, I’ll do it myself!

The tools

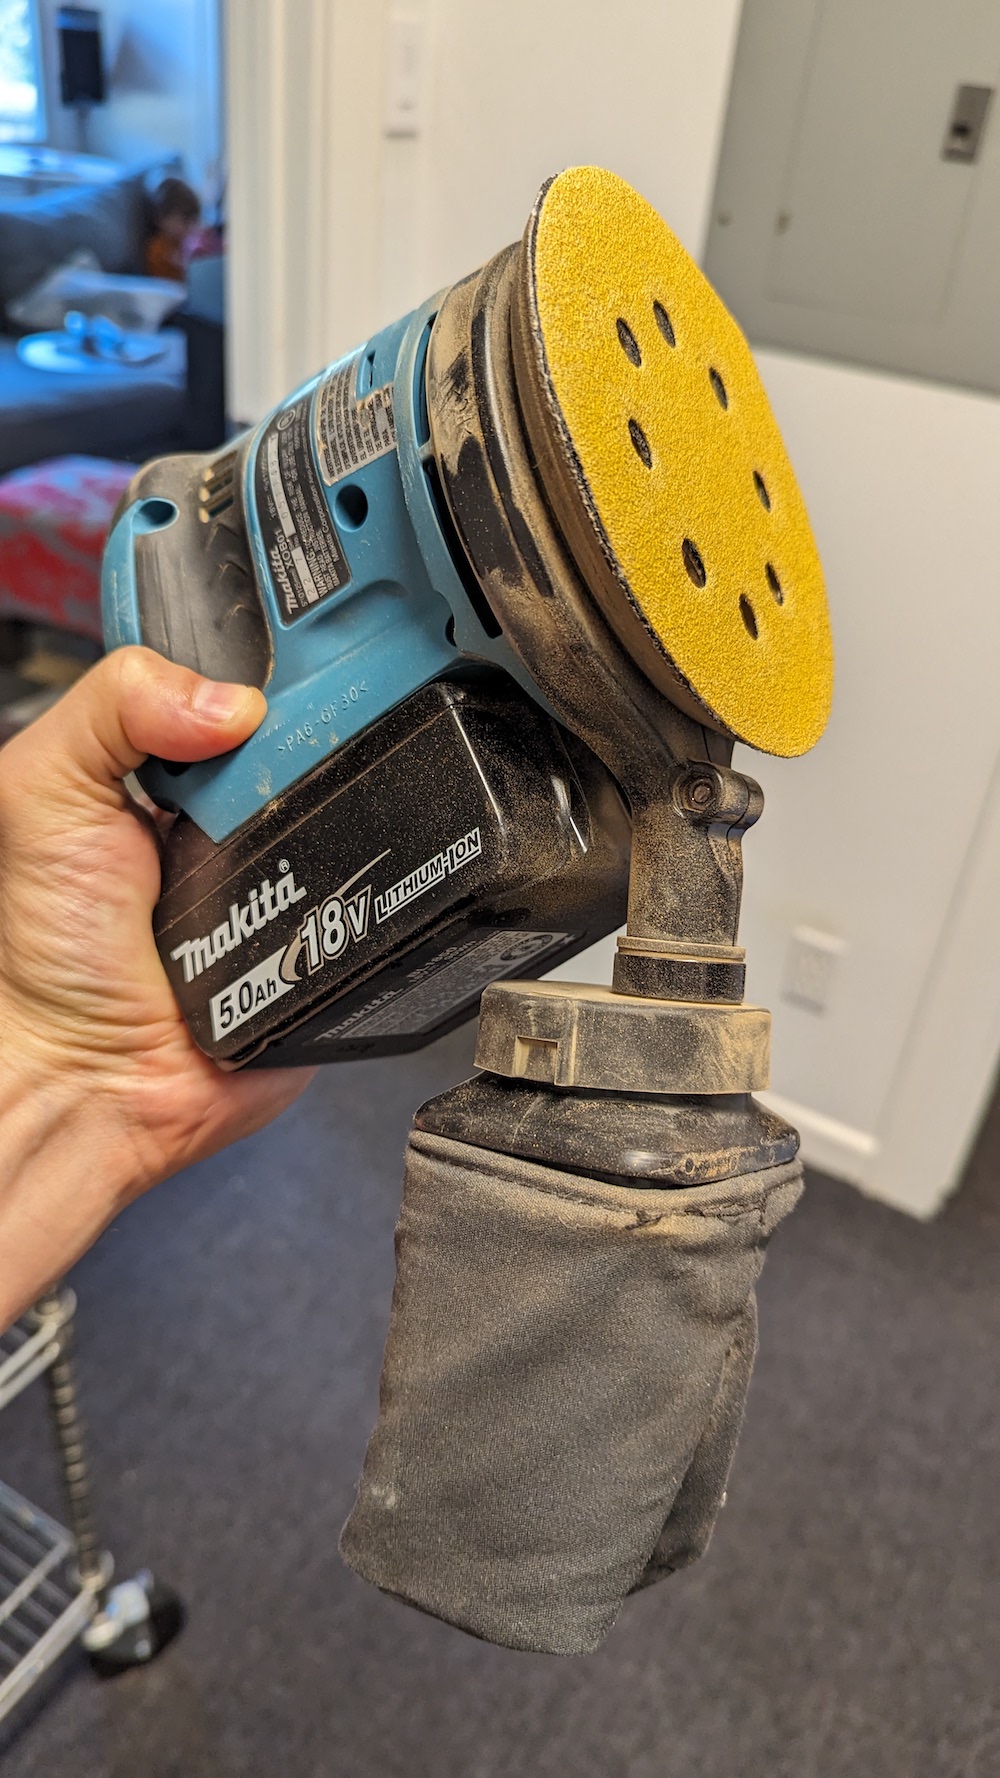
I decided to start my work on the main deck with the railings, which needed to be sanded with a hand-held sander. I alternated using a 5 inch random-orbital sander:

orbital

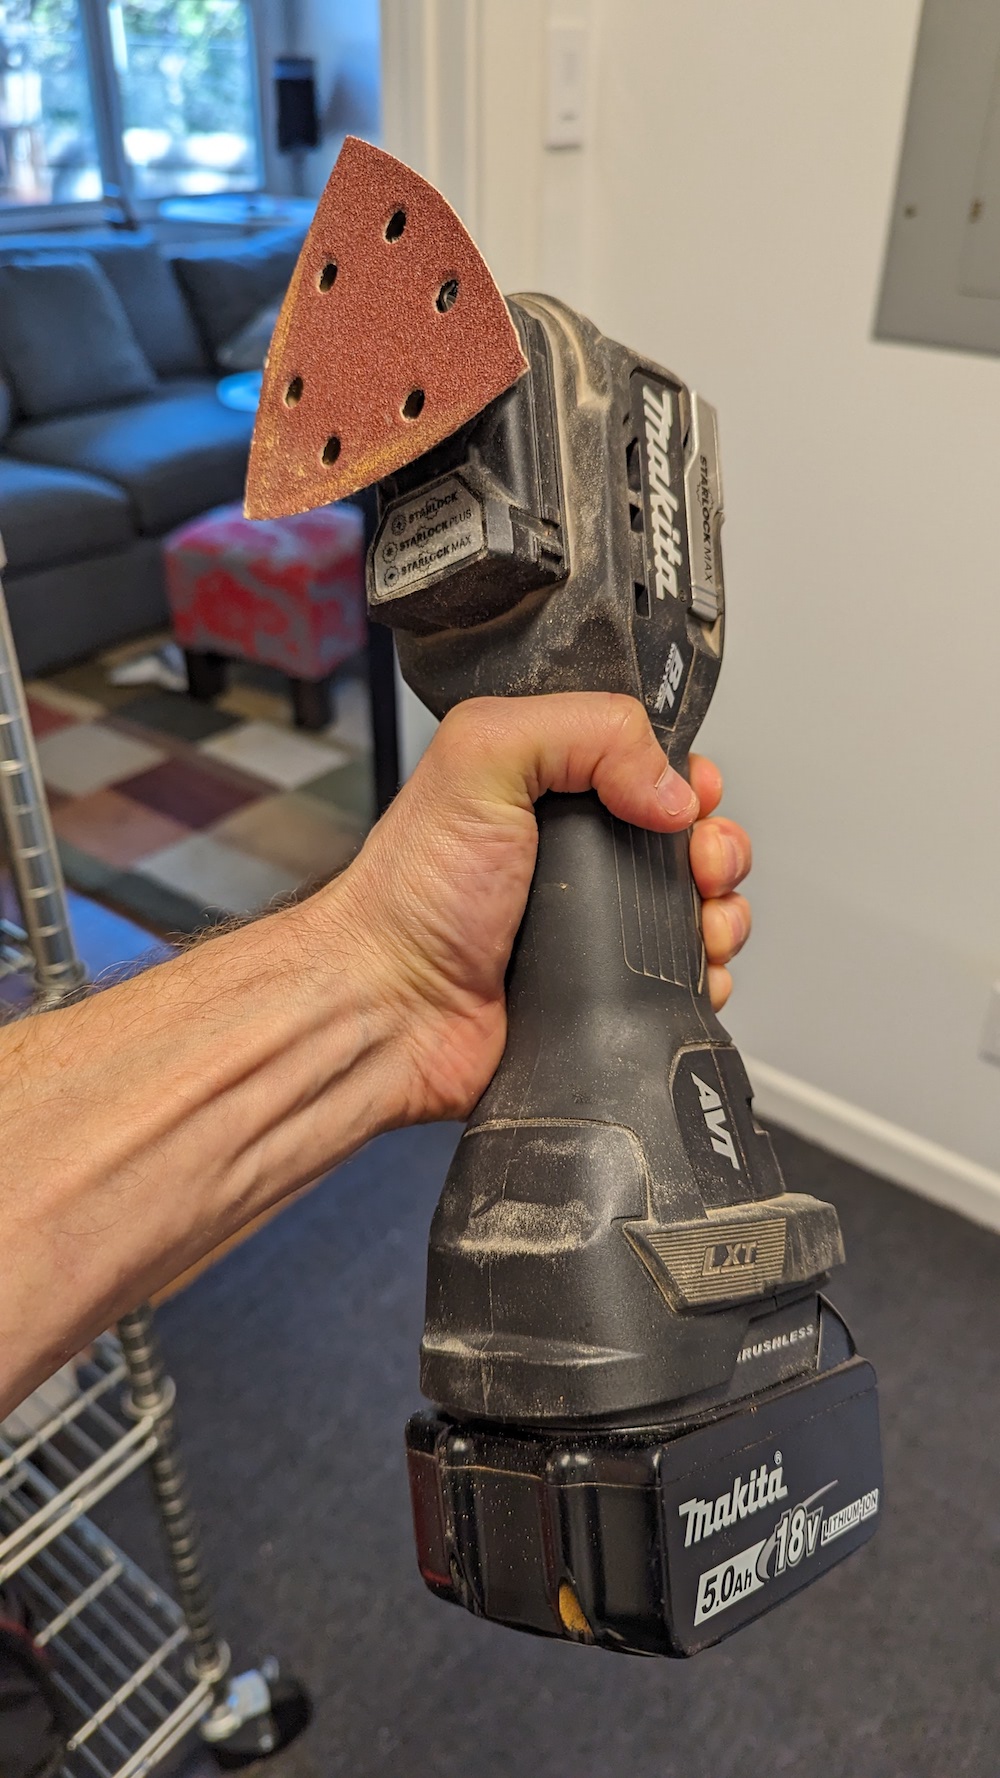
But this was too big to fit between the slats of the railing, and it couldn’t reach into corners. For that, I had to use a sanding attachment for my multitool:

multitool

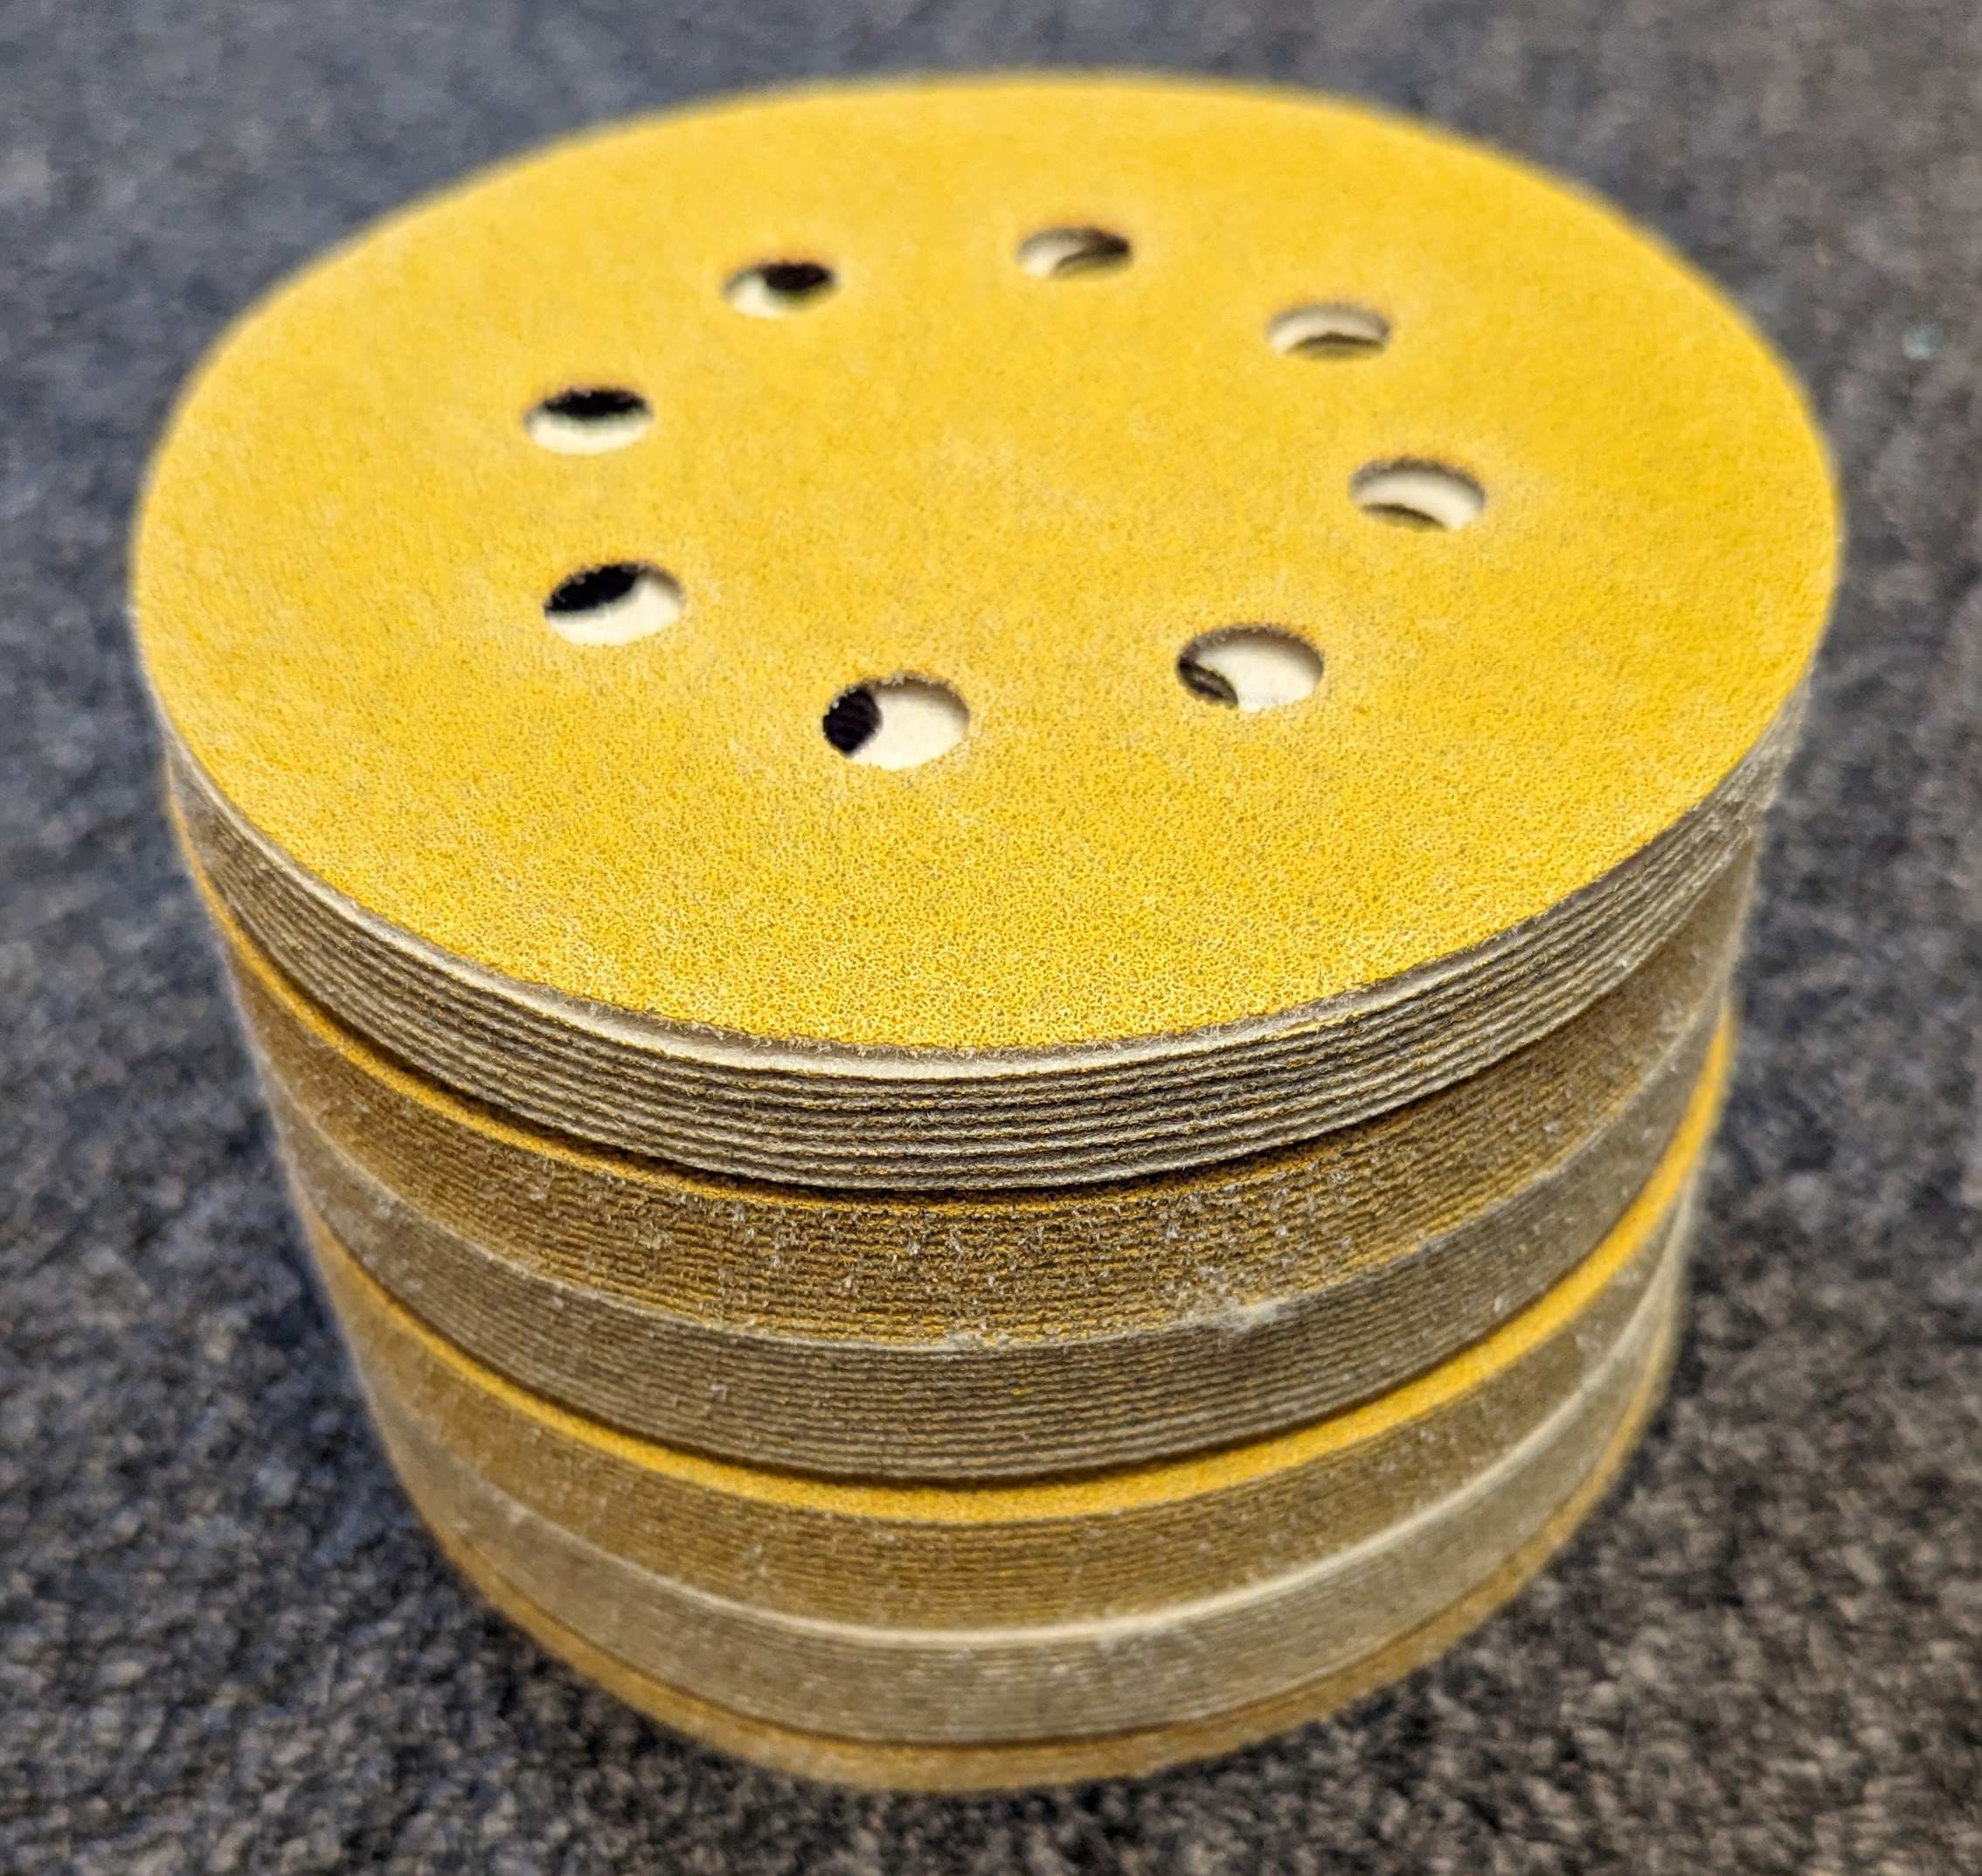
And there were many places where neither of these fit and I just had to sand holding the paper in my hands. I went through approximately 200 of these 5″ sanding pads, before even touching the main decking surface.

sanding_pads

The main deck

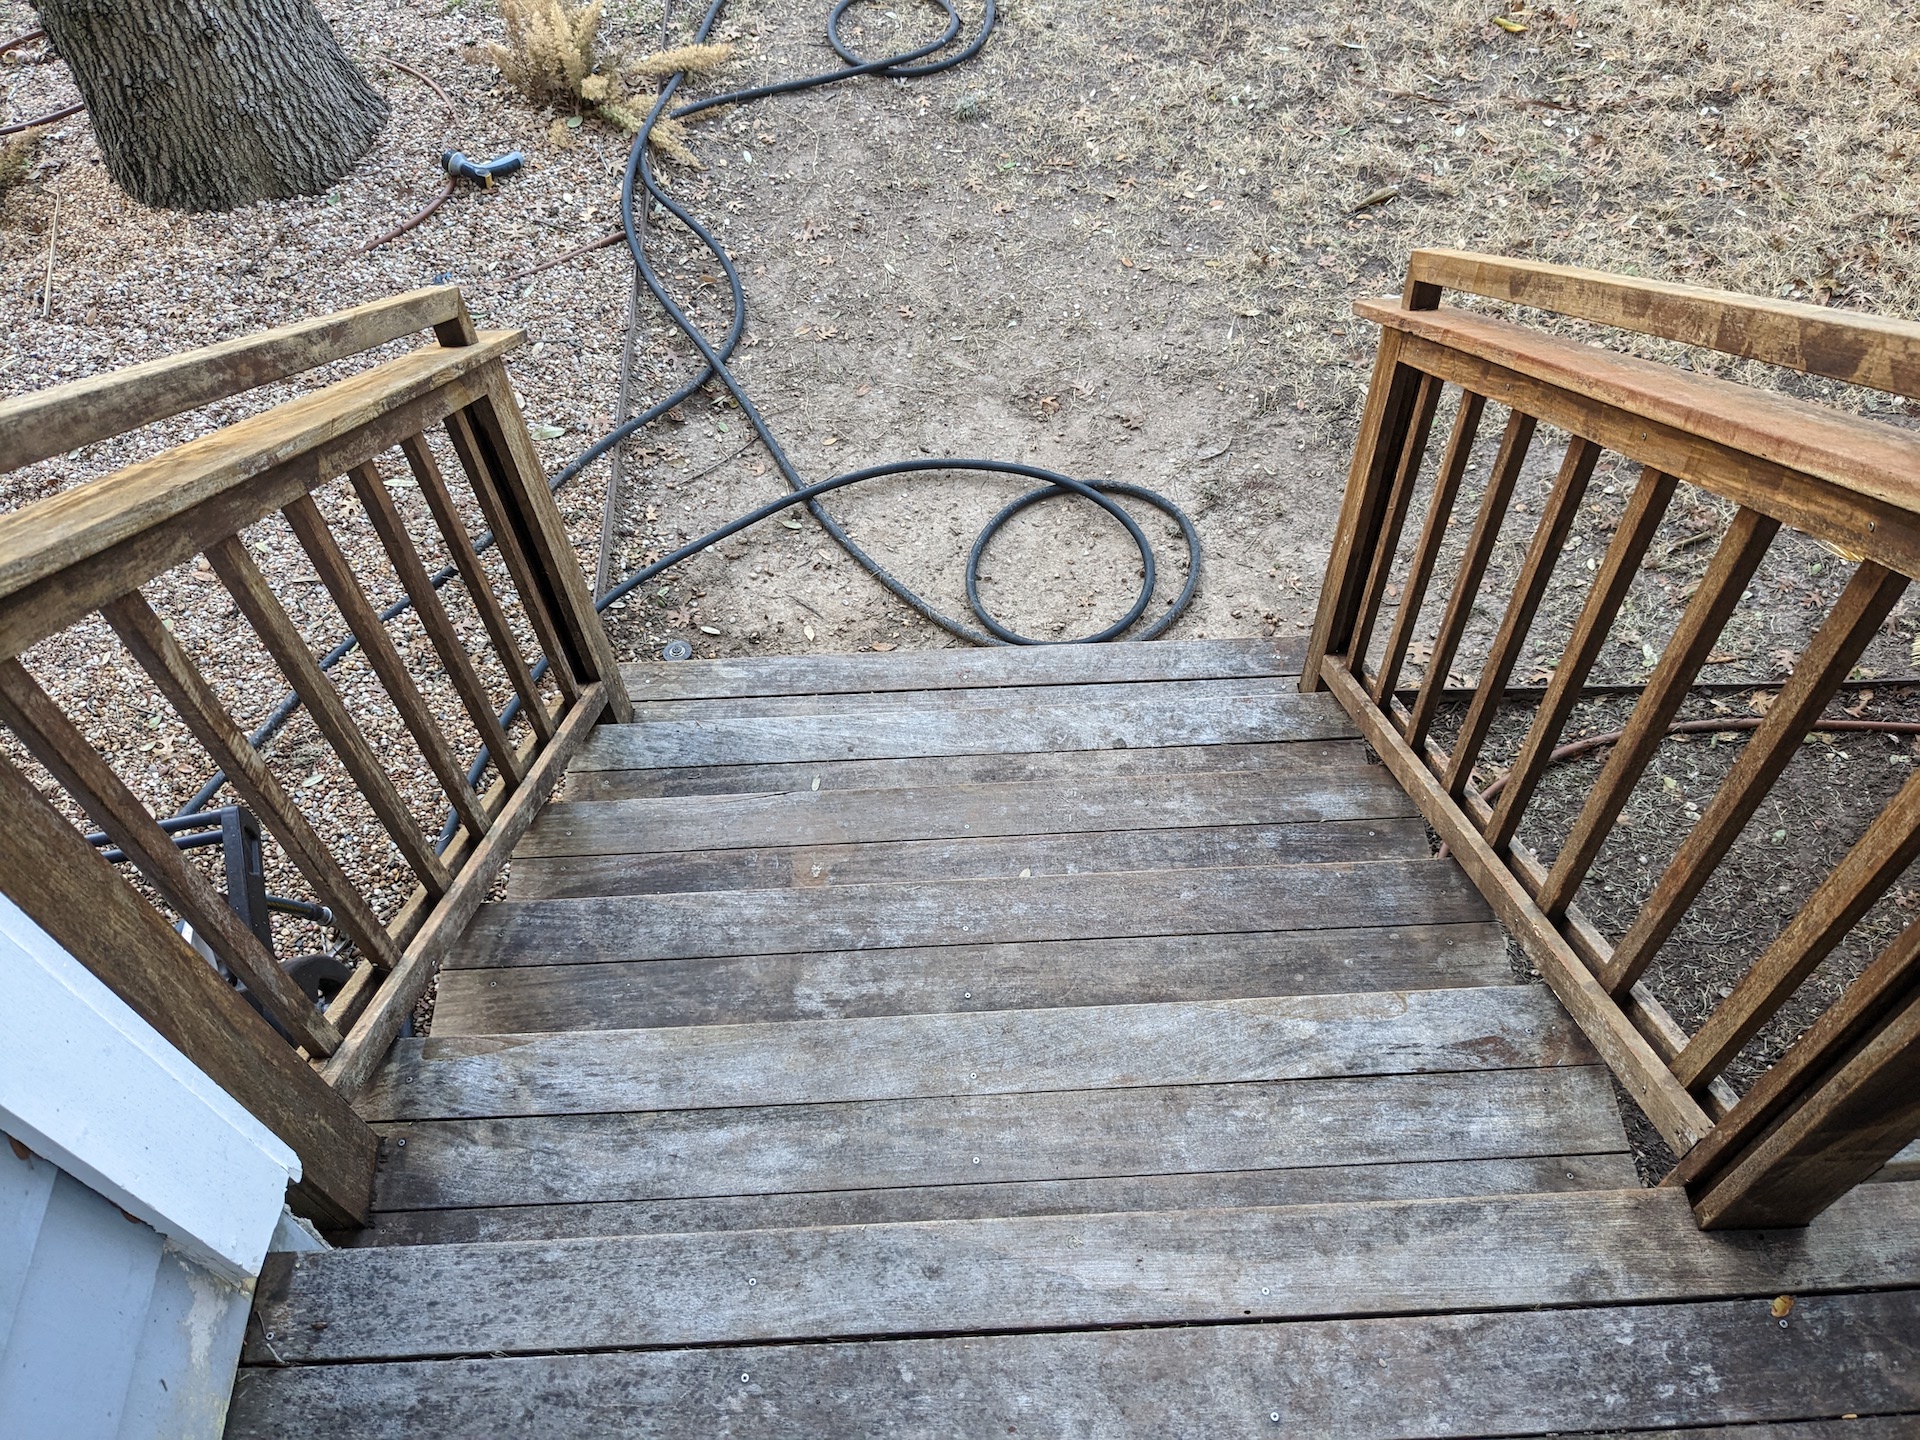
I started out giving the same wash, sand, and oil treatment to the stairs leading down into the yard.

stairs_wash

I even had some help with the many, many hours of sanding. You see me using an industrial-grade sander that I hoped might be faster on the ipe, but it was no better than the battery-powered Makita.

sanding_helper

Here’s the fully sanded stairs

stairs_sanded

And oiled

stairs_oiled

So. Many. Railings.

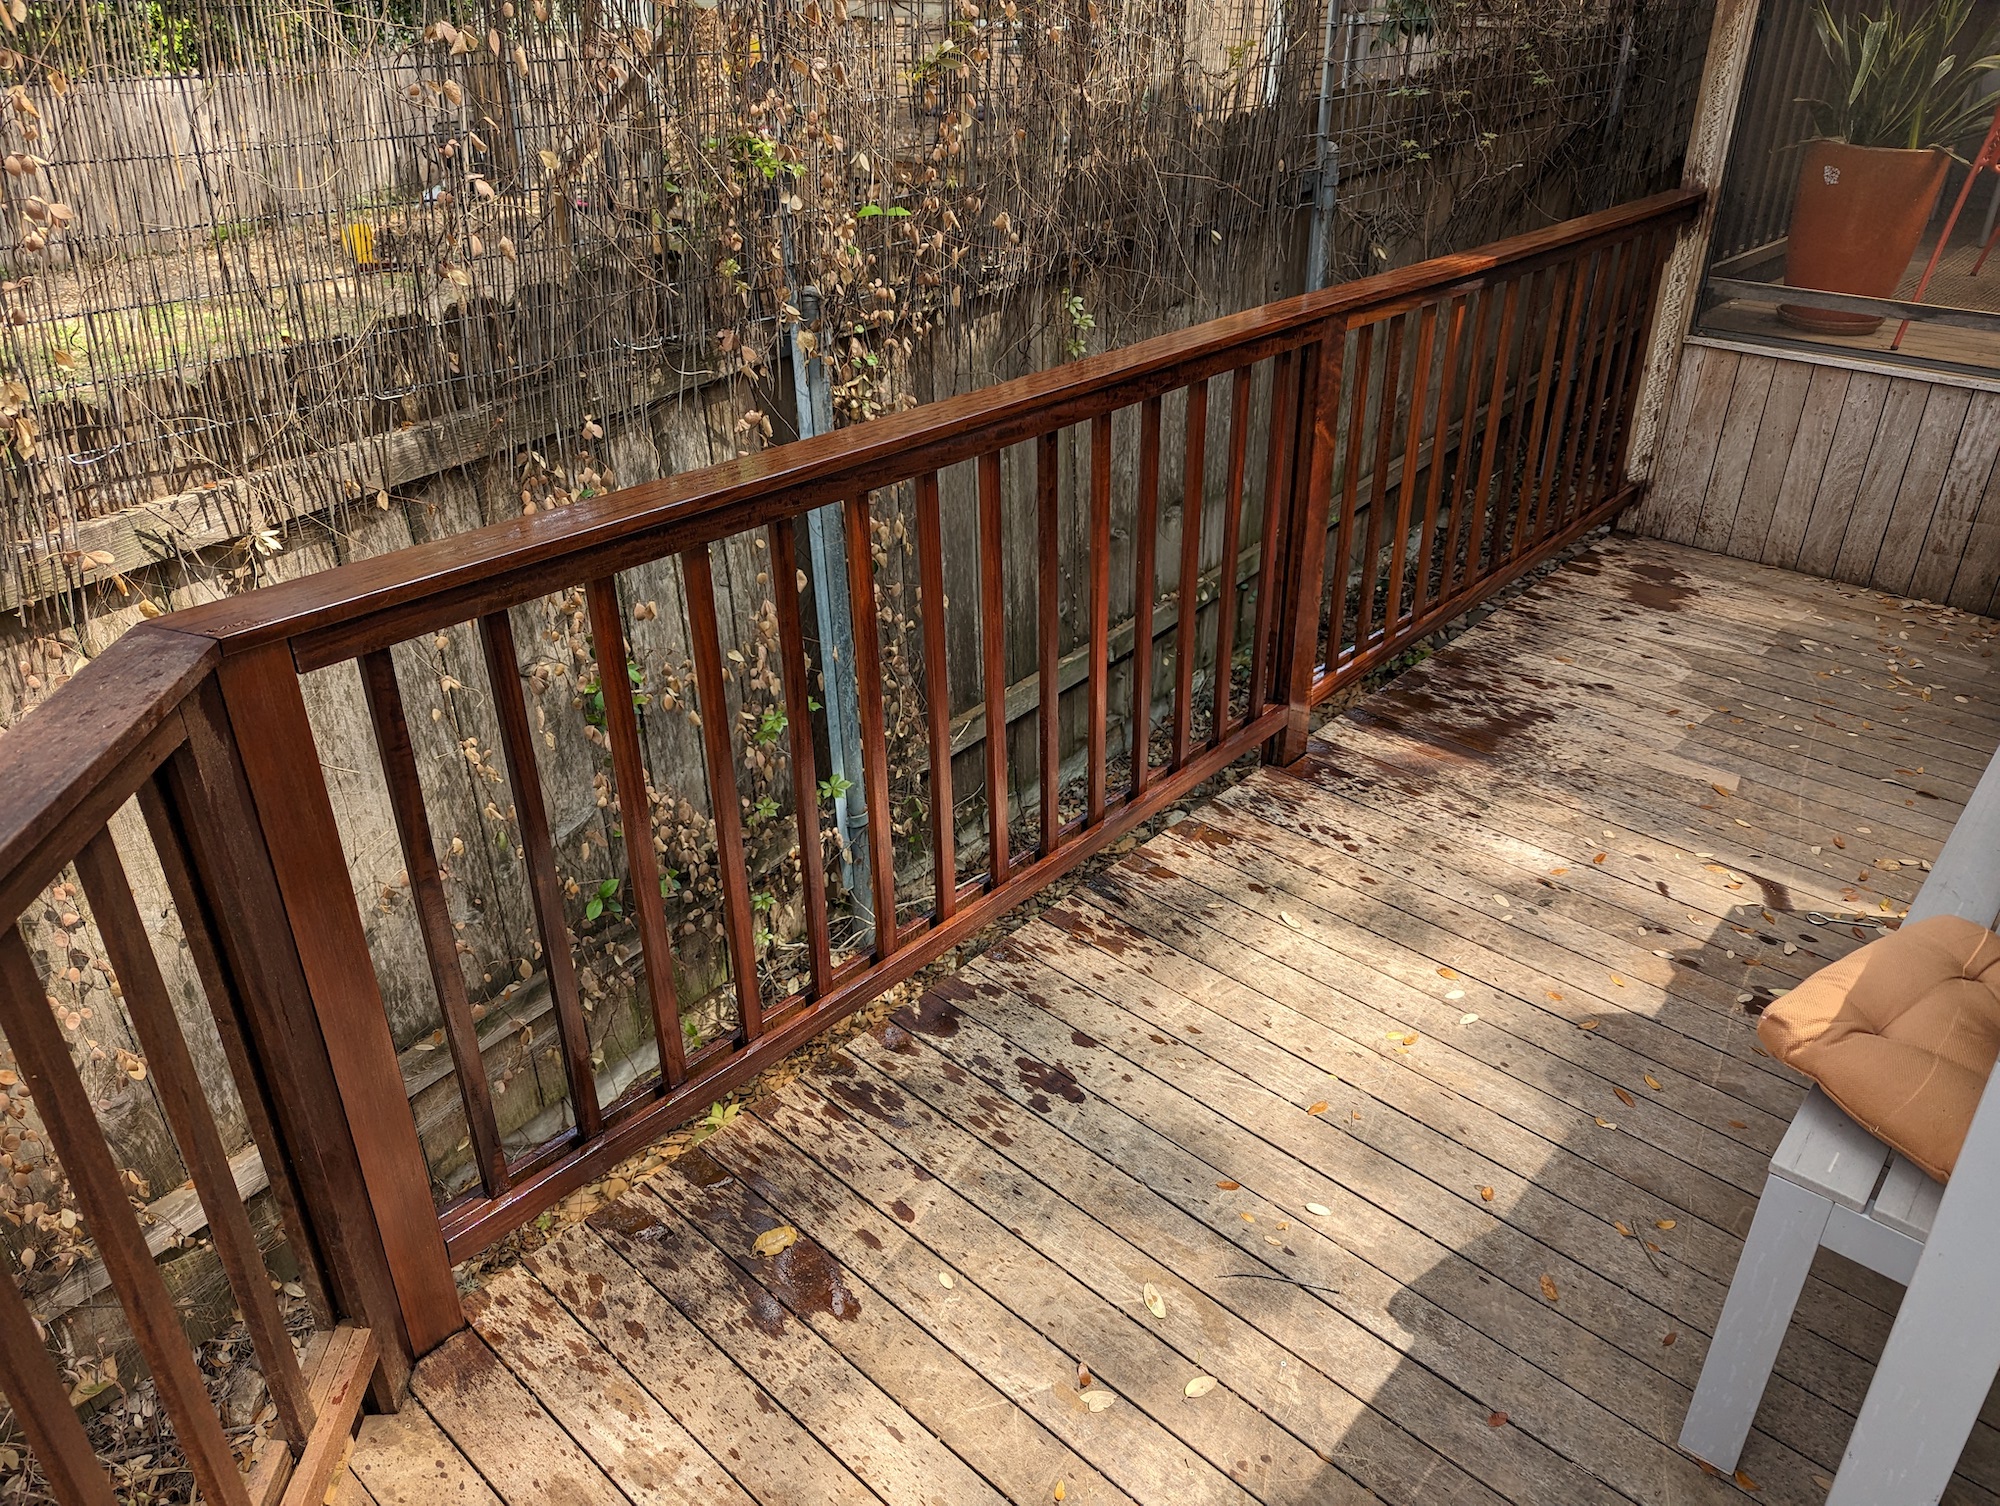
The railings took the bulk of the time with their vexing tight spacing and so many surfaces. But I loved the results.

railing_oiled

The main event

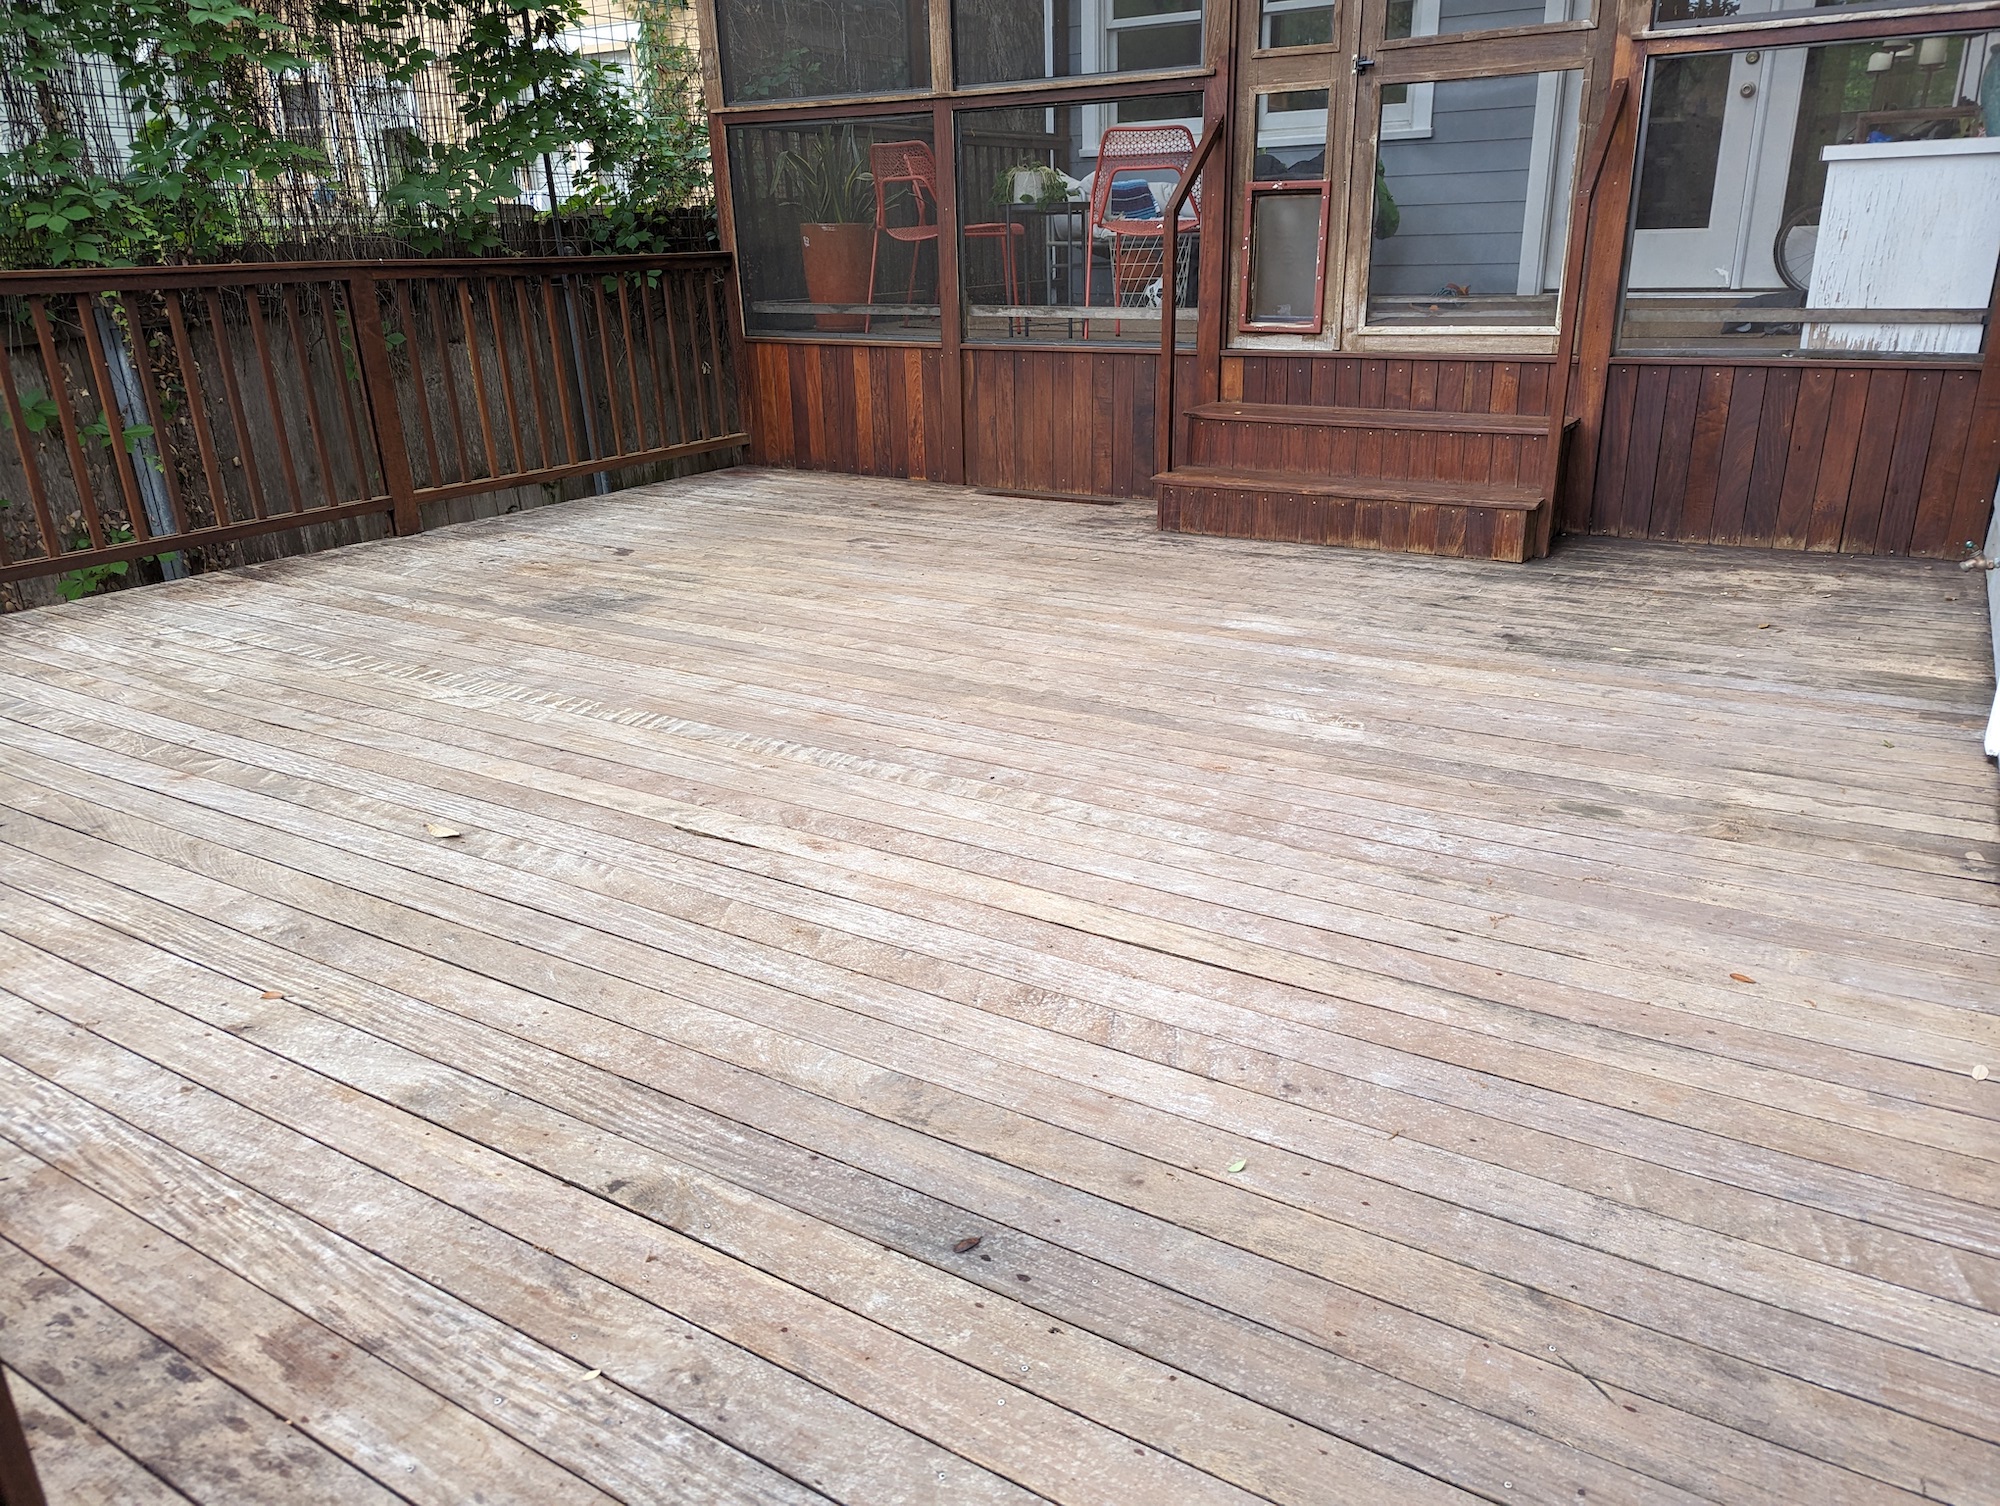
Once all the railings were done, I gave the main deck surface a final power wash, and it was ready to sand.

main_deck_washed

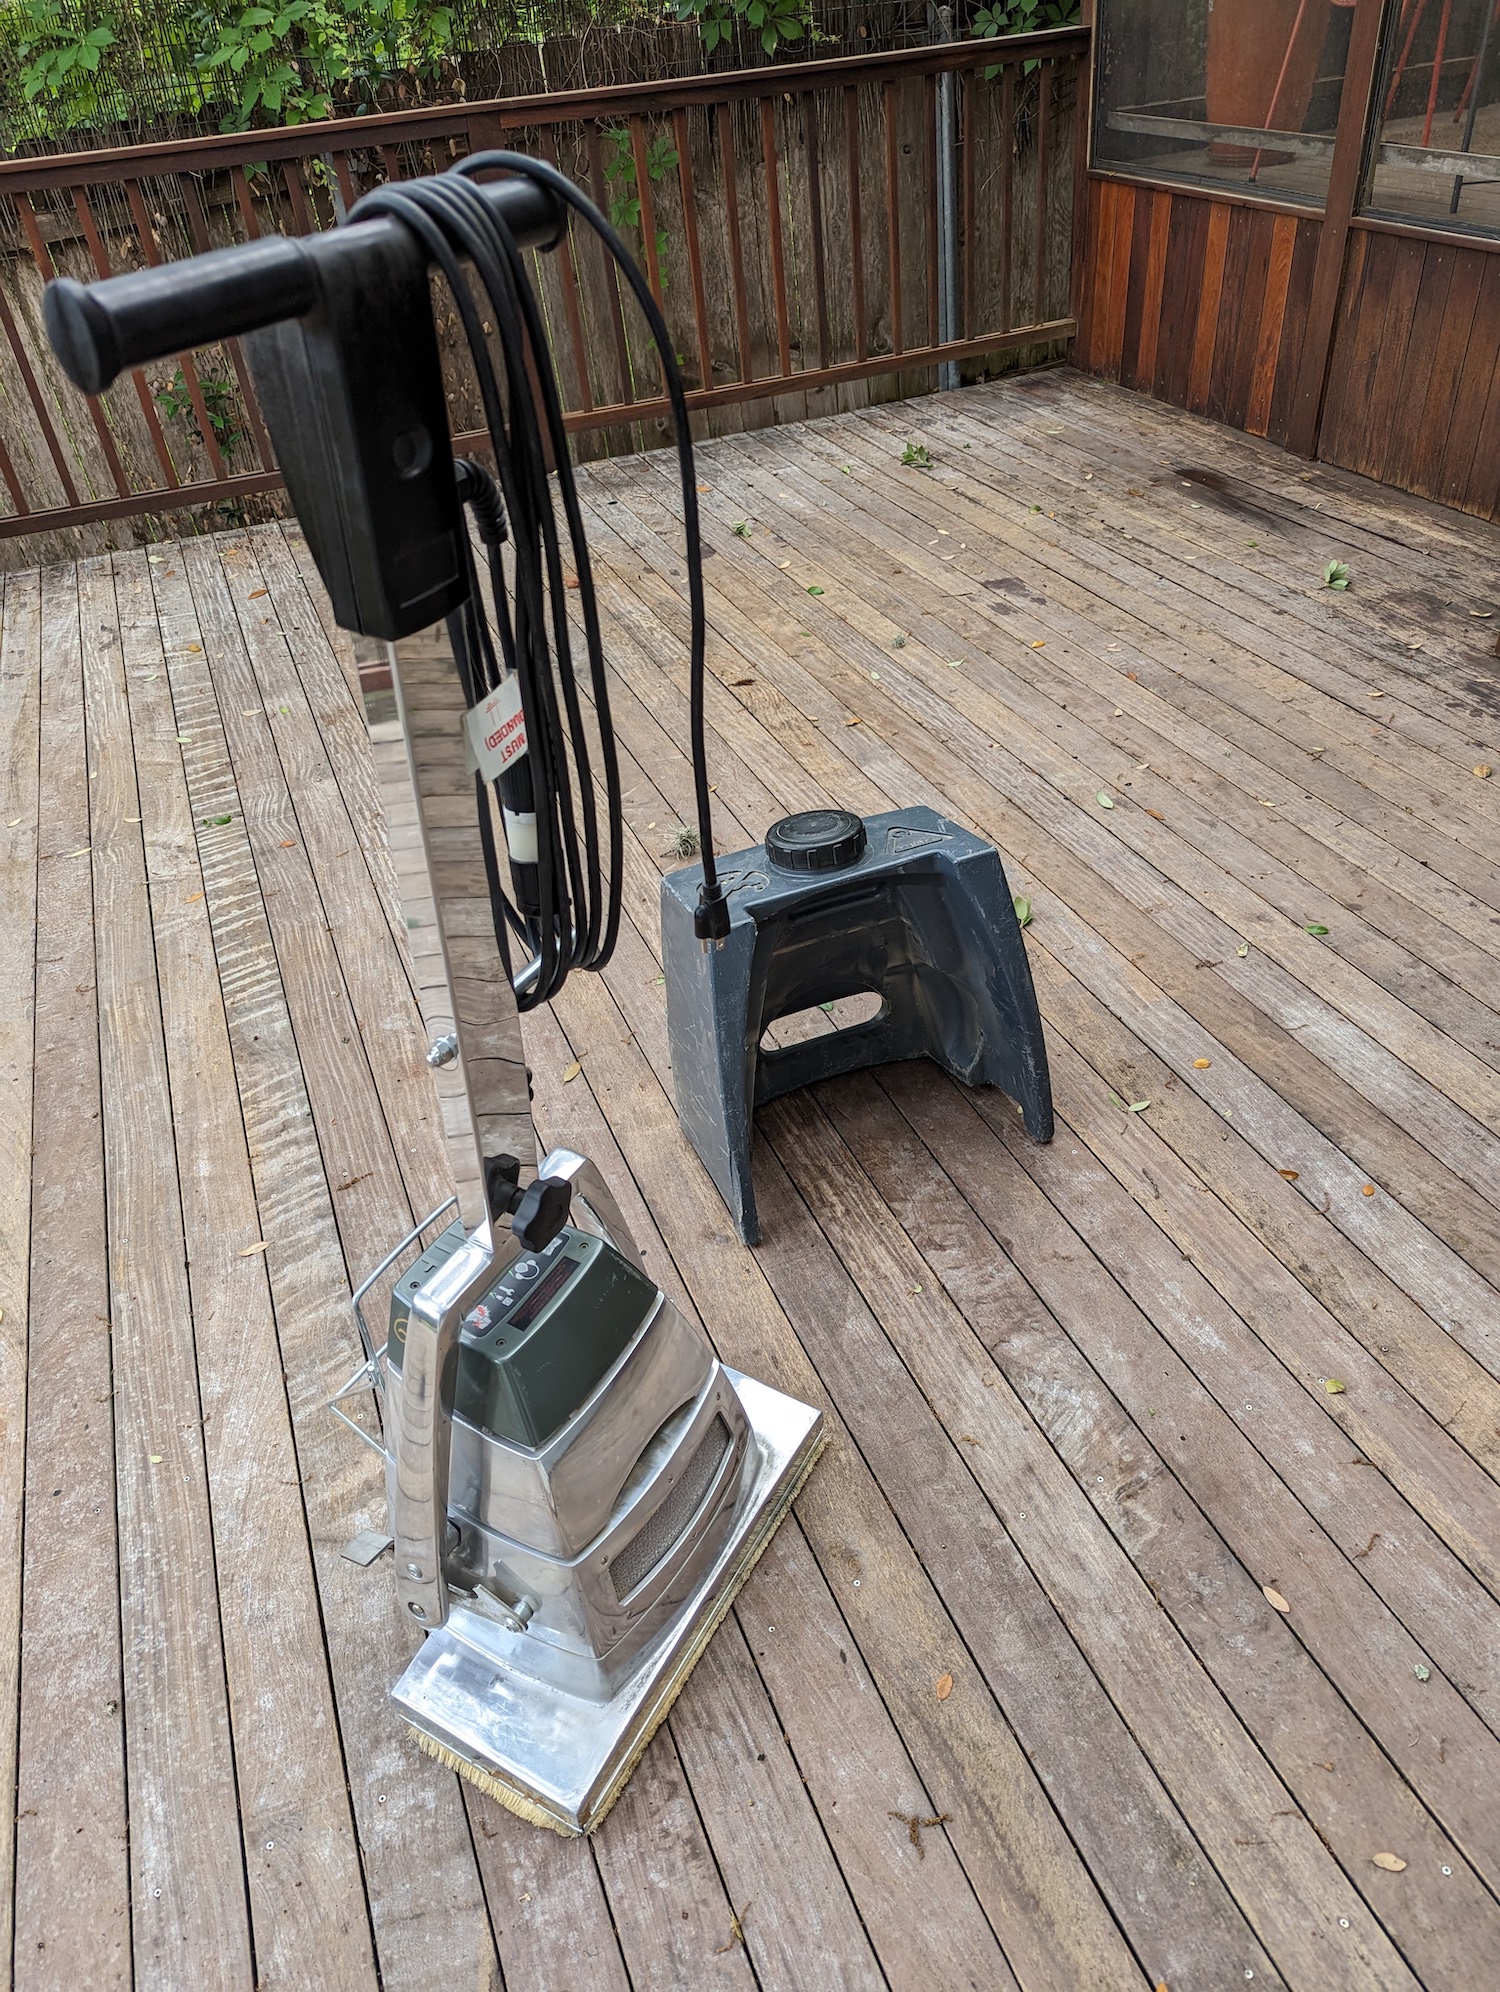
I finally, I had an area that I could use a big commercial sander on, so I rented one from Home Depot for 24 hours, and I was off to the races

rented_sander

I sanded until dusk, with pretty satisfying results. Not as good a finish as if I had used the hand-sander, but in 1/100th of the time, it seemed.

main_deck_sanded

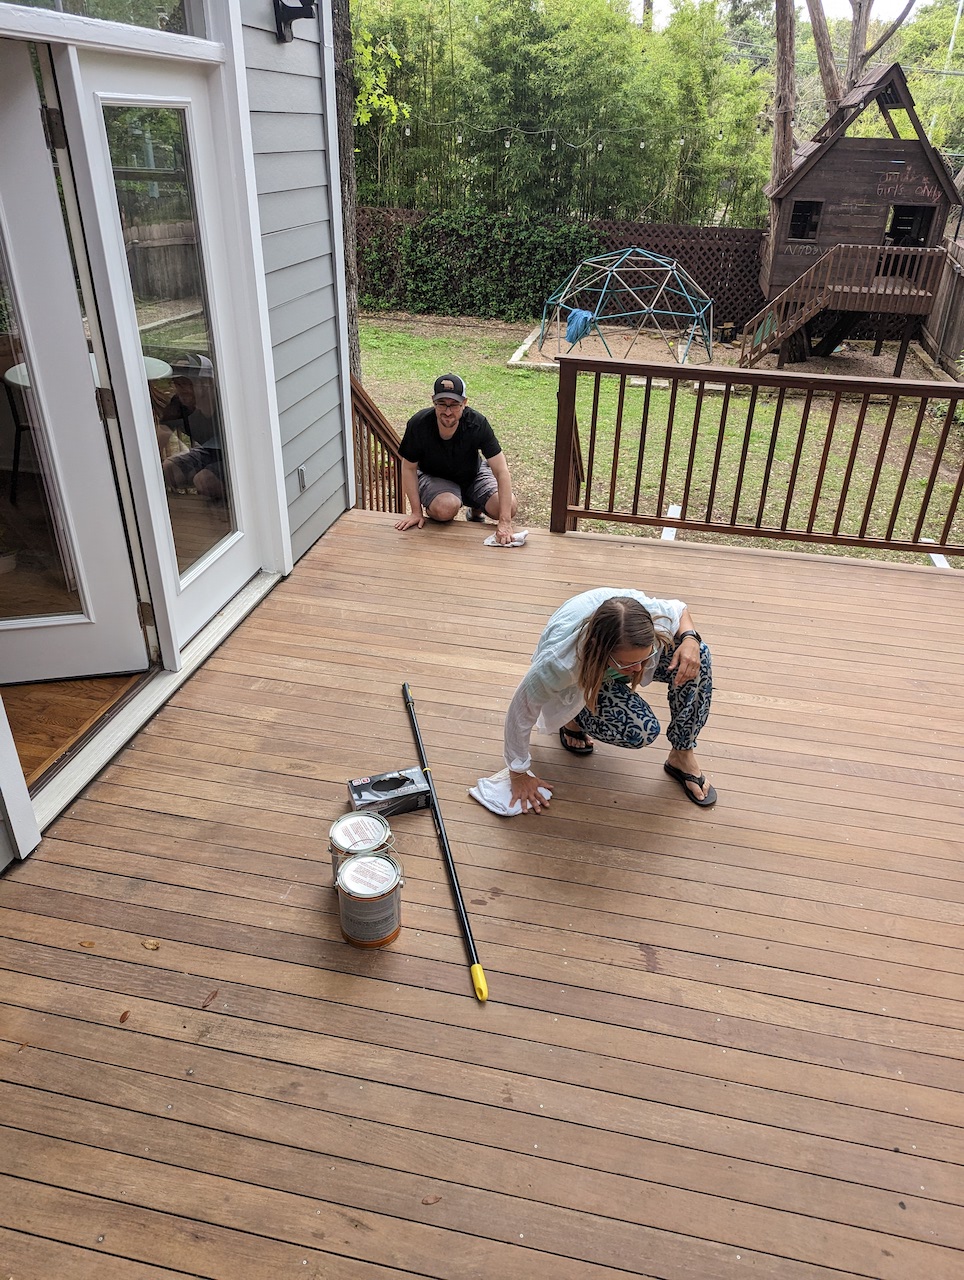
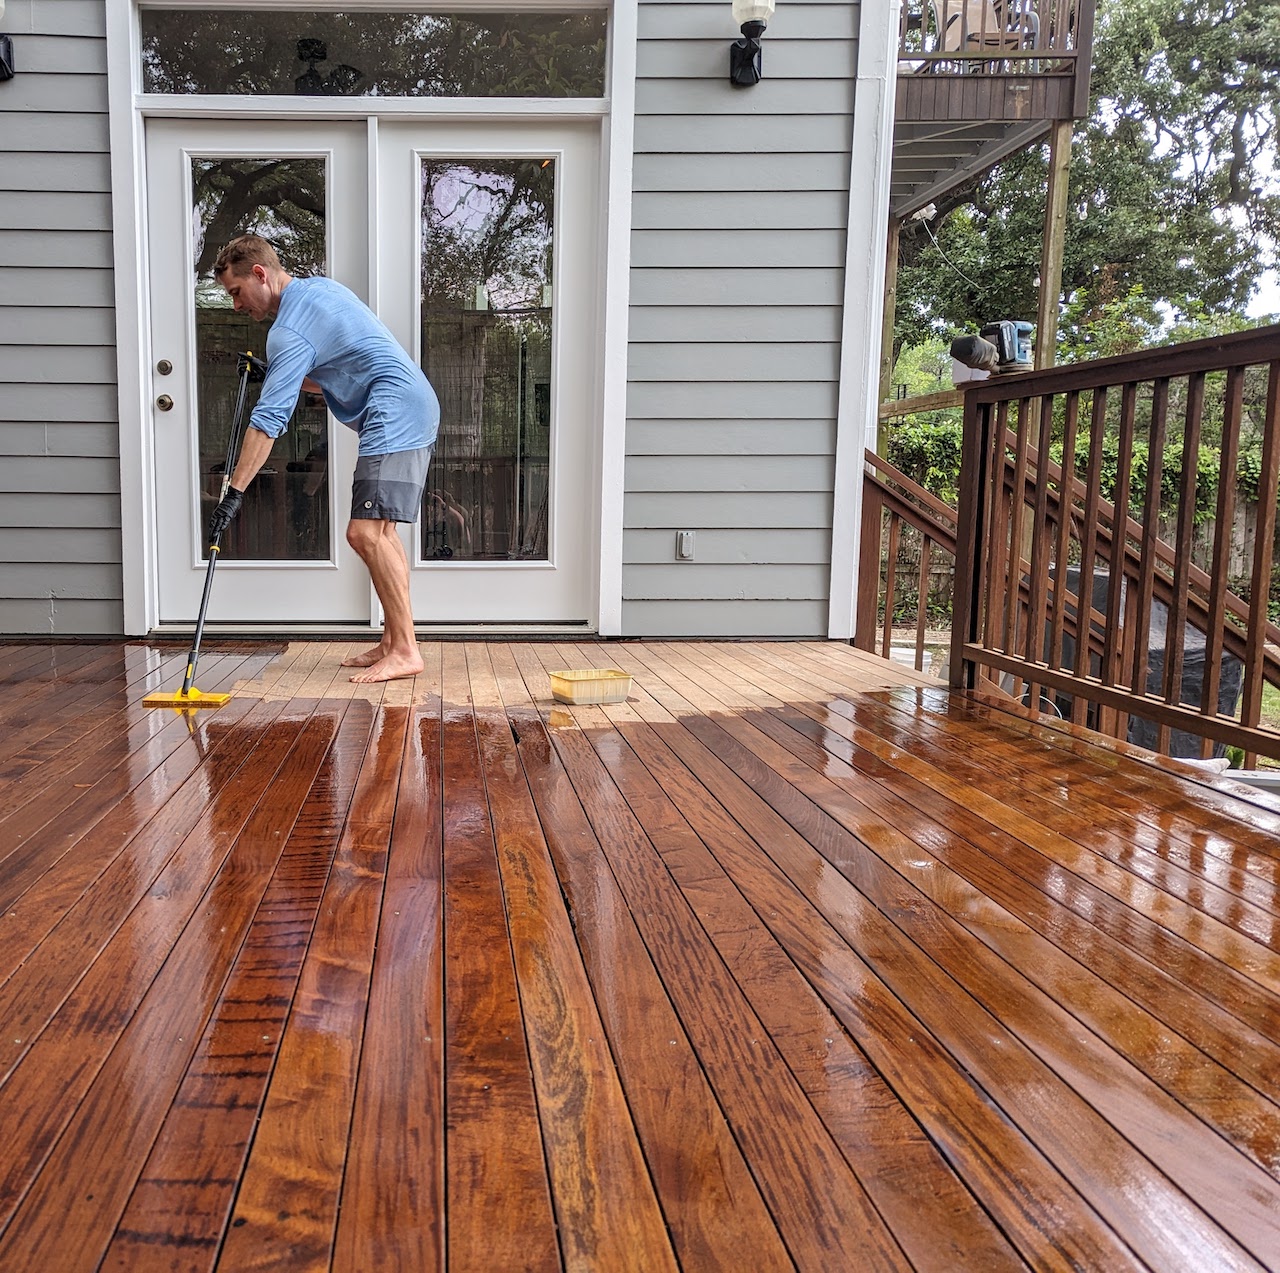
Finally, we oiled the main deck. You have to put the oil on after 2 days of no rain, and when there won’t be rain for two more. It was hard to find that magic moment with spring weather and school schedules, so the Sunday I wanted to do it we had friends coming over. To my surprise they were totally game to help with the whole process, along with Annie 🙂

oil_helper

amy_and_eric

main_deck_almost_done

The finished product

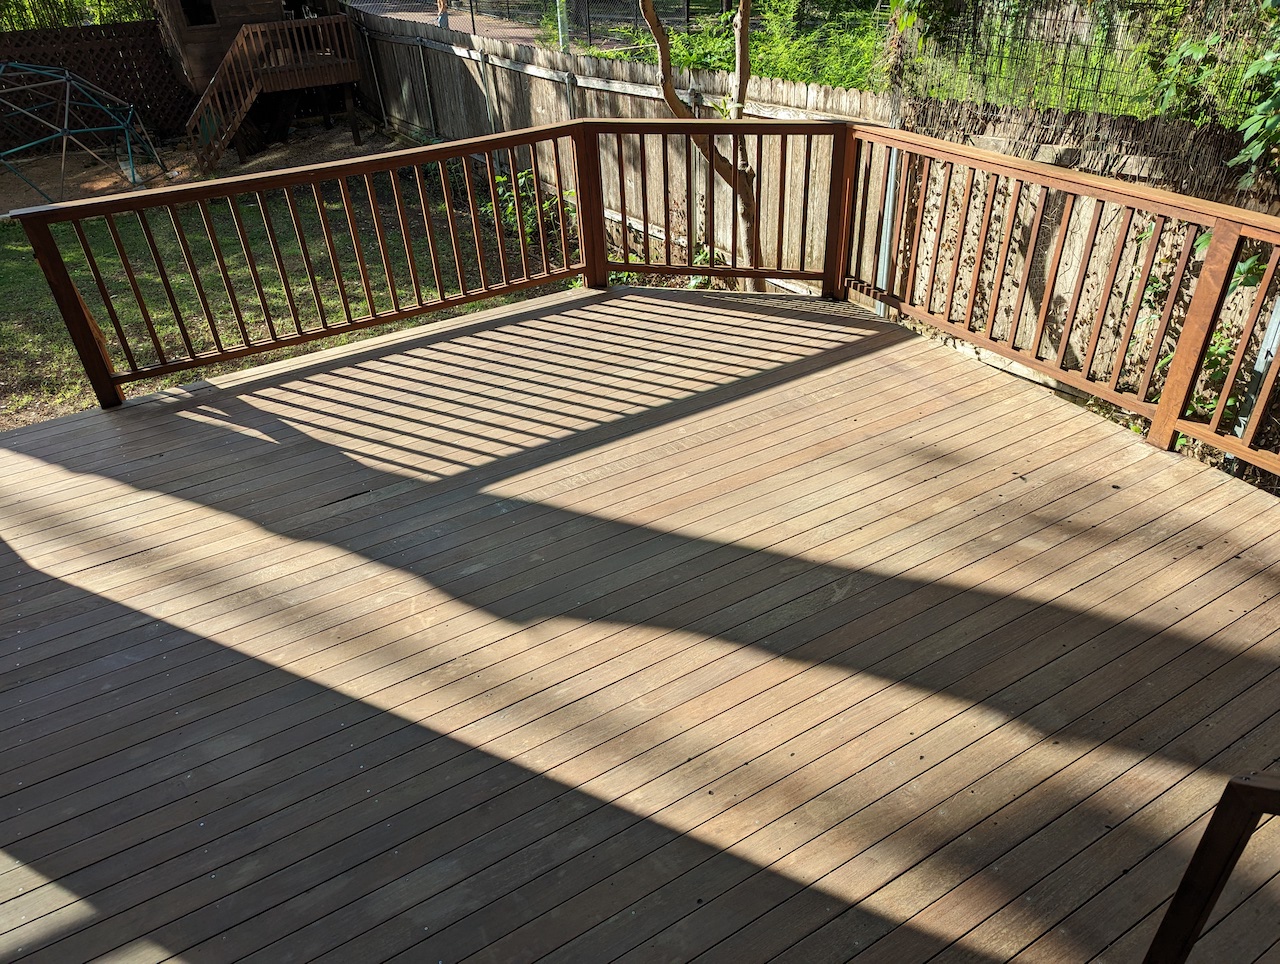
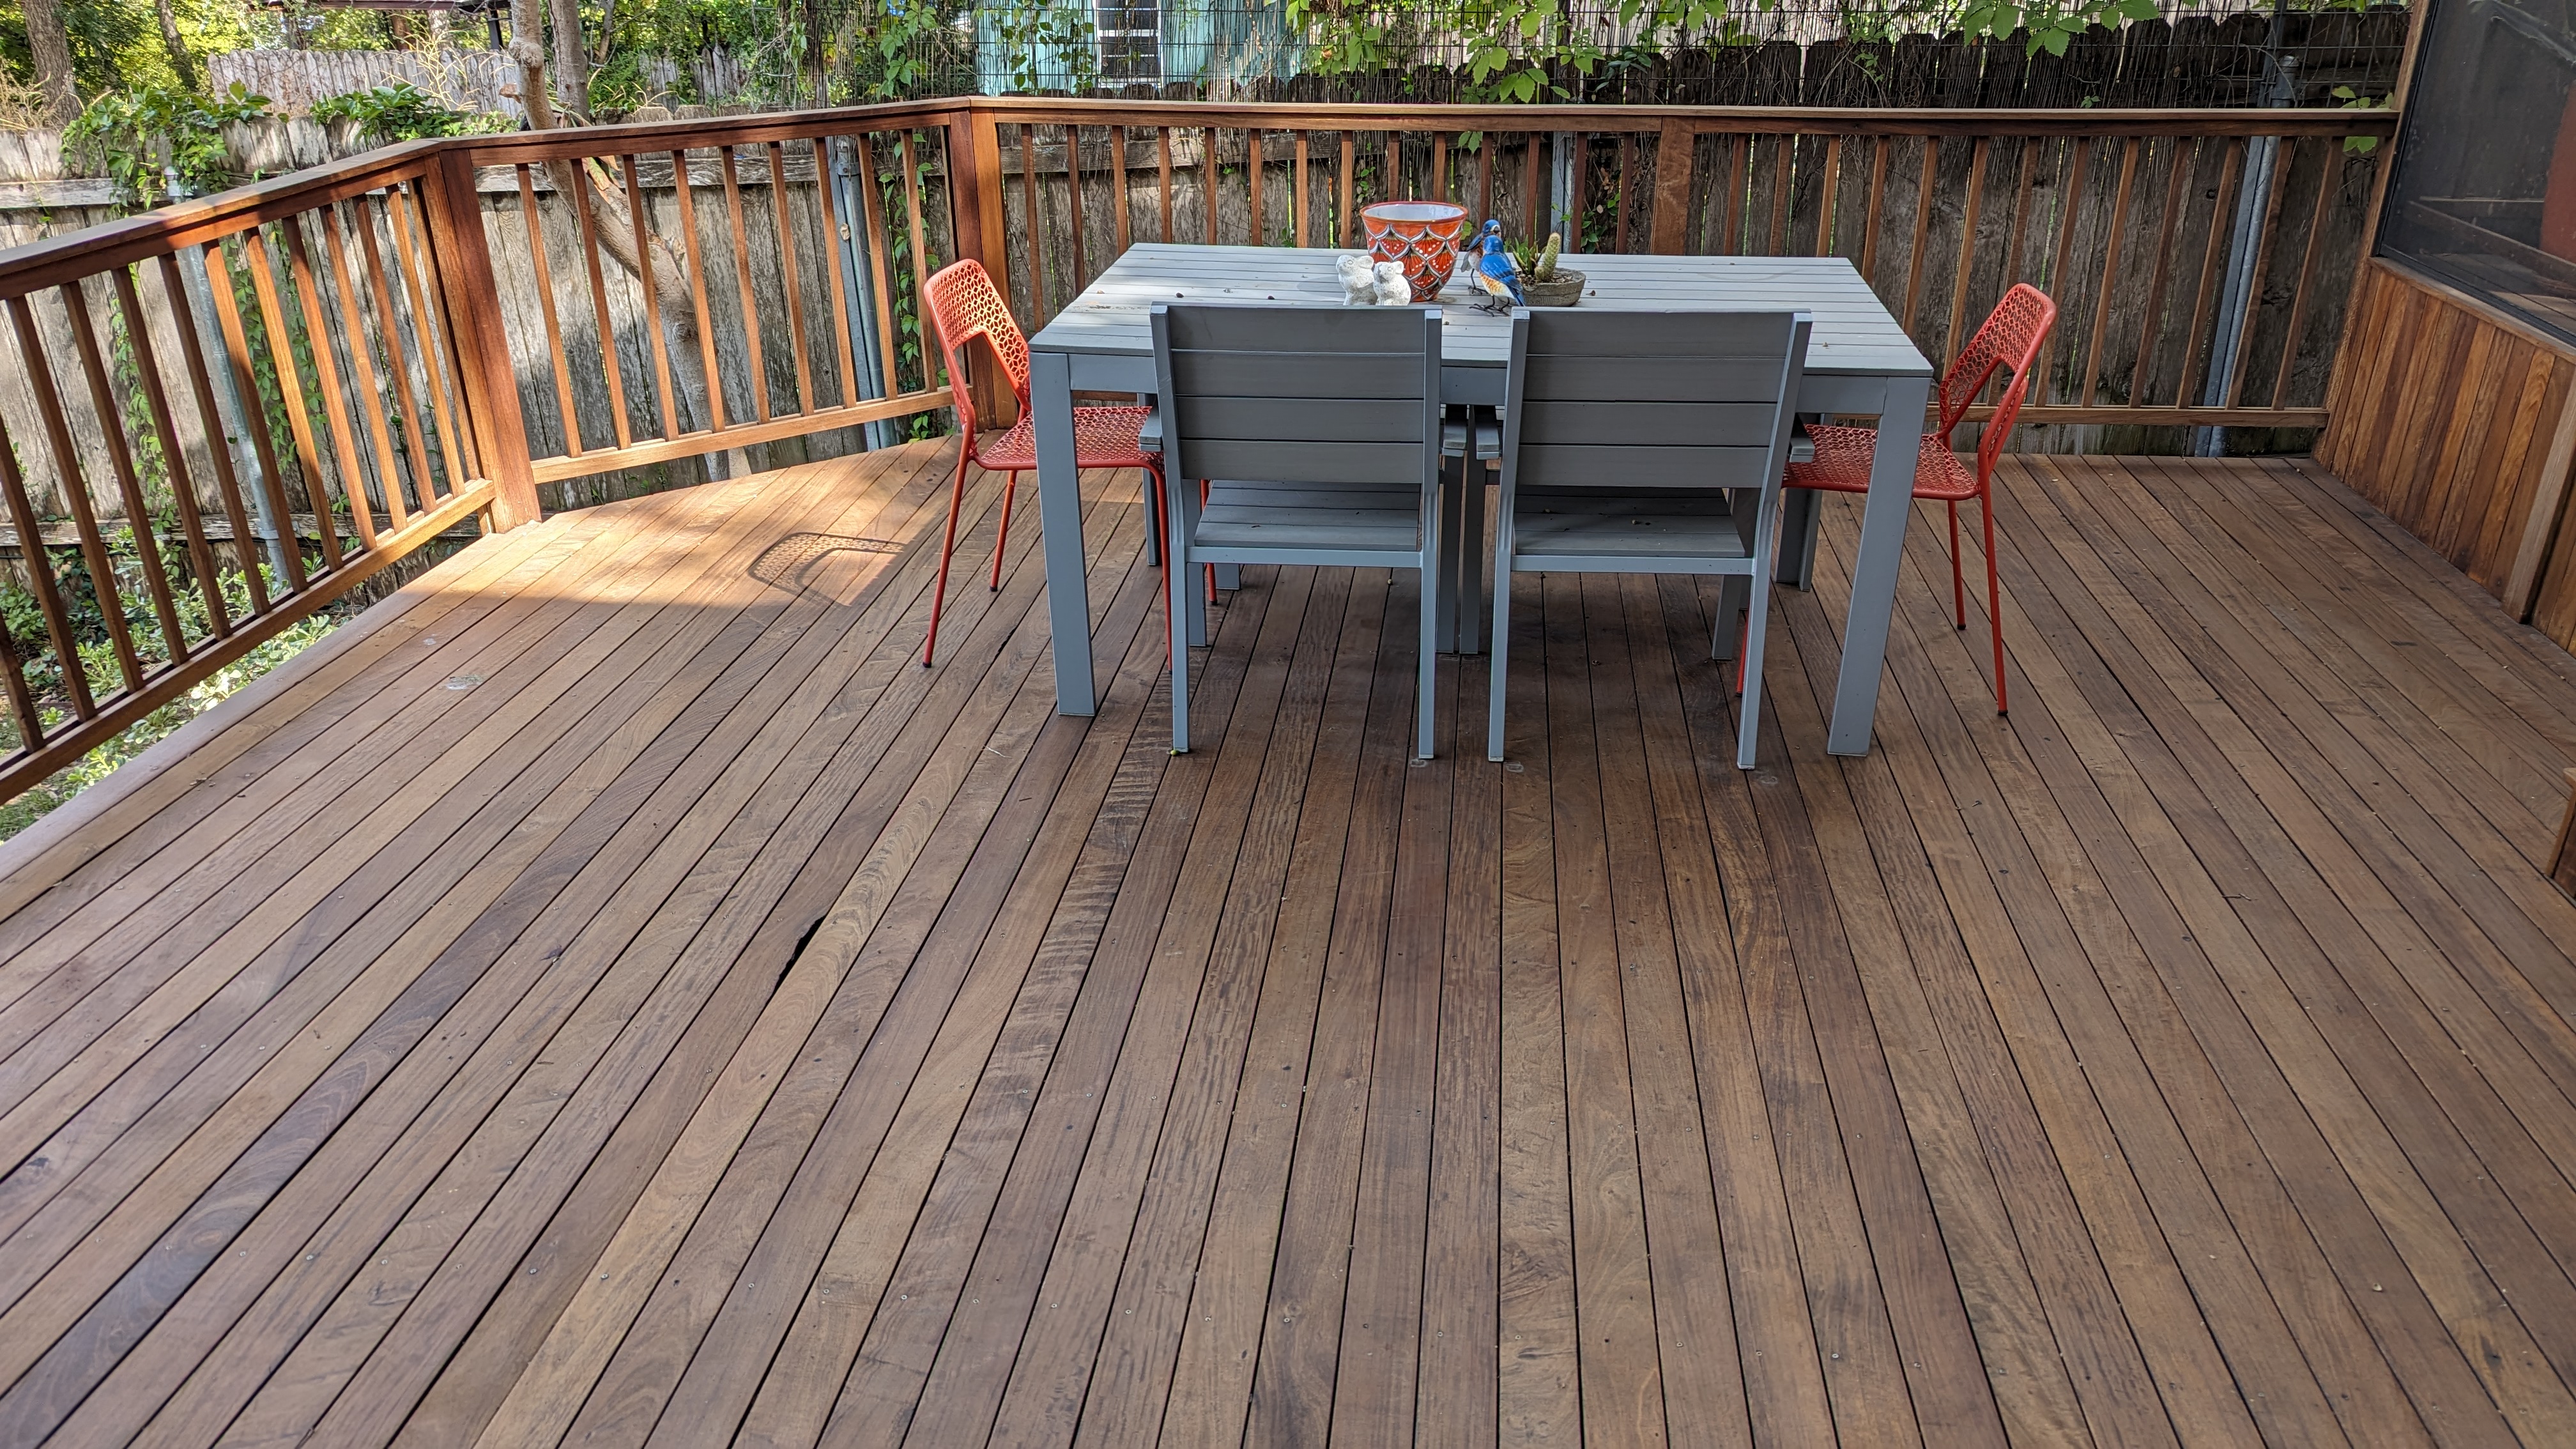
Here’s a shot of the deck I took today, about six months after we finished the job. Ipe is some pretty amazing stuff! I also have to give credit to the original deck builders, whoever they are, for making it so sturdy in the first place.


deck_finished


diy front yard electric vehicle charger

The problem: we need a street-accessible EV charger

We moved into our new house in April, and it’s been great: all the additional space we need, an office for both of us, etc. One thing it doesn’t have is any off-street parking, which is no big deal except for the problem of how to charge my car. At the old place, there was a driveway that went by the side of the house, and so we had a professional install a charger there.

At our new place, the curb where we park the cars is about 50 feet away from the electrical service box on the side of the house:
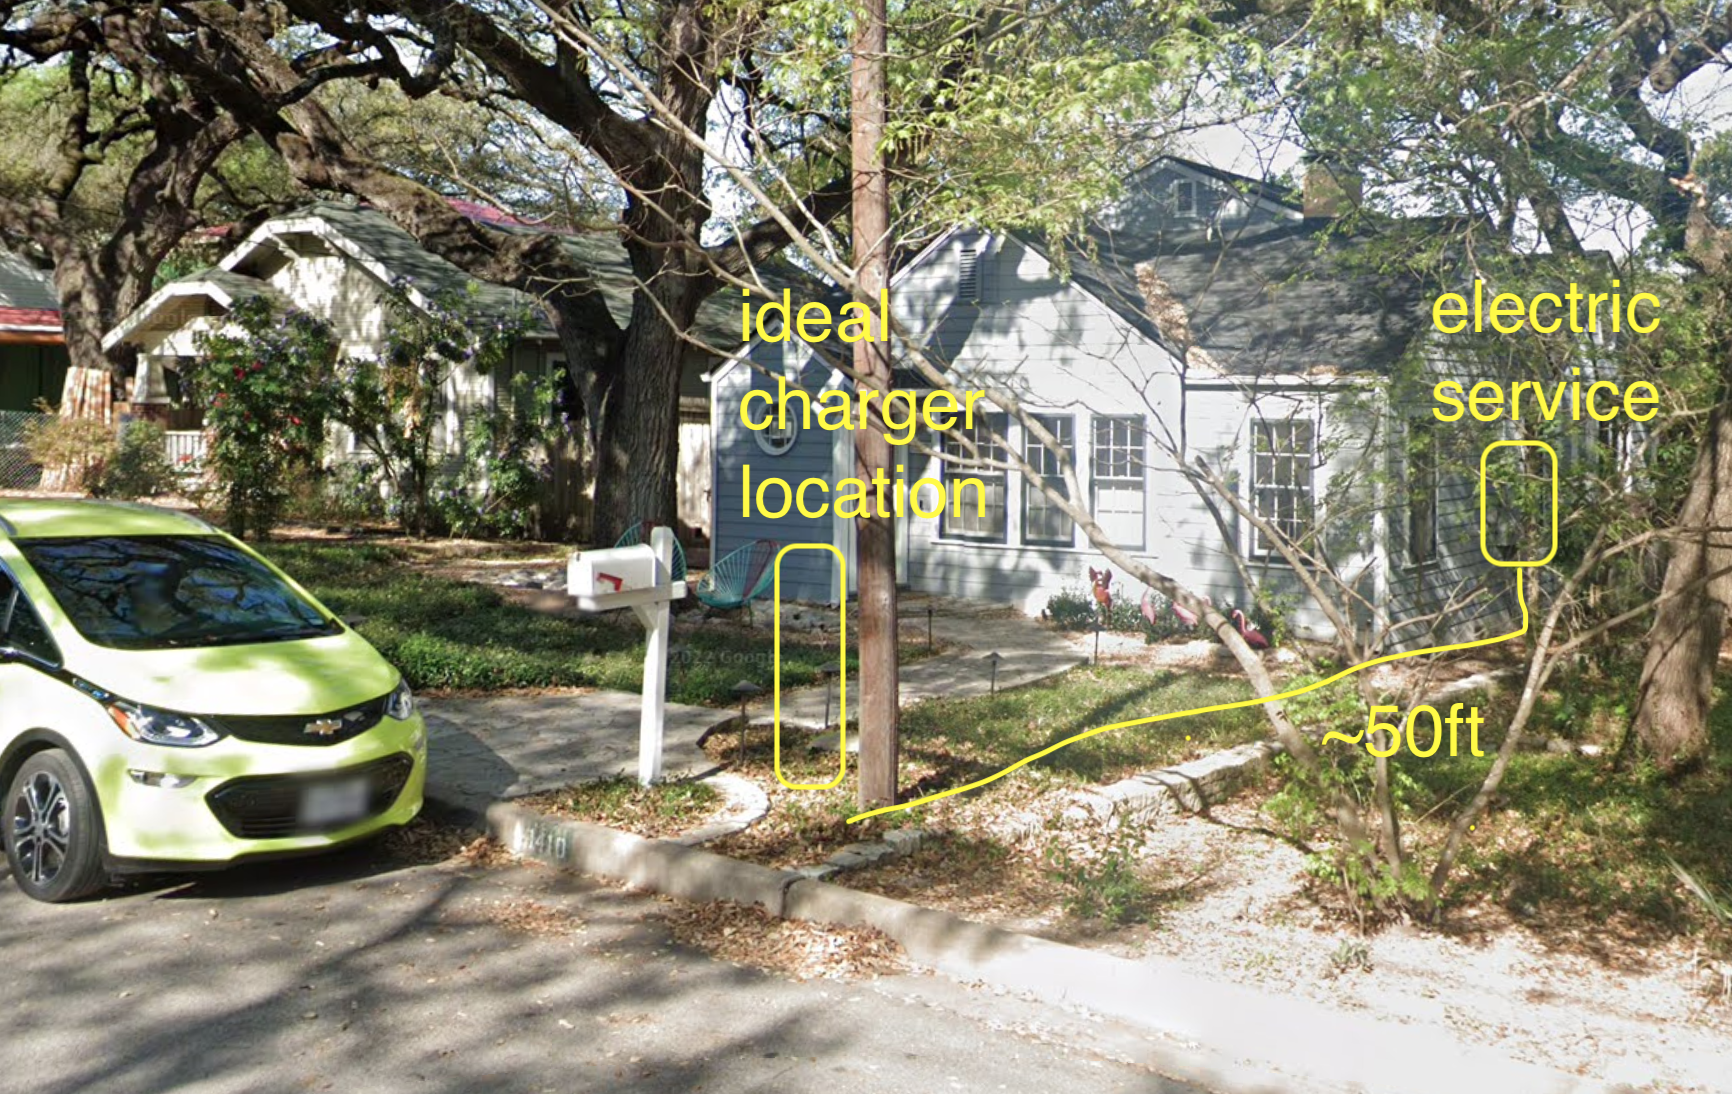
charger_diagram

I had a couple of bids done on installing an EV charger at the location marked. One came in at $3300, the other at $4000, both excluding the cost of trenching and the charger itself. Considering that I paid only about $1500 at the old house including the charger, and got half of that back in a rebate, this was high enough to trigger my DIY project impulse.

Electrical requirements

Obviously adding a high-amperage outdoor electrical circuit is something you should not do unless you’re a licensed electrician. Then again, this is basically the same thing as adding a circuit for a hot tub in your backyard, and that’s definitely something I’d be willing to DIY. So off I went learning enough about electrical code, conductors, and conduit to understand what the physical parameters of the project.

  • Distance: the ground distance from the electric service to my intended location was 45ft. I figured I should get 60ft worth of conductors to be safe–it turns out this was barely enough. I would measure more carefully for bends and rise heights next time.
  • Circuit amperage: 60A (48A useable). My Chevy Bolt can only use 32A, but this gives me headroom for the next EV. Our house has 200A service with plenty of headroom–there was a 40A circuit previously dedicated to a jacuzzi bath that’s now unused.
  • Conductors: Three 60-ft 4-gauge THHN for two hots and a neutral plus one 60-ft 8-gauge THHN for ground. This gauge/jacket/length is actually good for at least 80A and probably more. Although the neutral isn’t required for charging, it allowed me to put a 115V outlet on the post as well as the charger, which I can use to plug in a vacuum for cleaning.
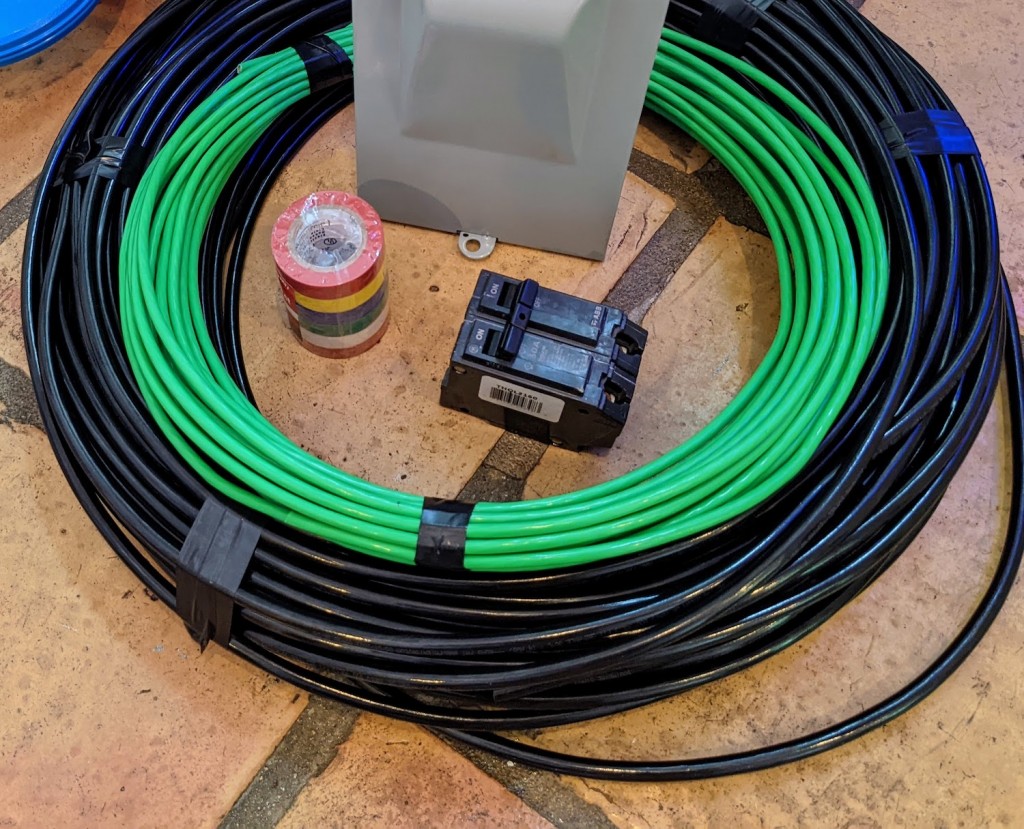
PXL_20220722_135556281

  • Conduit: to accommodate the super-fat 4-gauge conductors, I selected 1.5 inch PVC (schedule 80/thick-walled) conduit. The use of PVC meant I needed to bury the conduit 18 inches below grade, as opposed only 6″ required for metal. Although this had big implications for how much digging I needed to do, it felt safer to have the conduit far below the surface. Even though according to a conduit fill calculator I had plenty of space, it turned out to be pretty tough to get all the conductors through even with lubricant. Because the hole I dug would have been the same size, if I did it again I would have selected 2″ conduit instead.
  • Subpanel: I decided to install a subpanel on the charger post. It’s not necessary. For safety, you’d at least want an A/C disconnect on the post to quickly cut off the live circuit. What the subpanel buys is another circuit breaker (that also provides disconnect functionality) as well as receptacles. I chose the GE1LU502SS, with both a NEMA 14-50 (50A) and traditional 115V, 20A receptacle. This allows me to connect the charger as well as an appliance at the curb if I want.
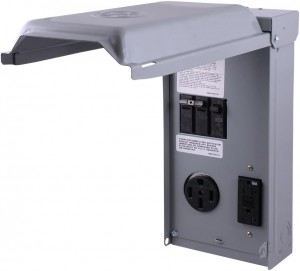
51JuwL056AL._AC_SL1000_

  • EV Charger: I went with the Chargepoint Home Flex because it can support up to 50A, I like their app, and I had a good experience with a similar model installed outdoors at my old house.
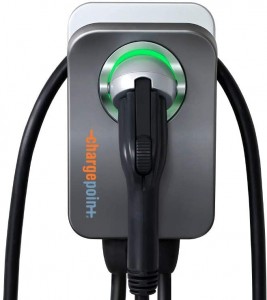
Setting the post

I selected a 6×6 rough-milled cedar post to mount the charger on for aesthetics and durability. Unfortunately, I could only find 10ft lengths of 6×6 so I had to go back and fetch my handheld circular saw to cut the post in the Lowe’s parking lot.
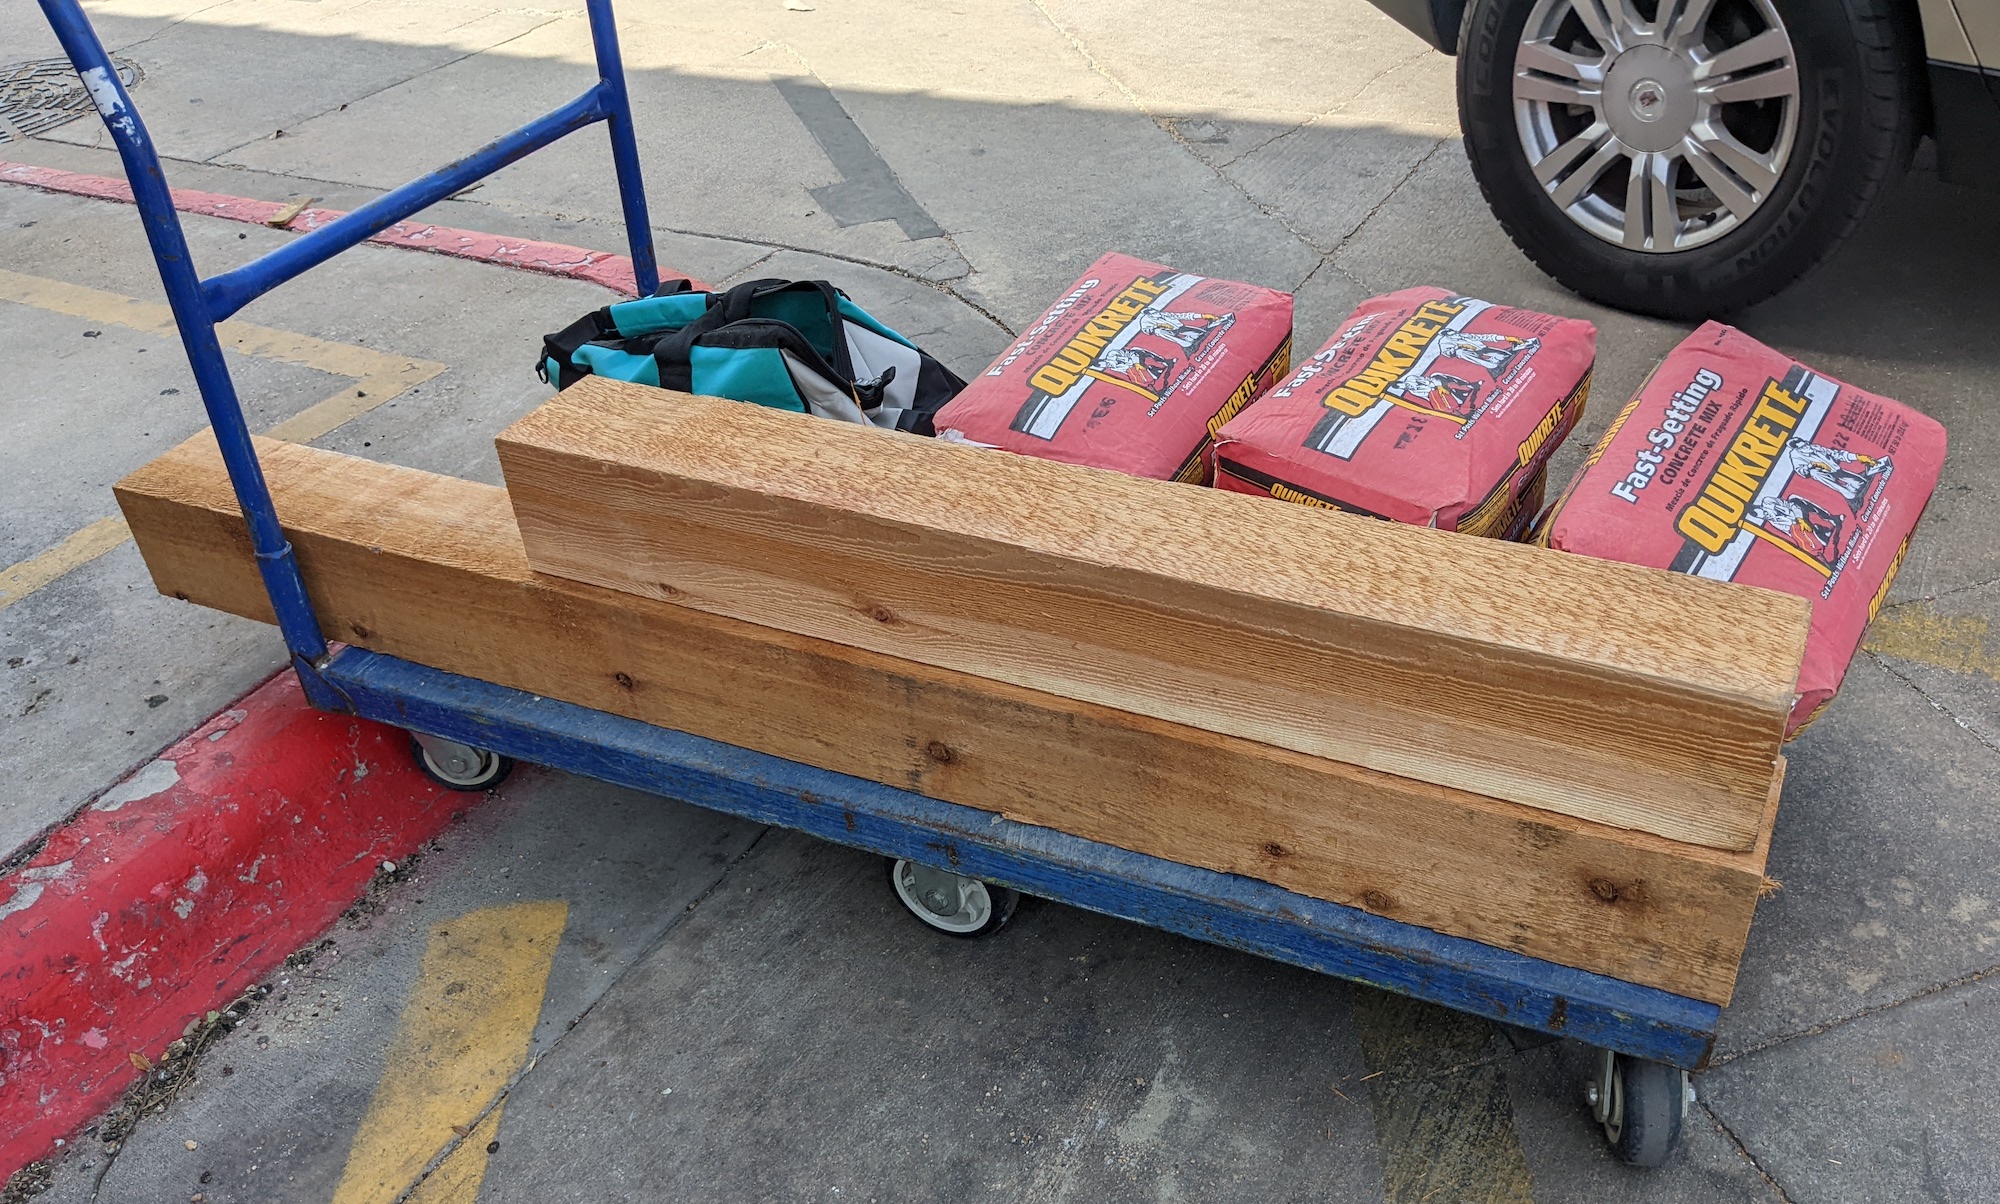
PXL_20220717_155135632

I massively overbought concrete but still ended up with 2ft+ of the post underground–it’s not going anywhere.
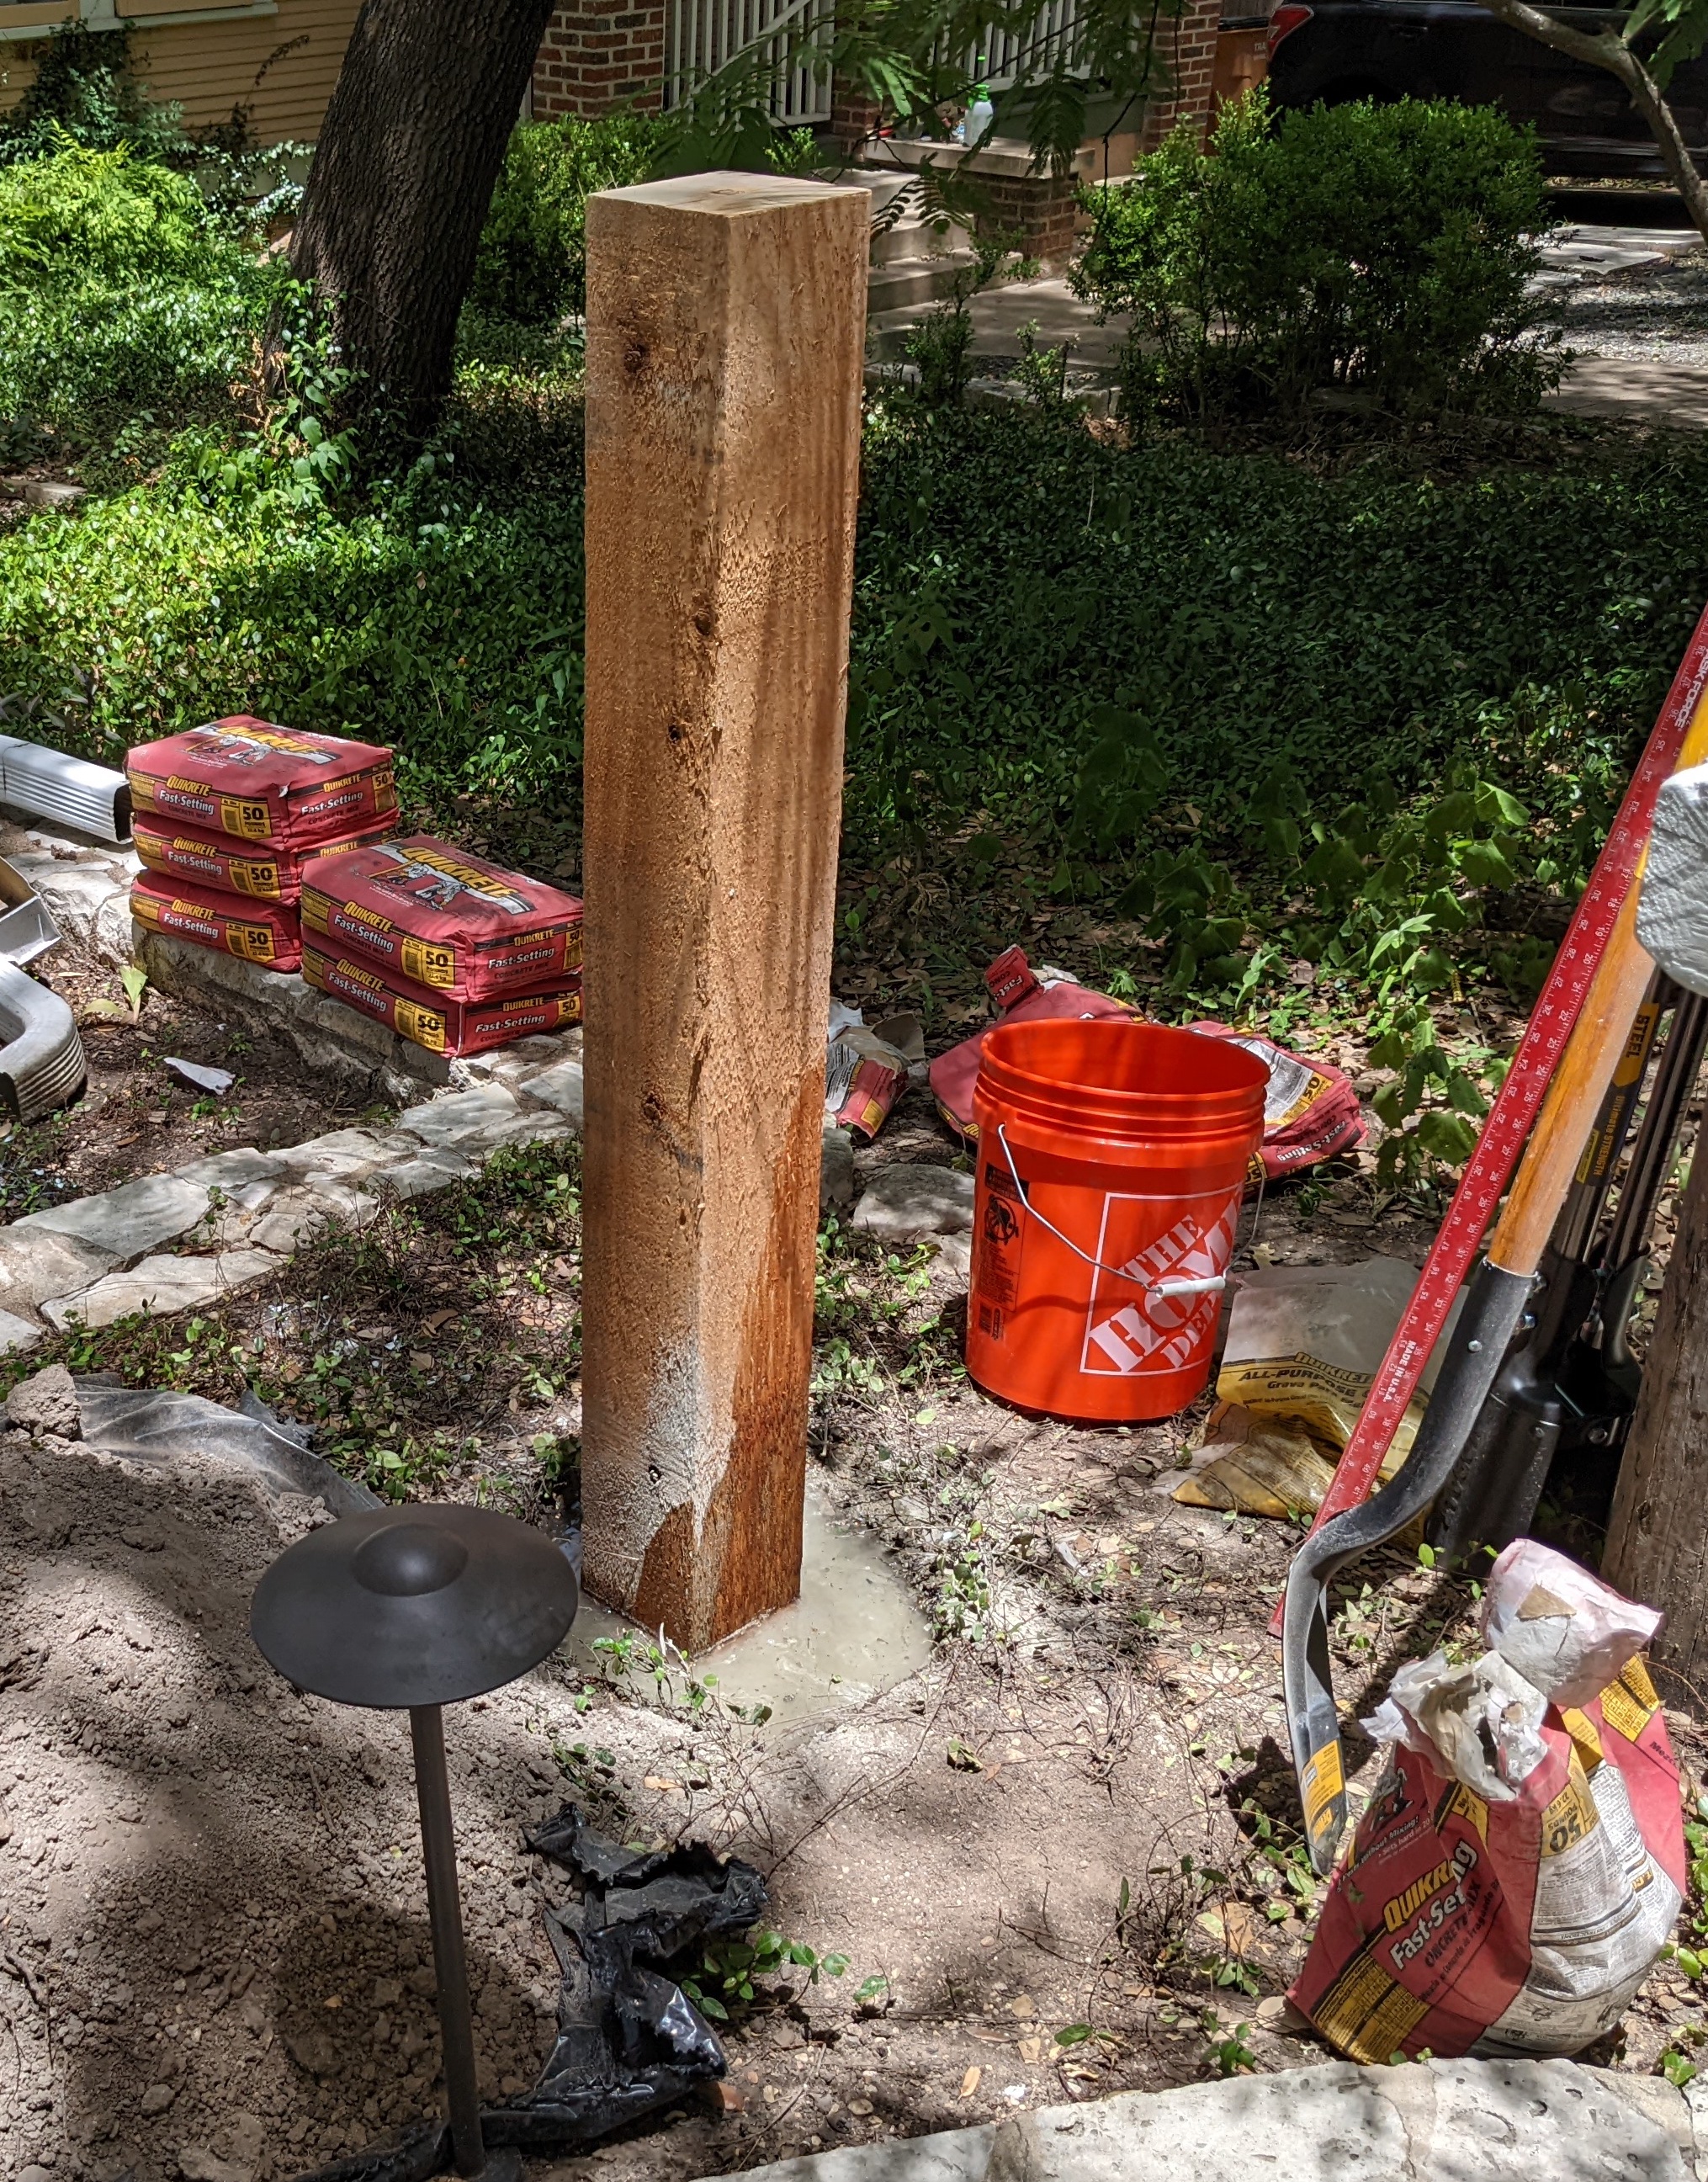
PXL_20220717_182016207

Digging the trench and laying conduit

The biggest challenge by far with this project was trenching from the electrical service on the house to the post where I installed the charger. This was about 45ft up a gentle grade, and to meet code I needed to bury the conduit at least 18 inches below grade. The trench only needed to be wide enough to fit the 1.5″ wide conduit, but it’s hard to make such a narrow hole.

CALL BEFORE YOU DIG! You never know what underground water, electrical, or gas lines might run through your property. Luckily with just a couple of days notice to 811, you can have all of them marked for free. I used this service to have my gas line marked (it was on the other side of the yard) and to confirm there were no other underground lines in my planned path.

You can buy a power trencher for this kind of work, which is basically a chainsaw that cuts dirt. I considered this, but without any experience using one I was worried about safety and tearing up my yard. So, I decided to hand dig. This was really hard work, and it took me about 10 hours spread across two weeks to finish the job. I used a post hole digger to cut down through dirt and roots and a trenching spade to remove spoil.
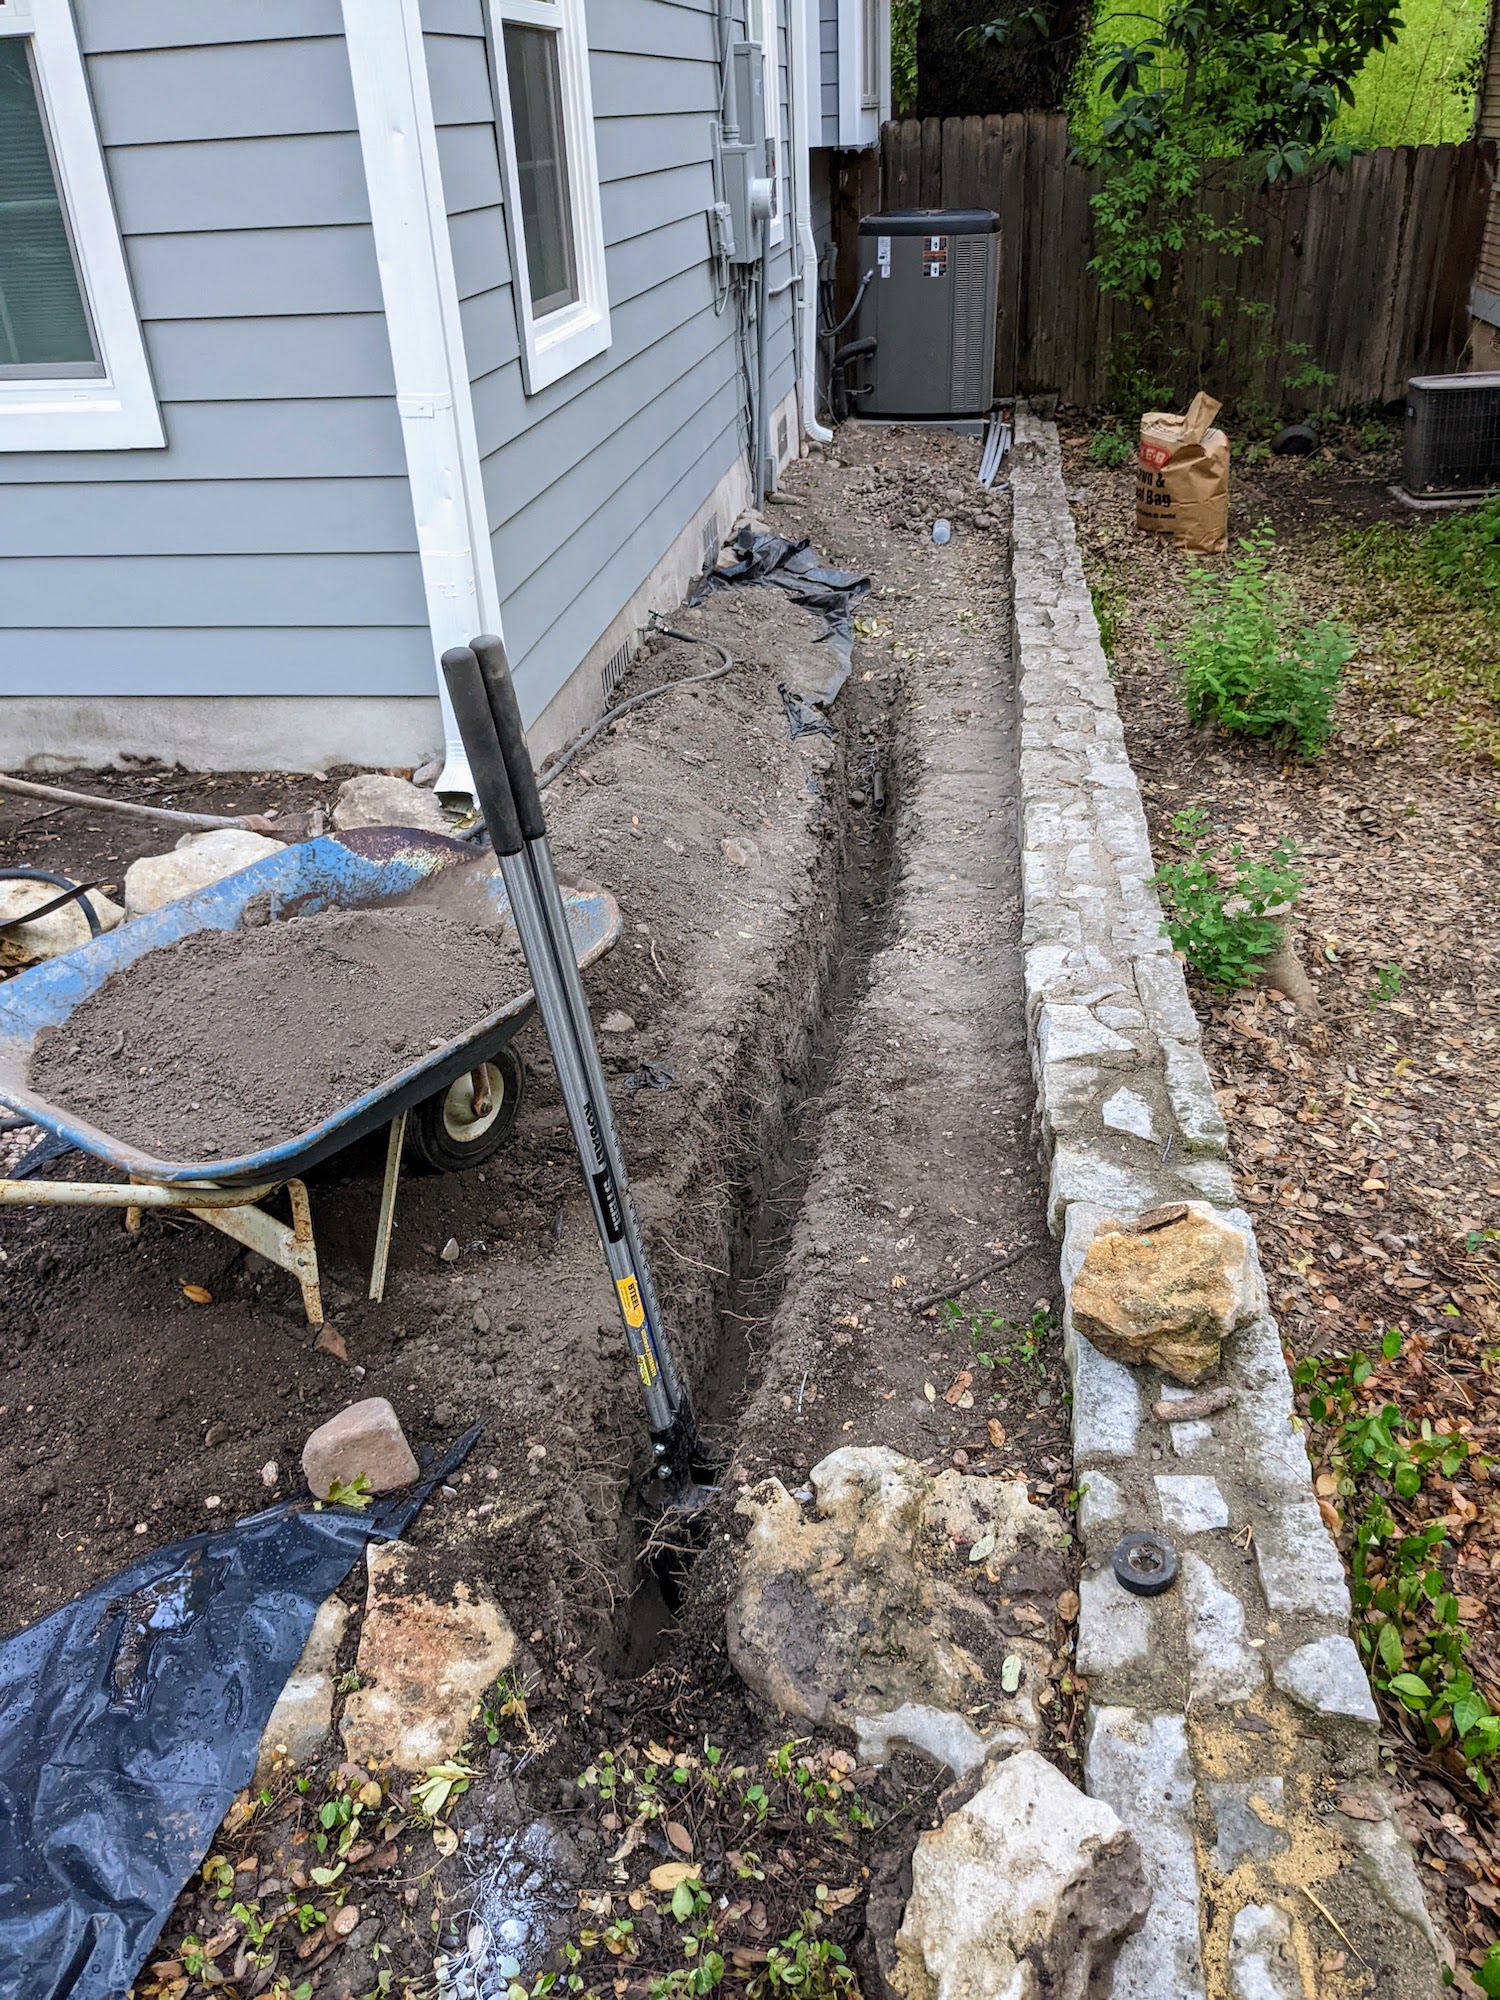
PXL_20220811_120718108

I dug in about 15 foot sections, laying down 10 foot sections of bell-end conduit with nylon string already threaded through. I used standard PVC primer and cement to weld the sections together, then backfilled the section with dirt and kept digging.
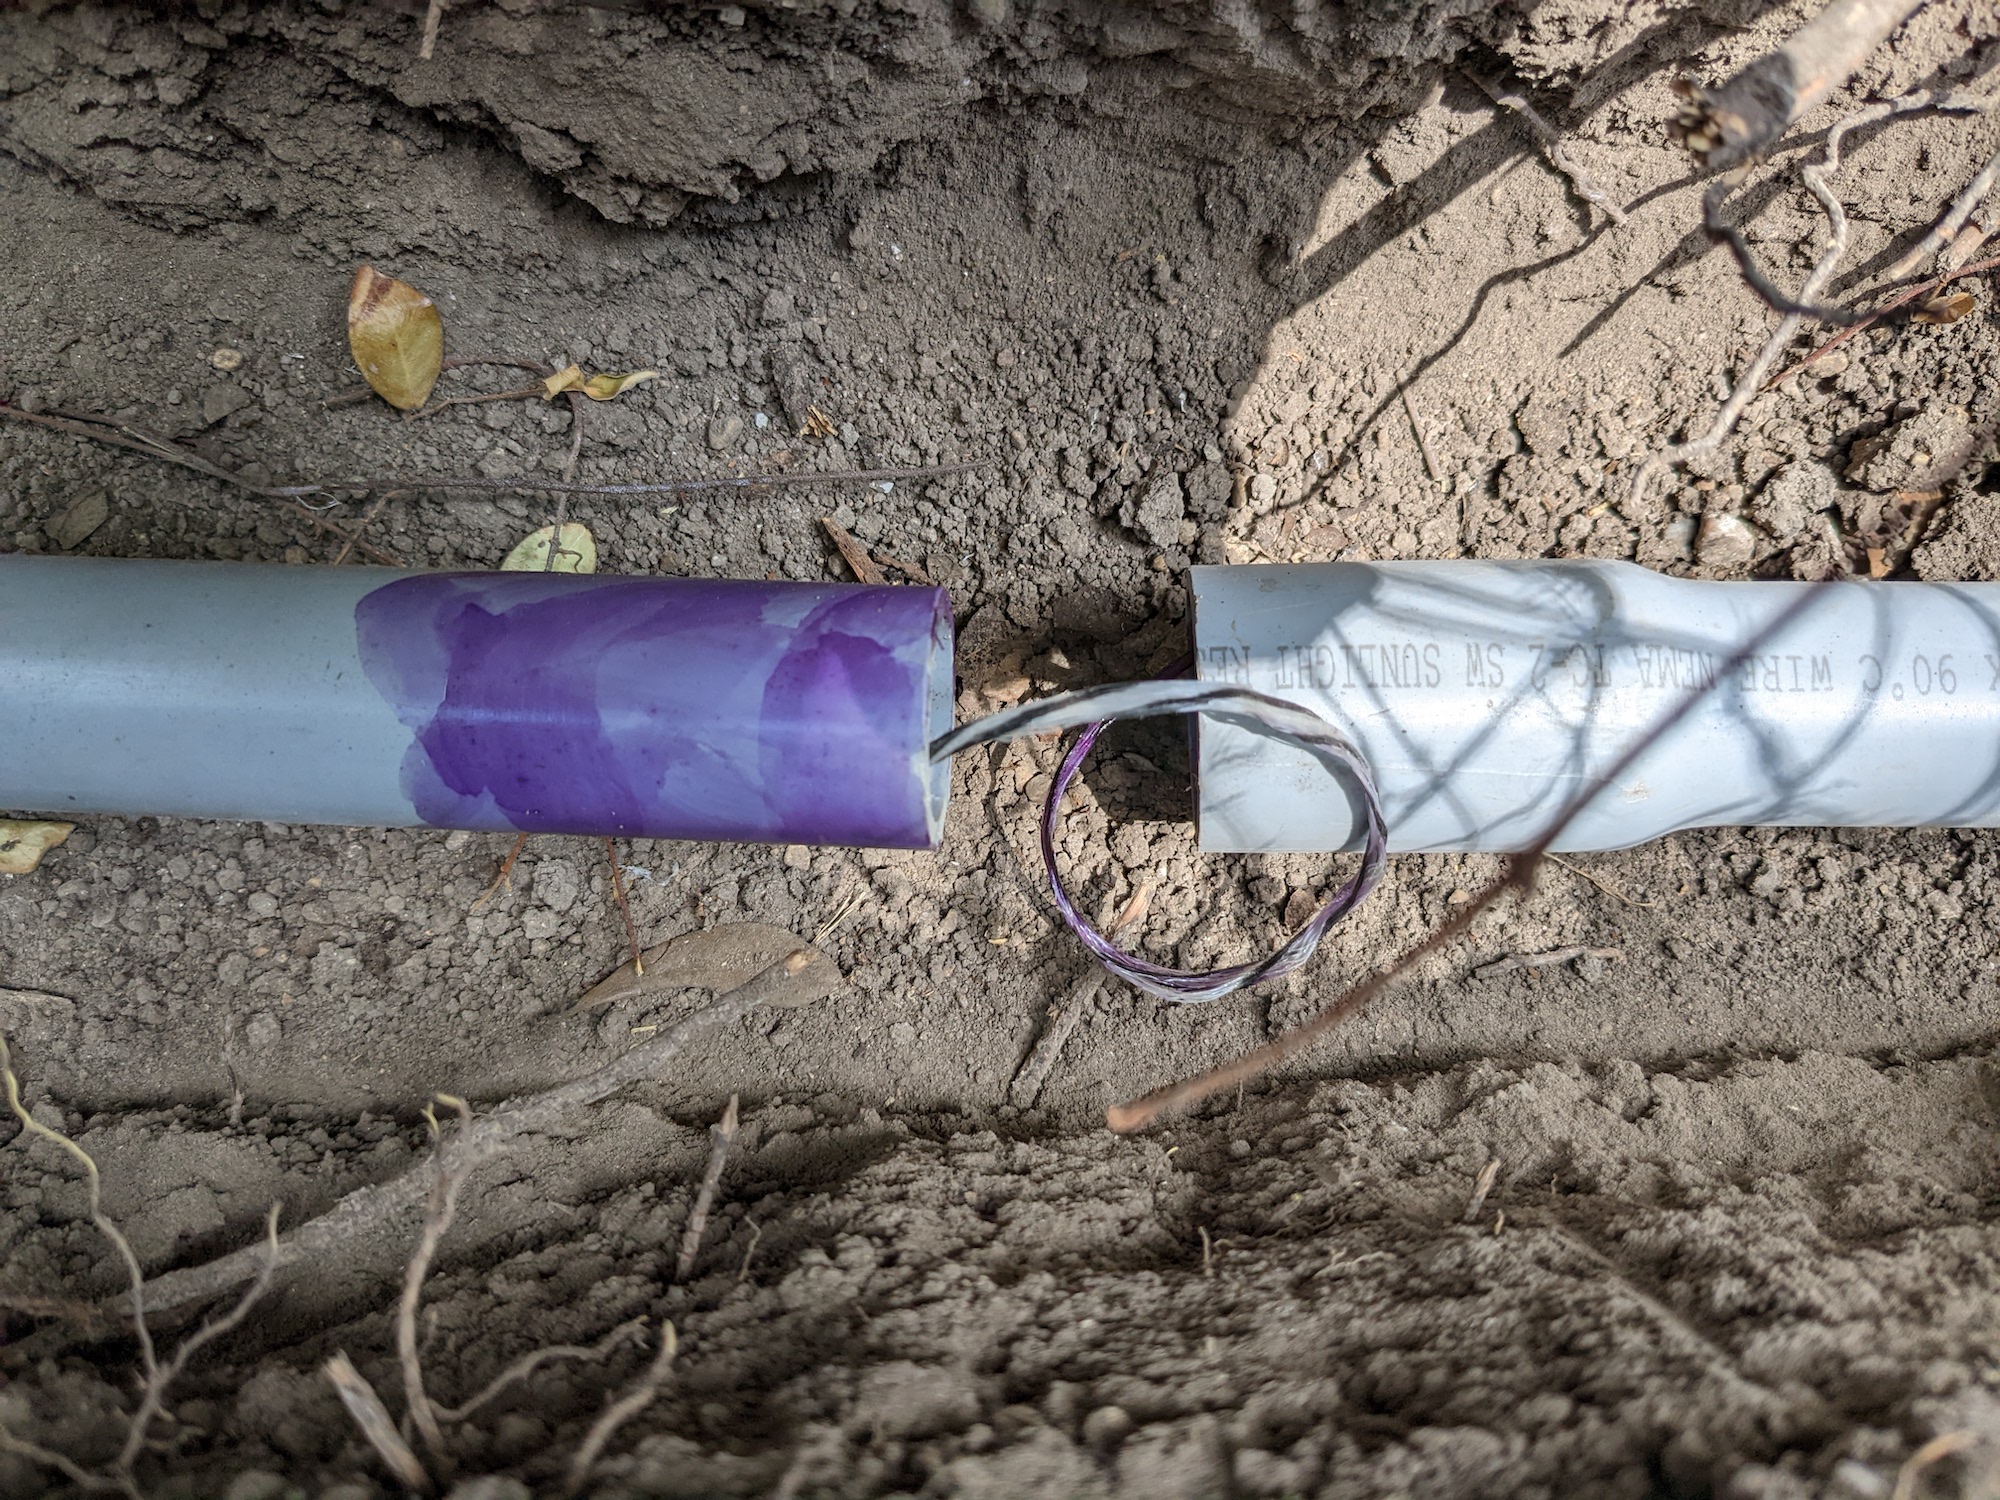
PXL_20220812_175018555

The trickiest part was getting the conduit under a small retaining wall an then through a 90-degree bend to meet the post.
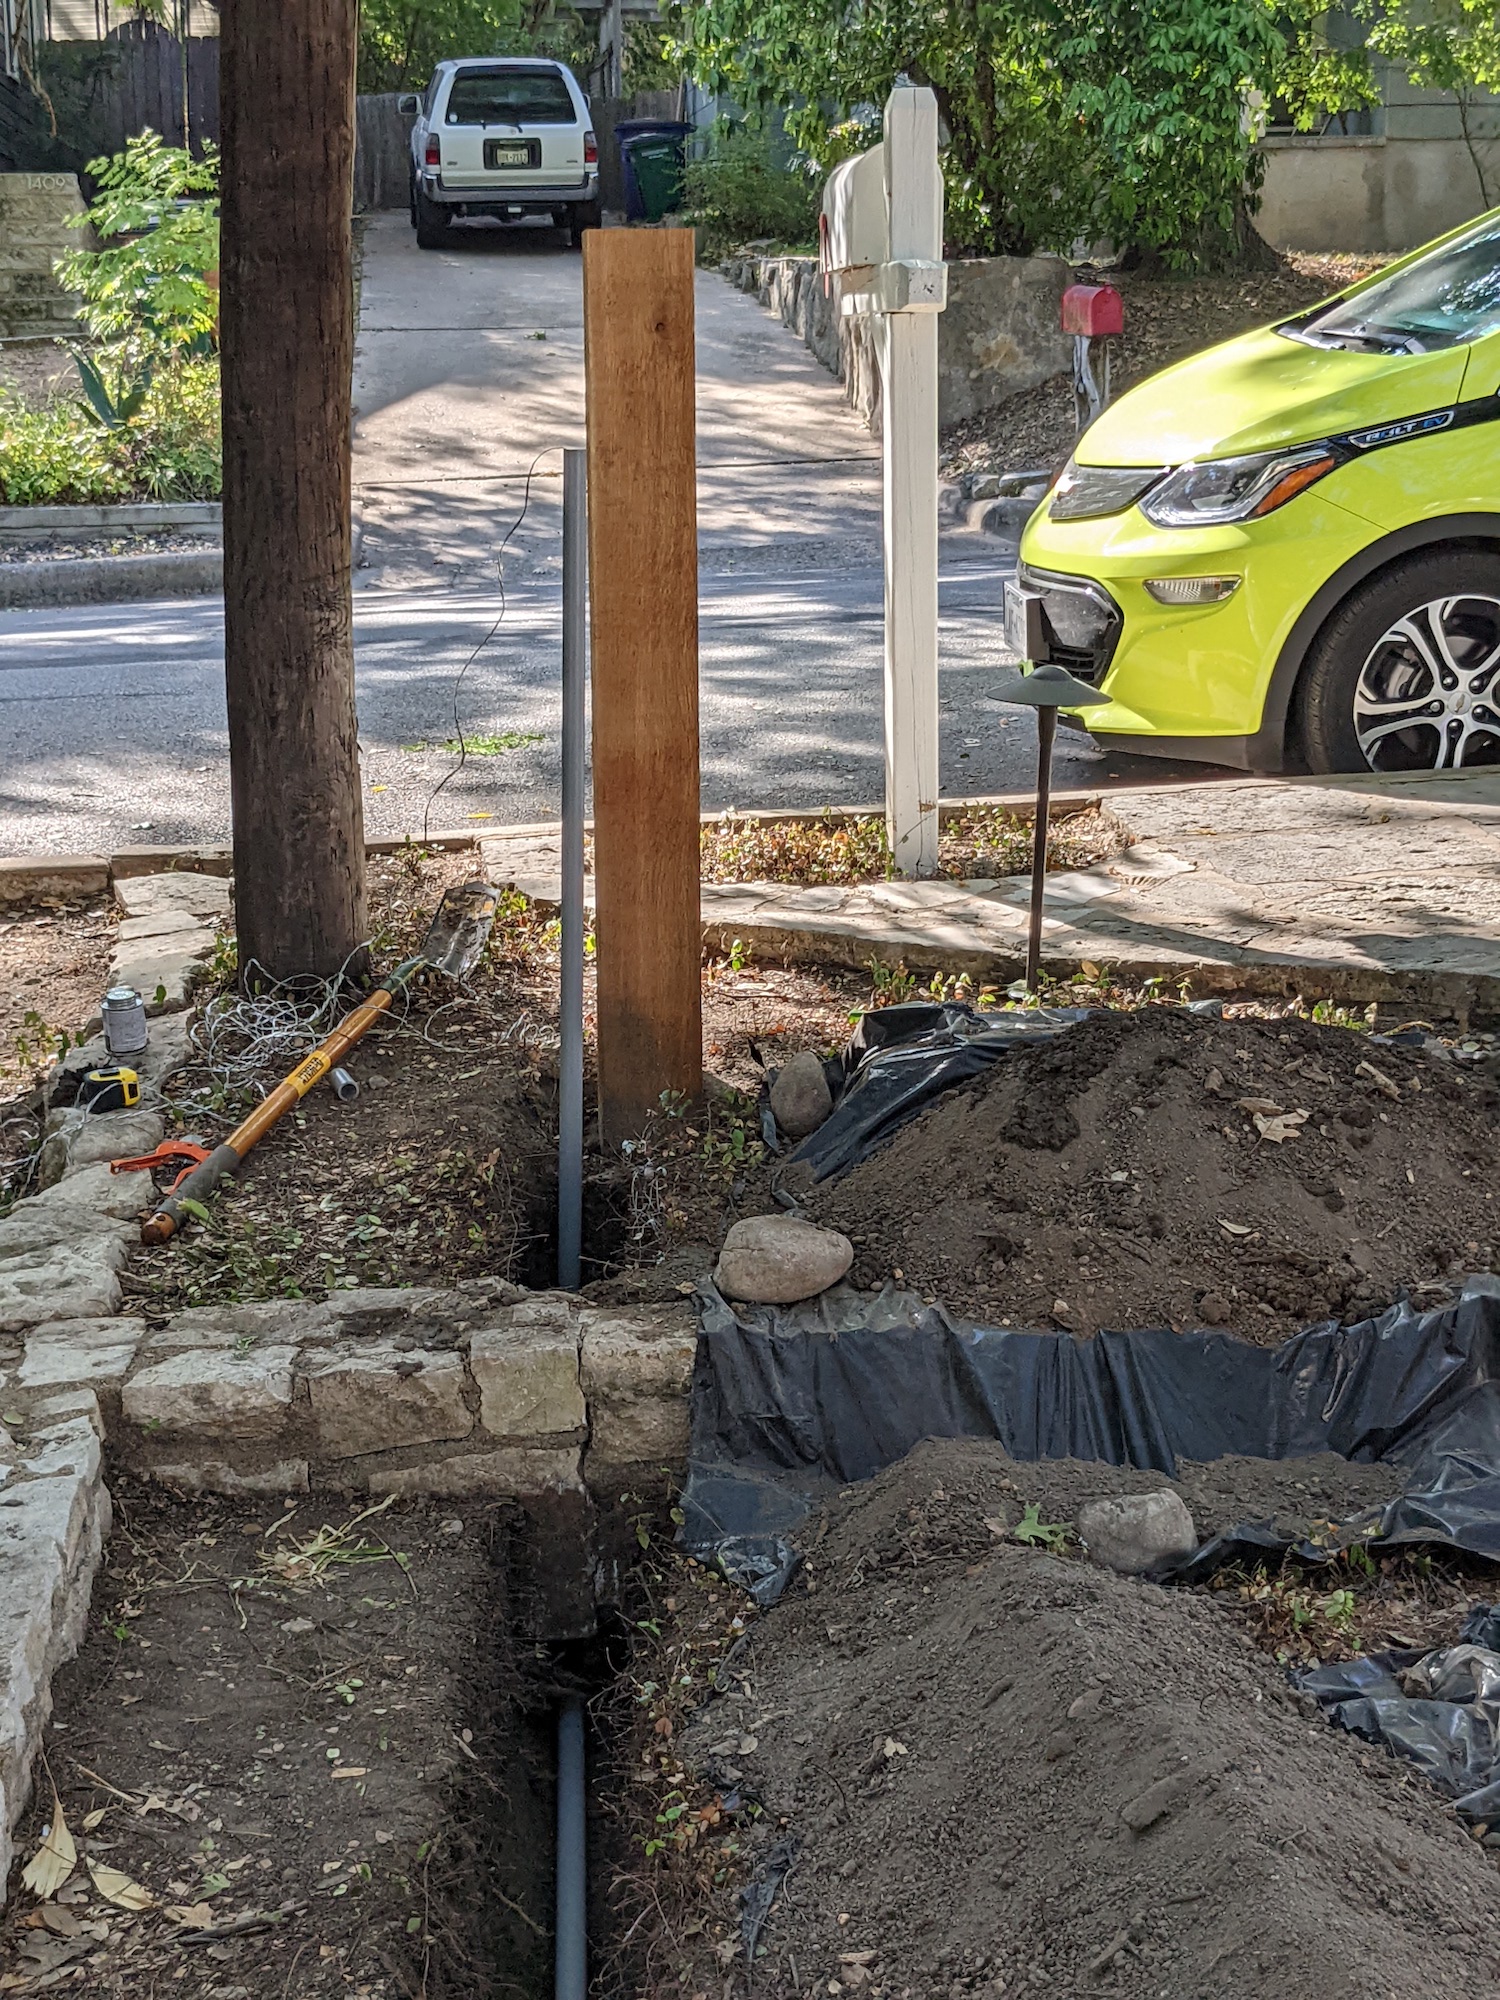
PXL_20220813_144426714

Finally, Marc and I used a heat gun to put two gentle bends in the conduit so it would rise as close as possible to the post while giving room for the concrete footing.
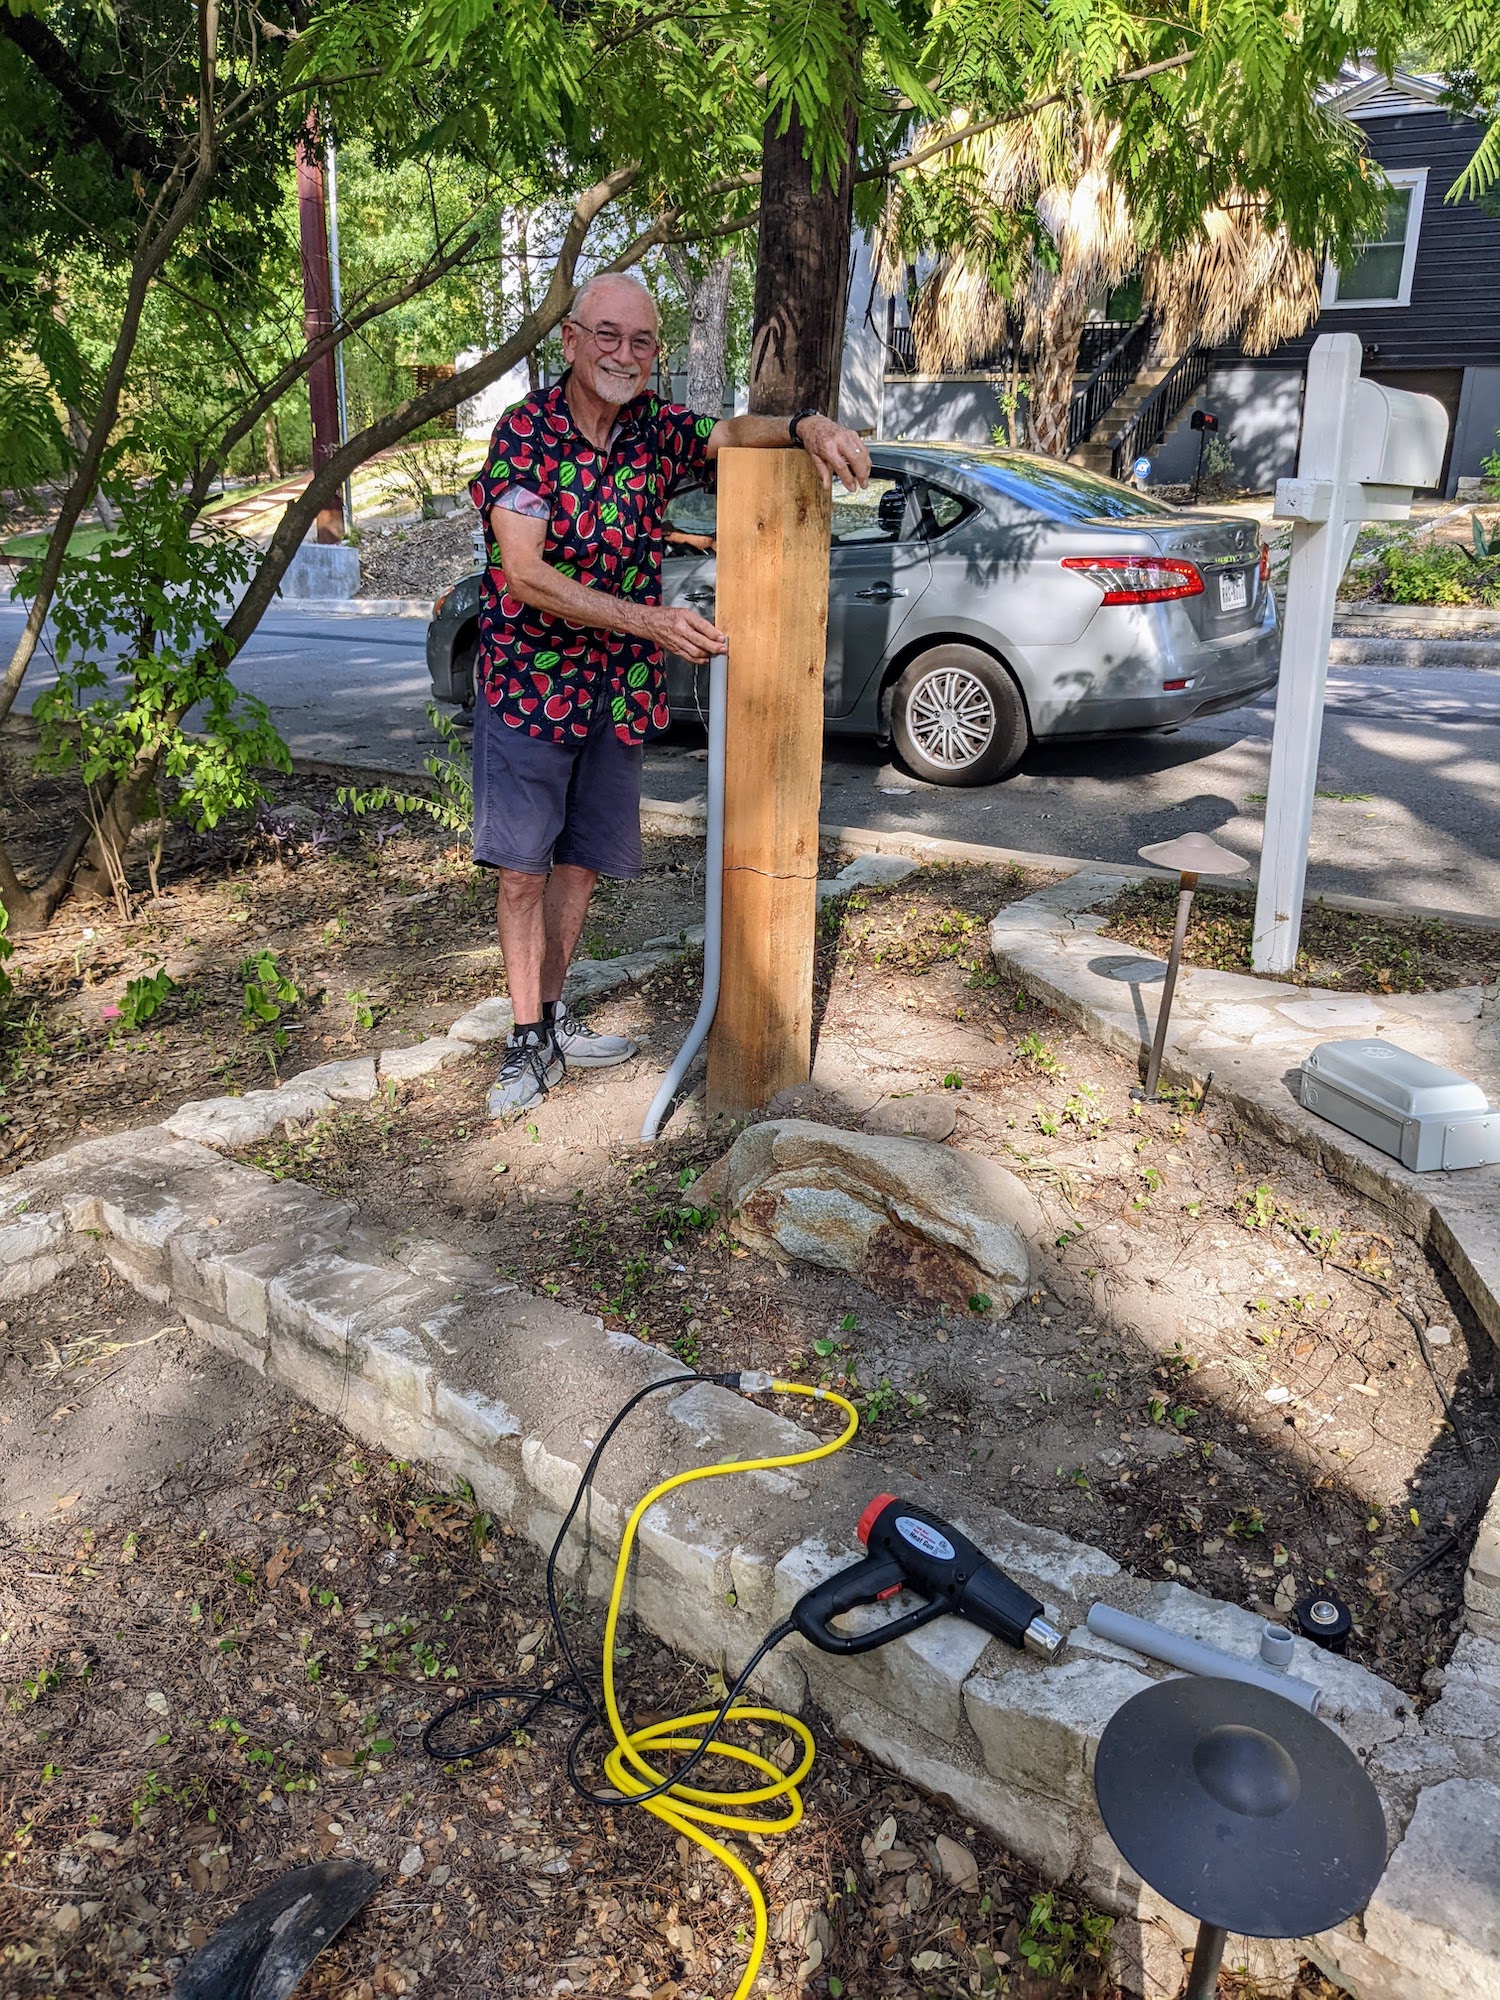
PXL_20220813_224234890.MP

Pulling the wire

The next step was to pull the four conductors (two poles of 220V, neutral, and ground) through the conduit. I had fed 250-lb test nylon string through it as I buried it, so the next task was to attach the conductors to the string as securely and smoothly as possible. This is called making the ‘head’ in electrician lingo. Not pictured: I wrapped this all in gaffer’s tape.
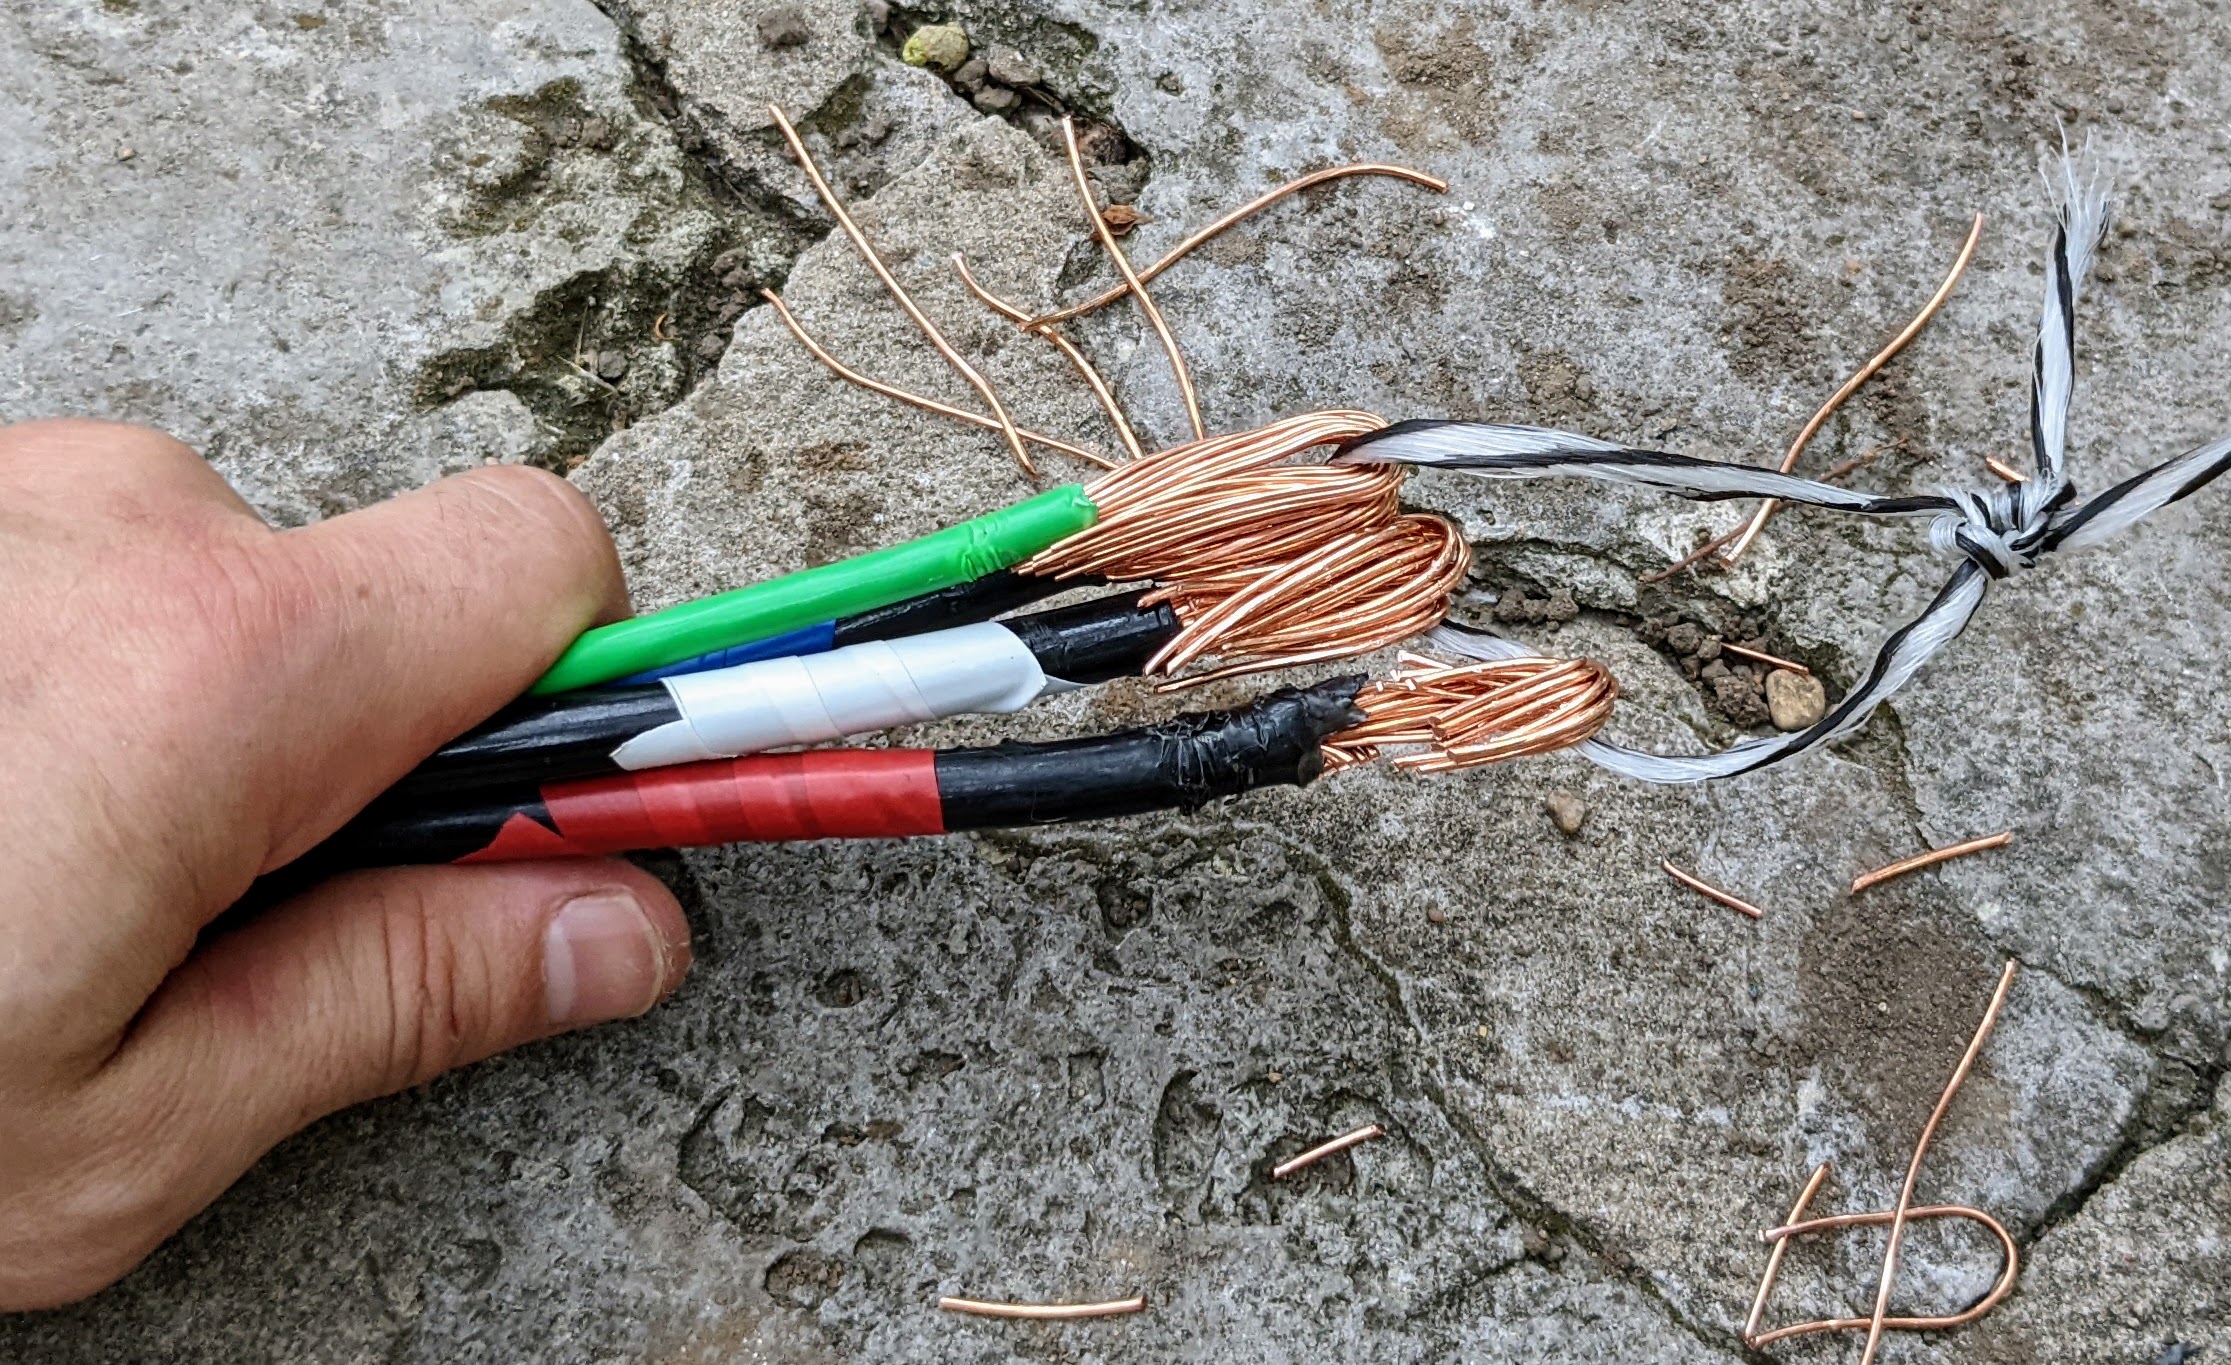
PXL_20220814_141949249

Marc then fed this head down through the conduit at the post while I pulled on the nylon string from the electrical service box. To ease the way, we liberally smeared the wires with wax-based pulling lubricant.
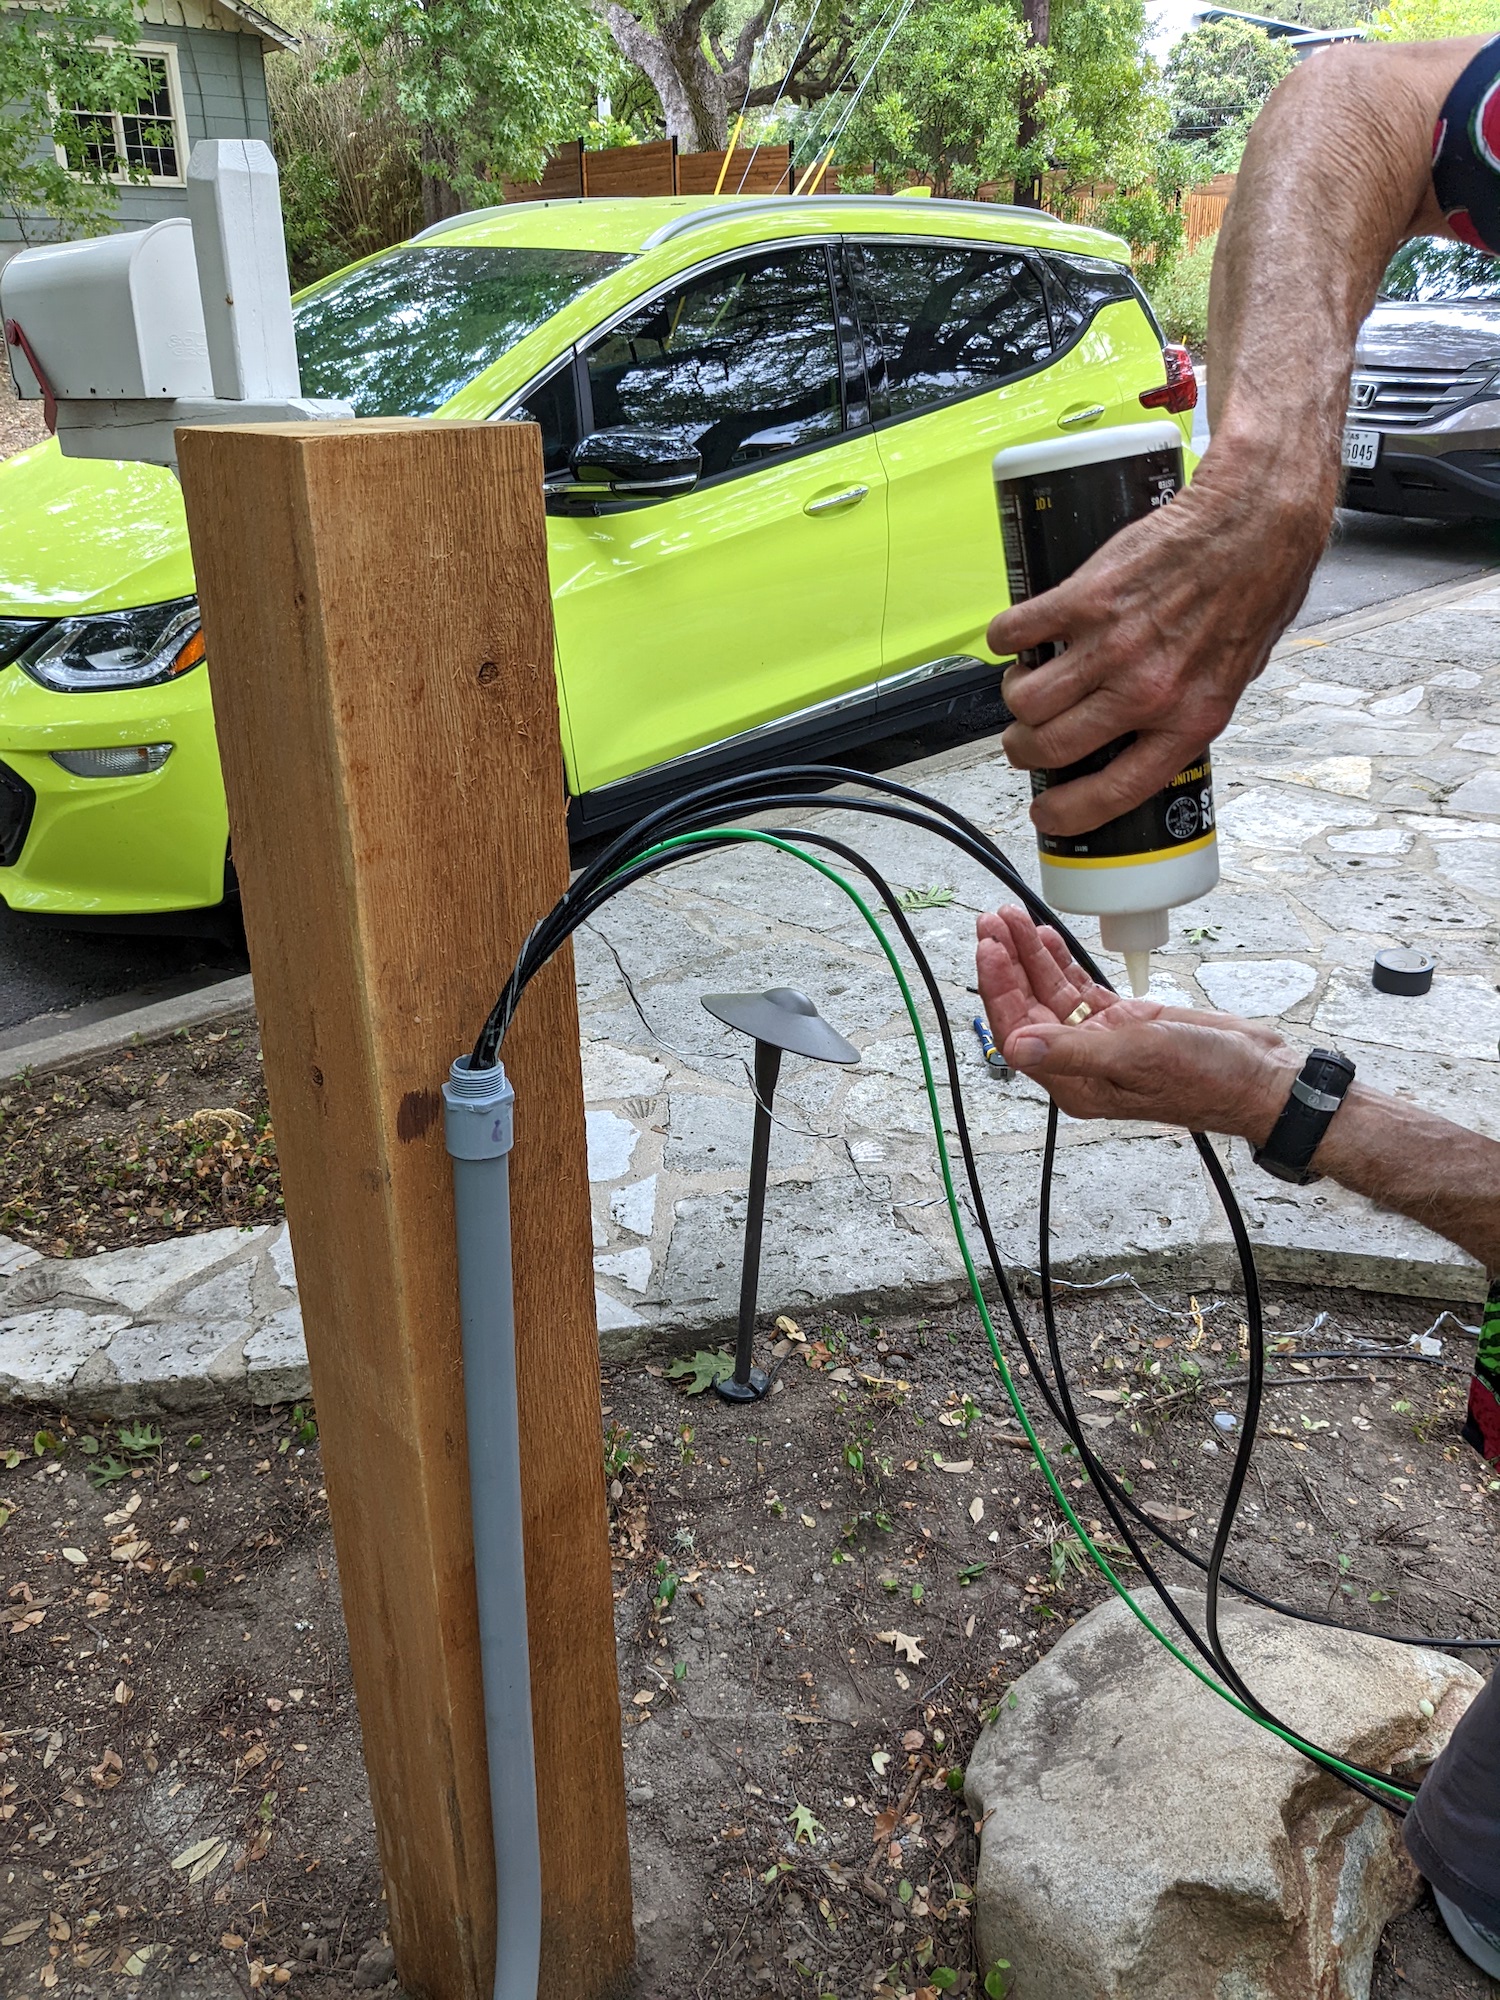
PXL_20220814_142857451

Pulling was much harder than I expected. The conduit wasn’t that full, but we had two 90-degree turns plus a couple of gentle bends. I also think there was a significant amount of dirt in the conduit that ended up getting caught up against the ‘head.’ In retrospect I wish I had used 2″ conduit, but in the end we got the head to pop out at the service box.
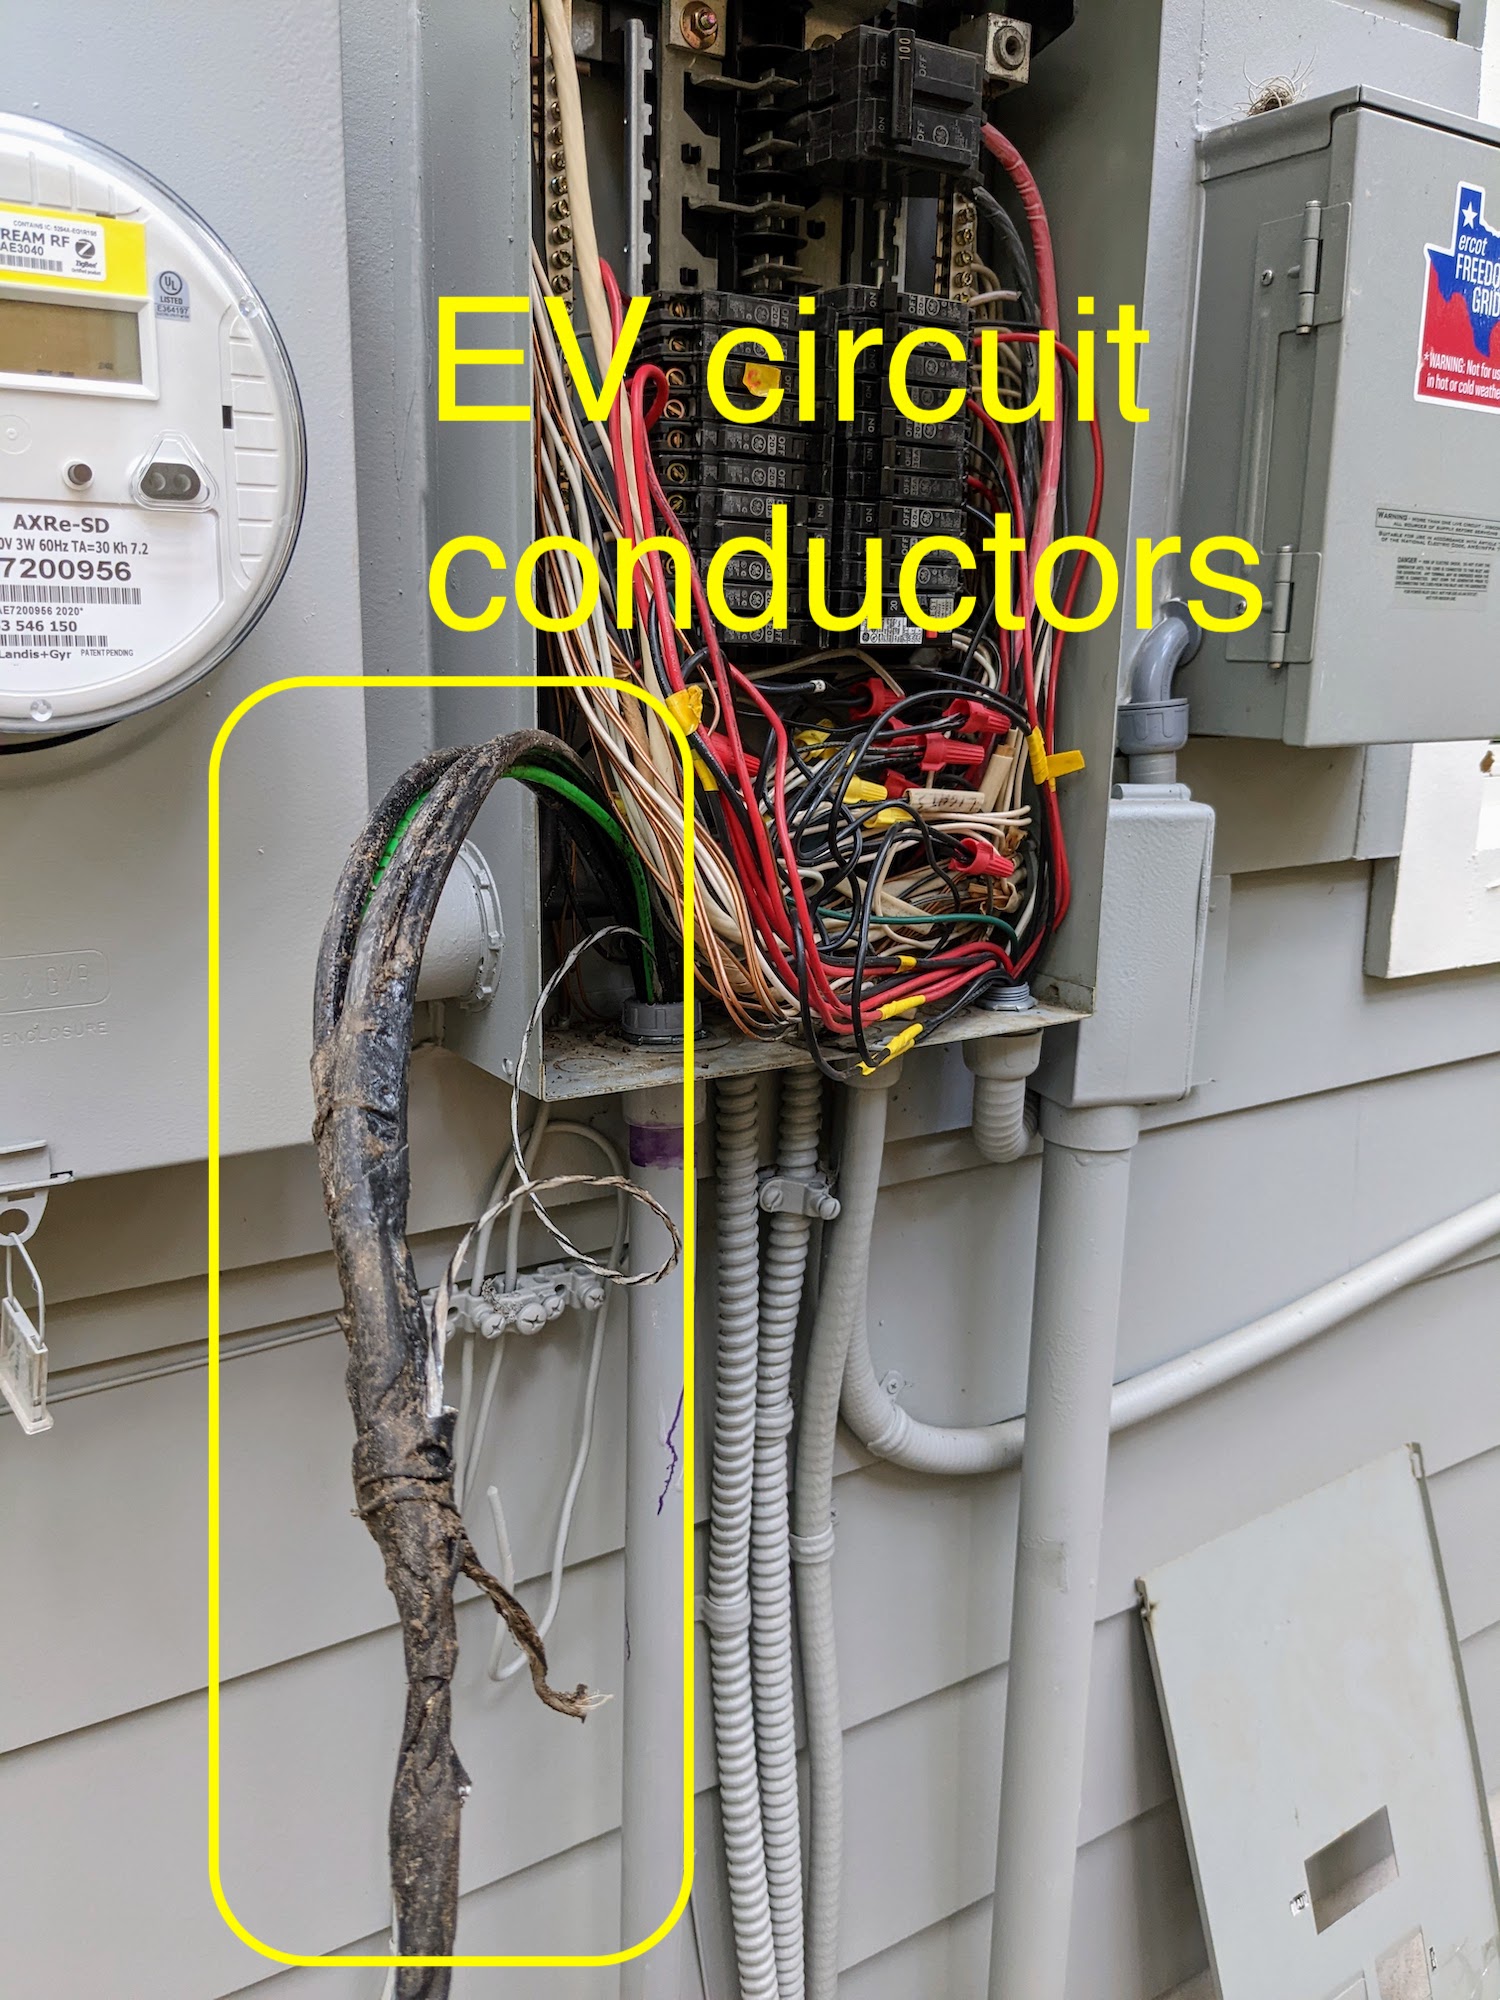
PXL_20220814_144508863
Although I thought I budgeted for about 10 spare feet of conductor, we barely squeaked by, with less than two feet left to pull on the post side. Phew! I would definitely overbuy on length here and/or do a more careful estimation of how much length there really was to cover including the rises at both ends.
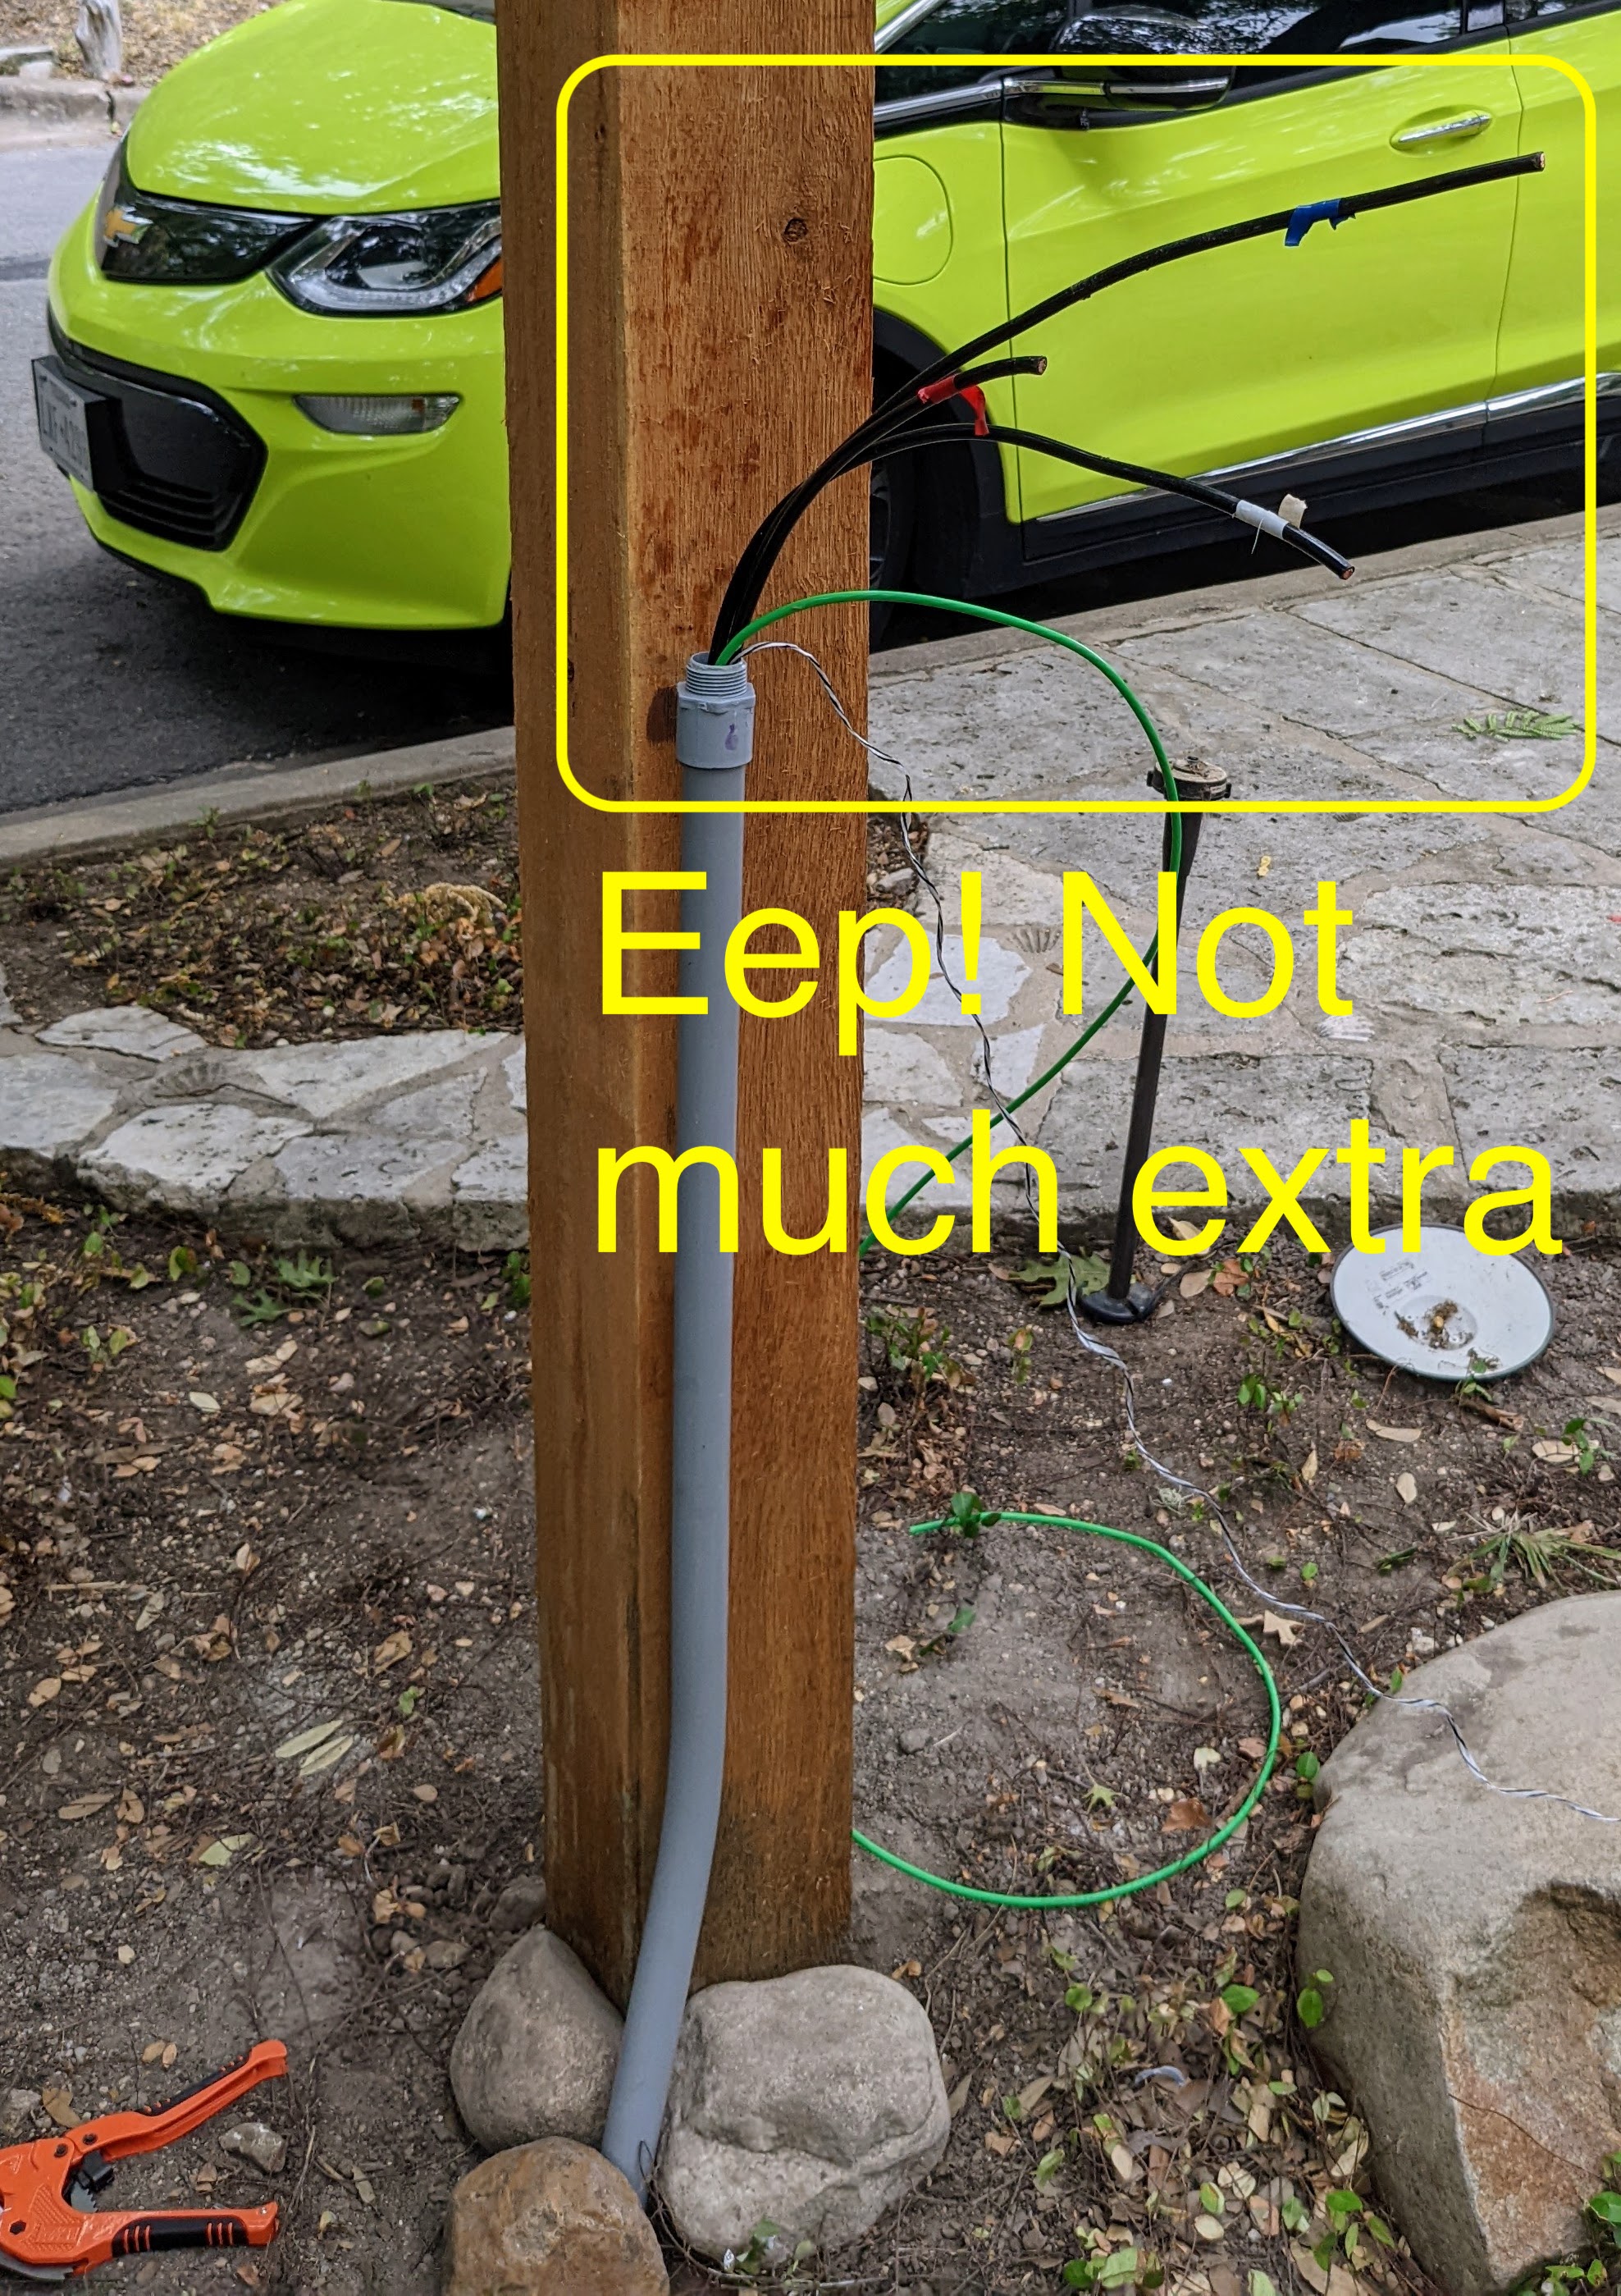
PXL_20220814_144523747

Wiring up the charger

Before even connecting the circuit to the house service, I installed the charger subpanel. The red-marked conductor had only a few inches to spare, but we got lucky. The 50A NEMA 14-50 receptacle includes a neutral, but it is not used by the EV charger, which just uses the two poles of the 220V circuit.
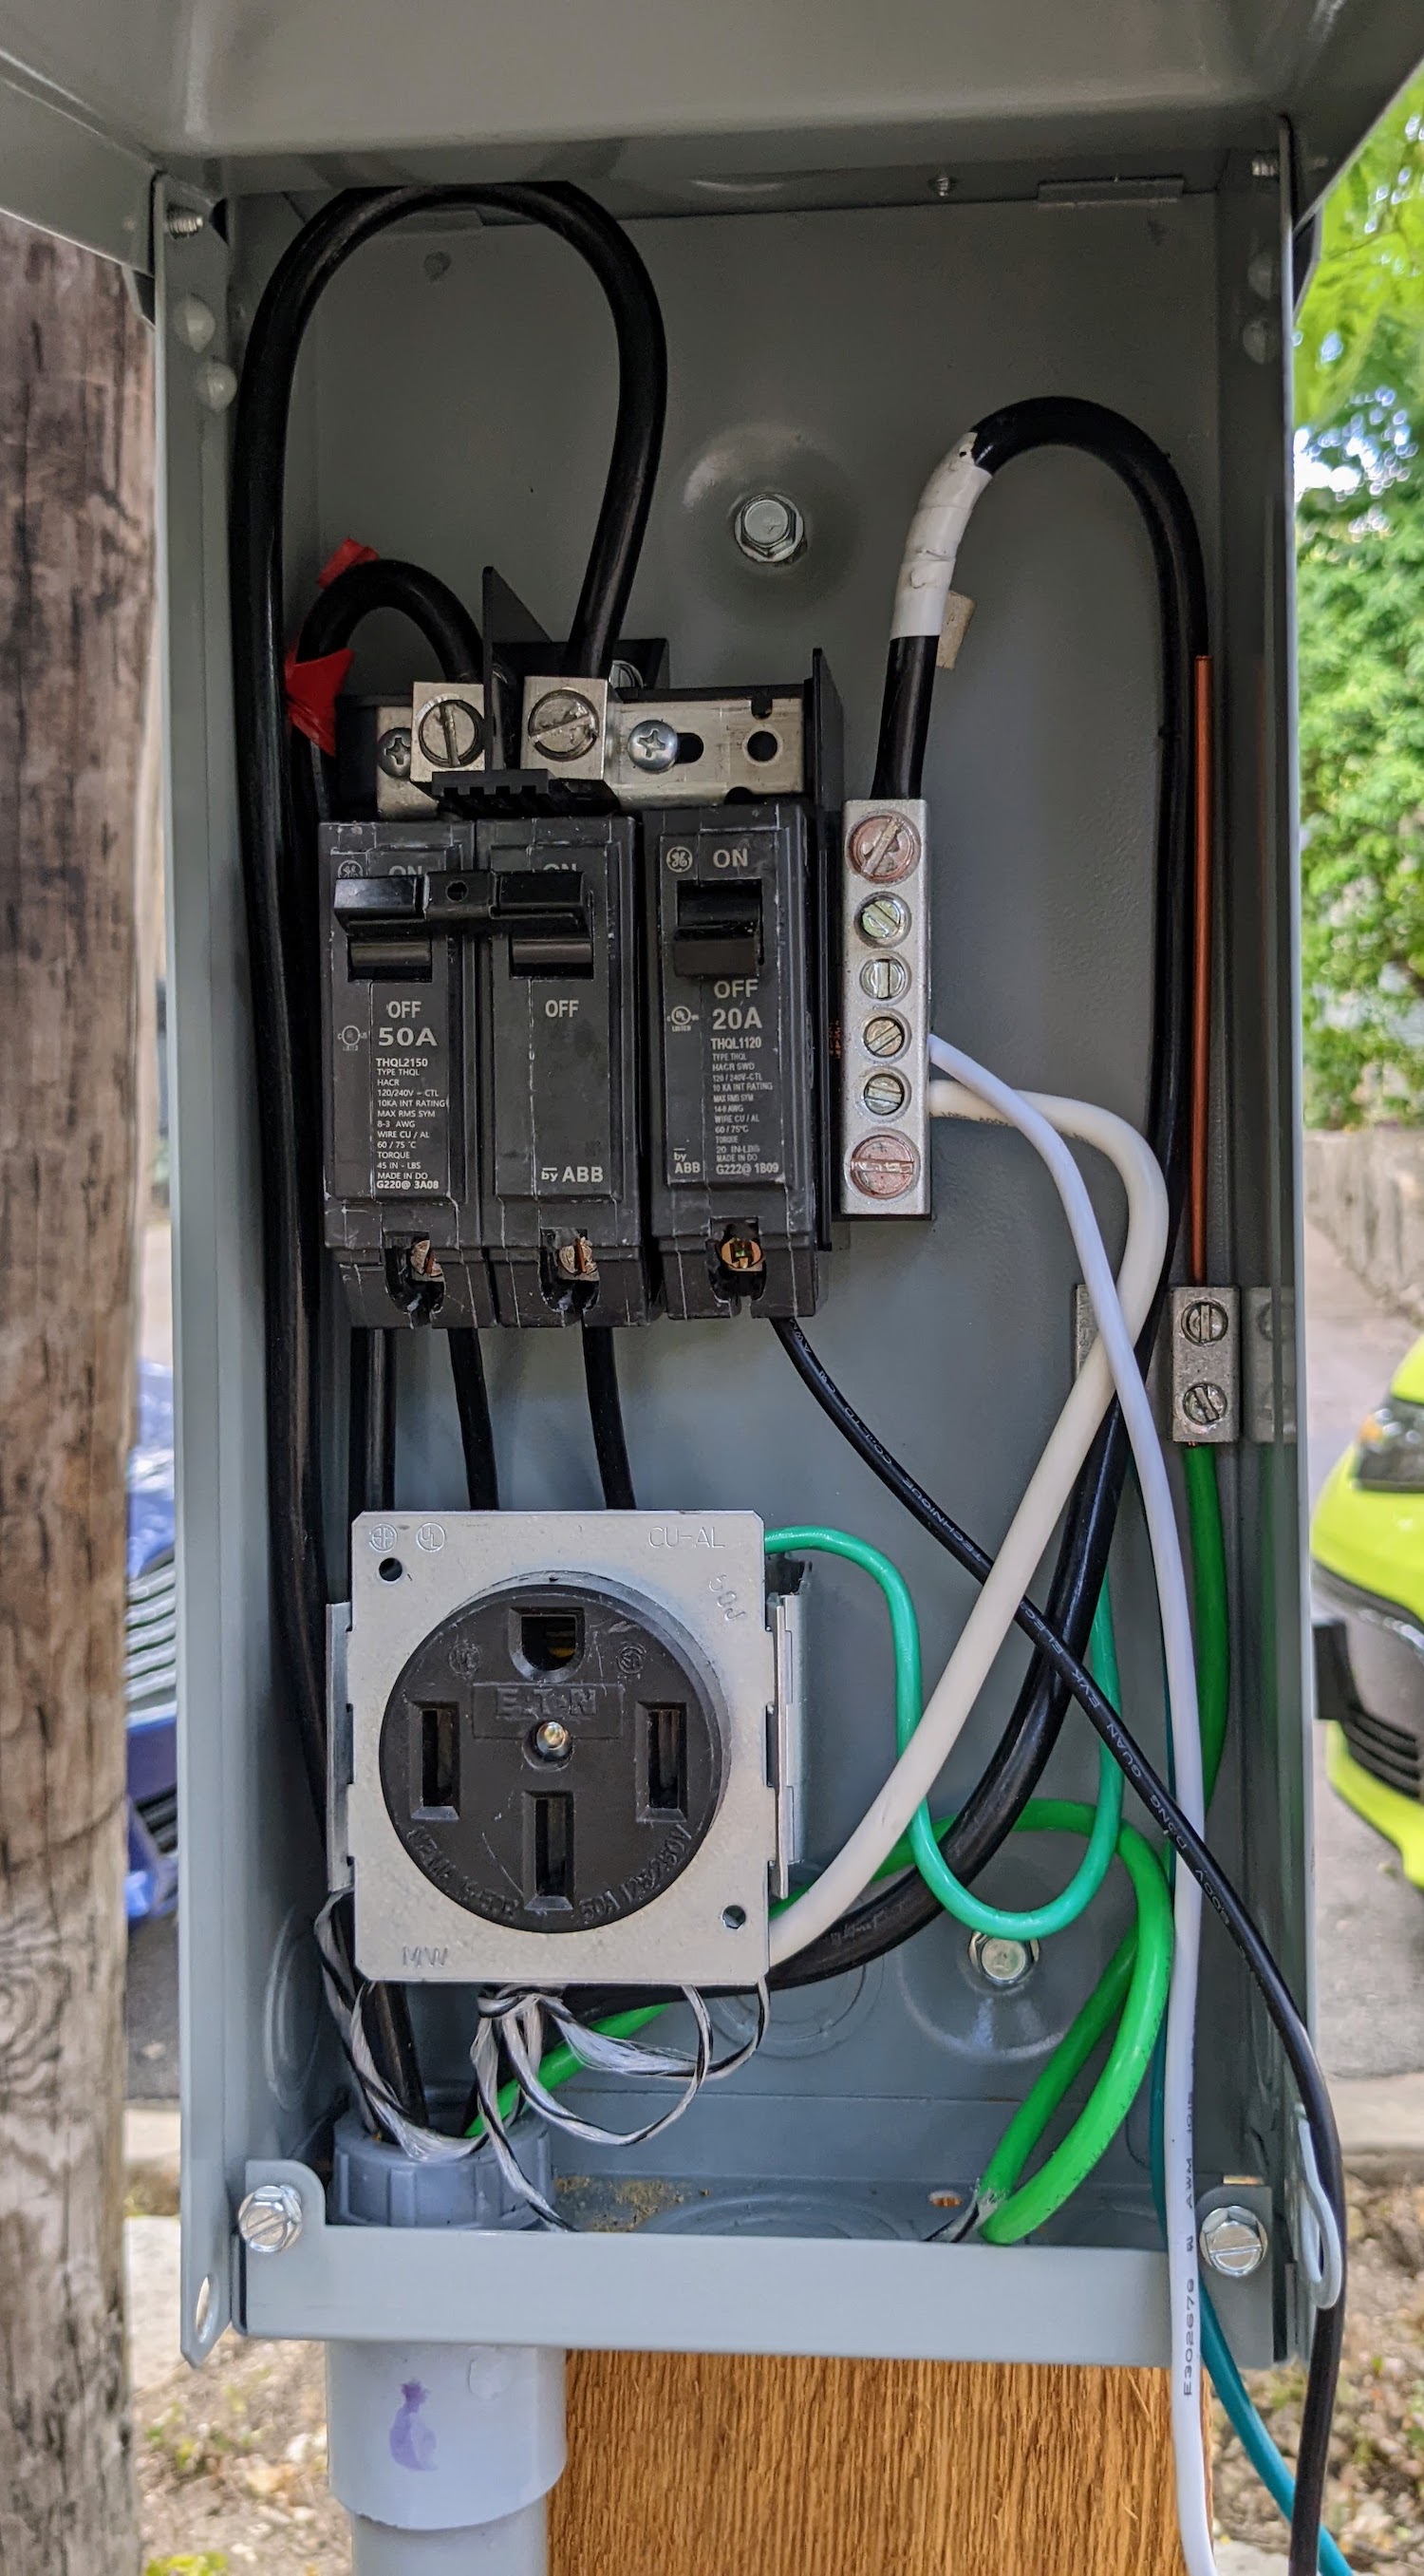
PXL_20220814_152711951

The finished subpanel mounted to the post:
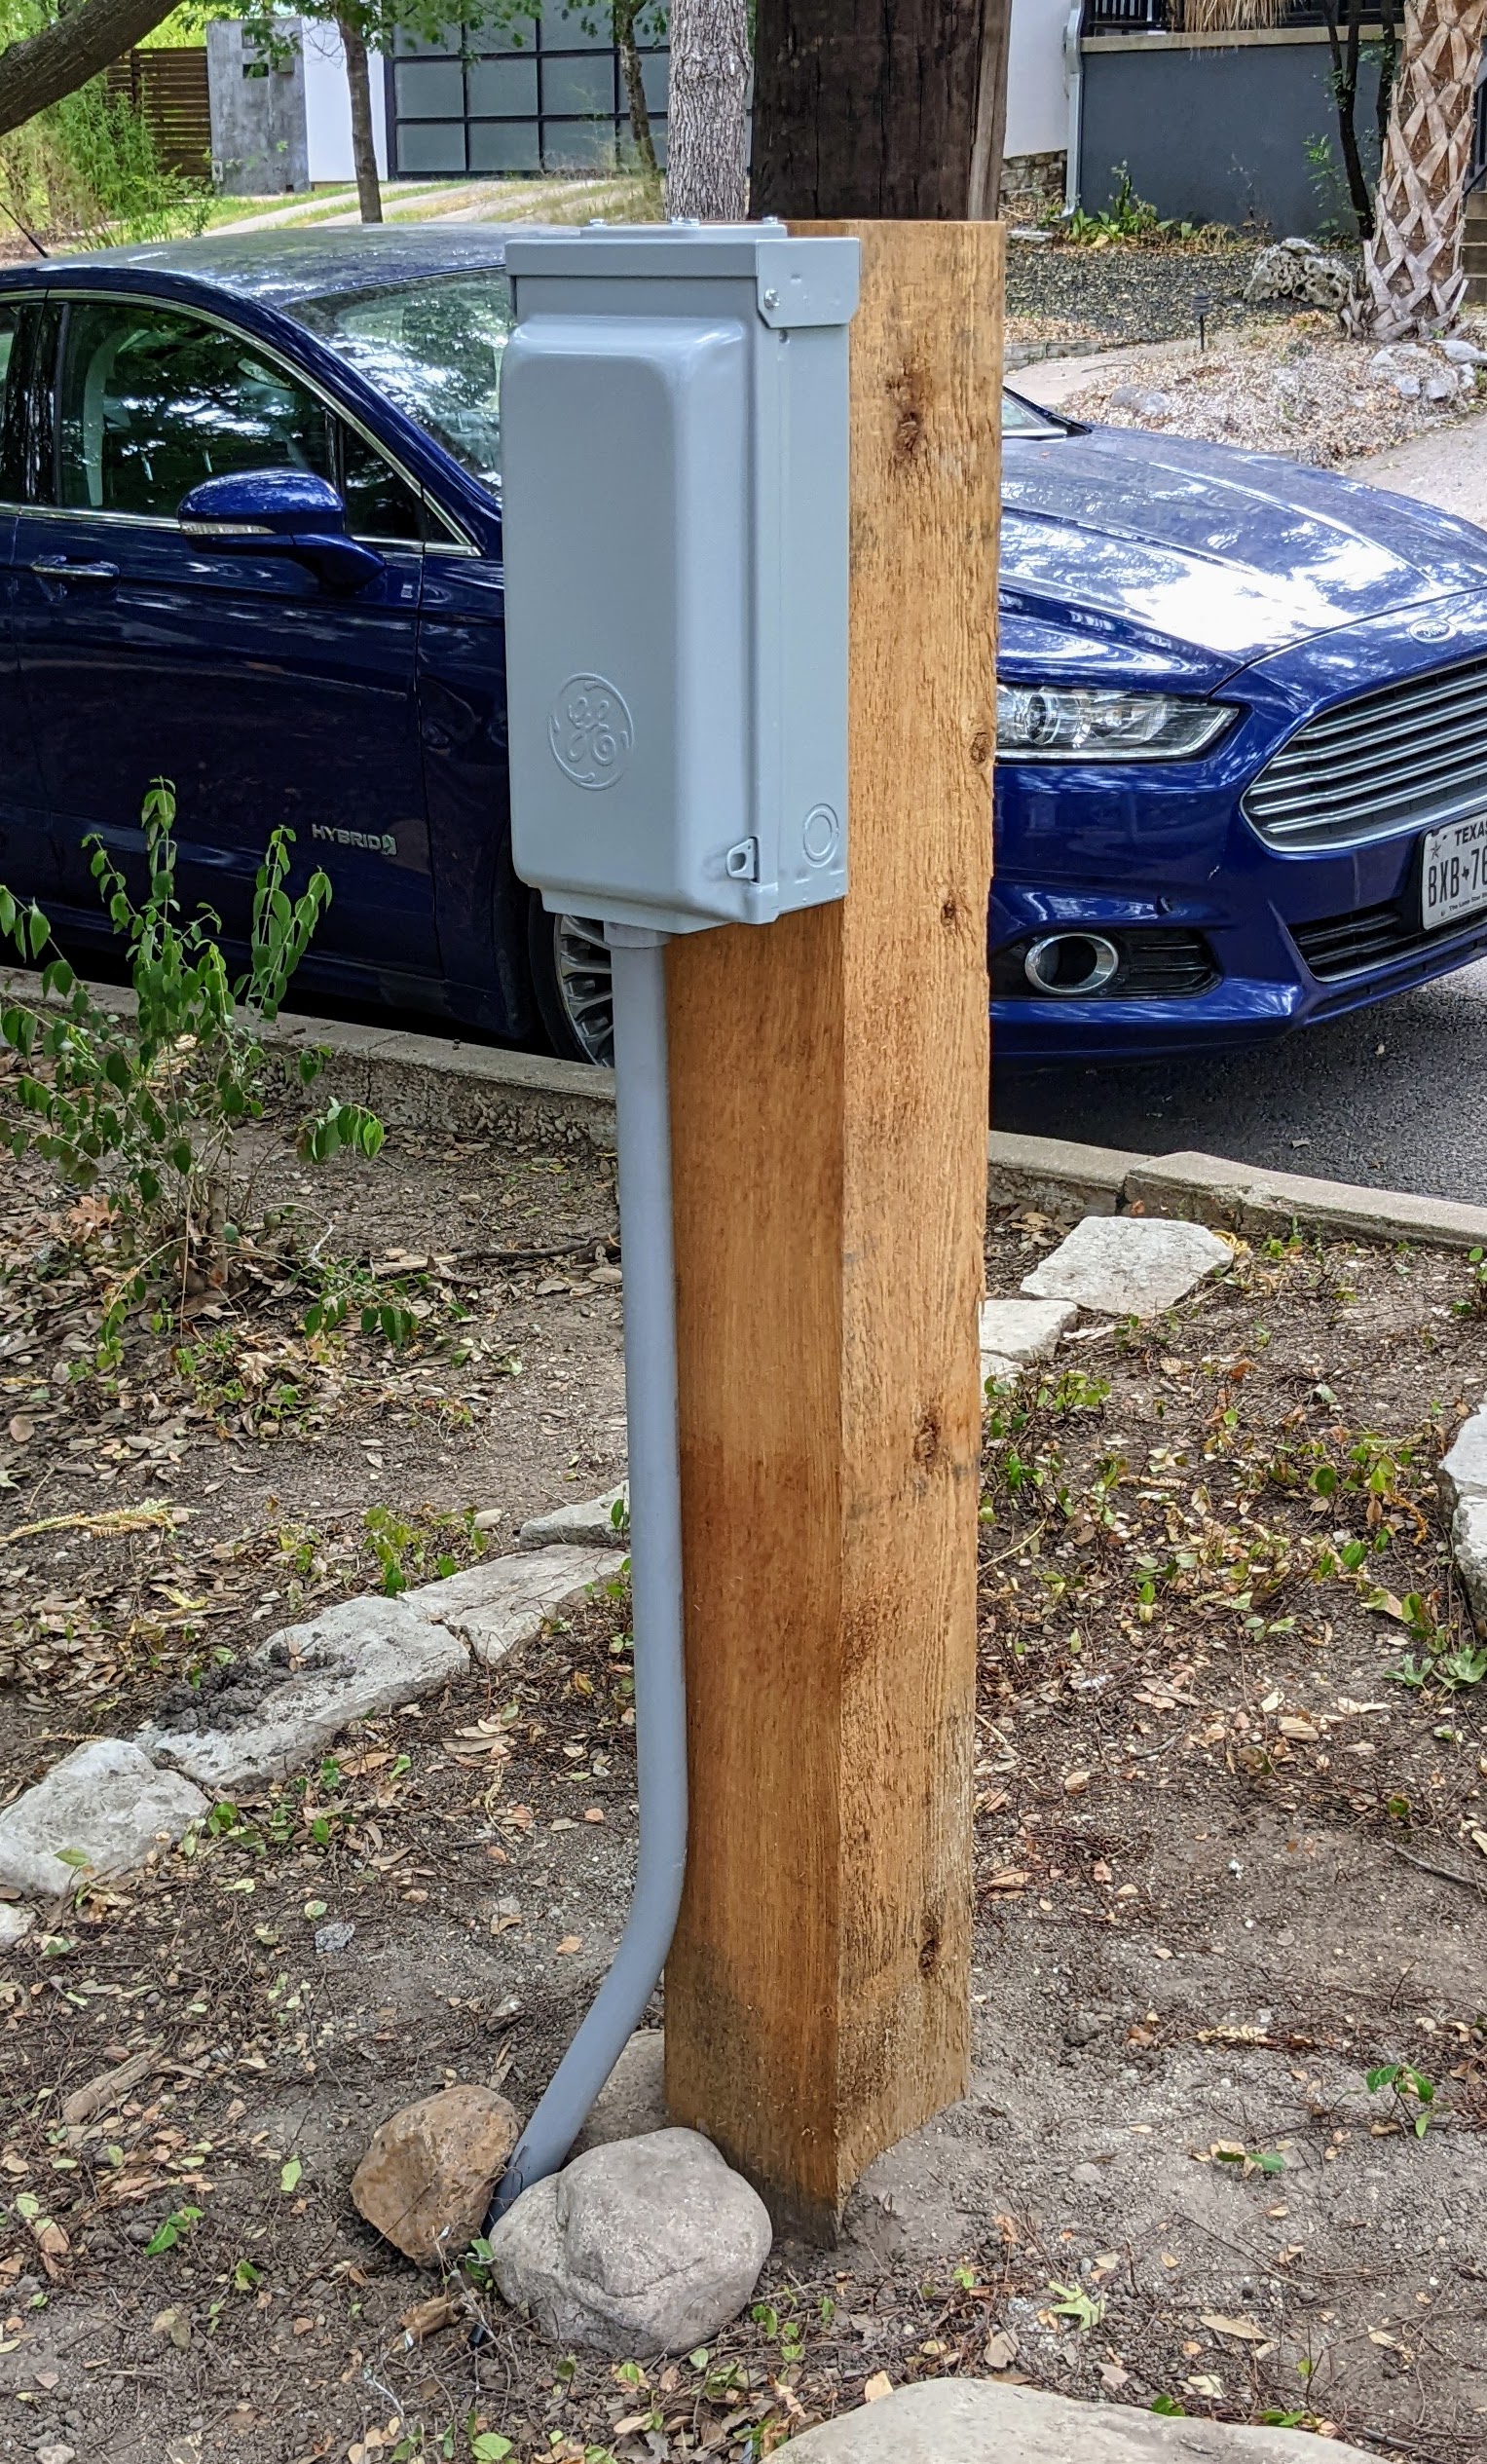
PXL_20220814_153131822

The final and scariest part was to connect the subpanel to a new 60A circuit on the main house service. The routing these huge wires was beastly; it’s pretty crowded in there. You can see the new 60A breaker on the left, opposite the 100A breaker for the subpanel in the addition.
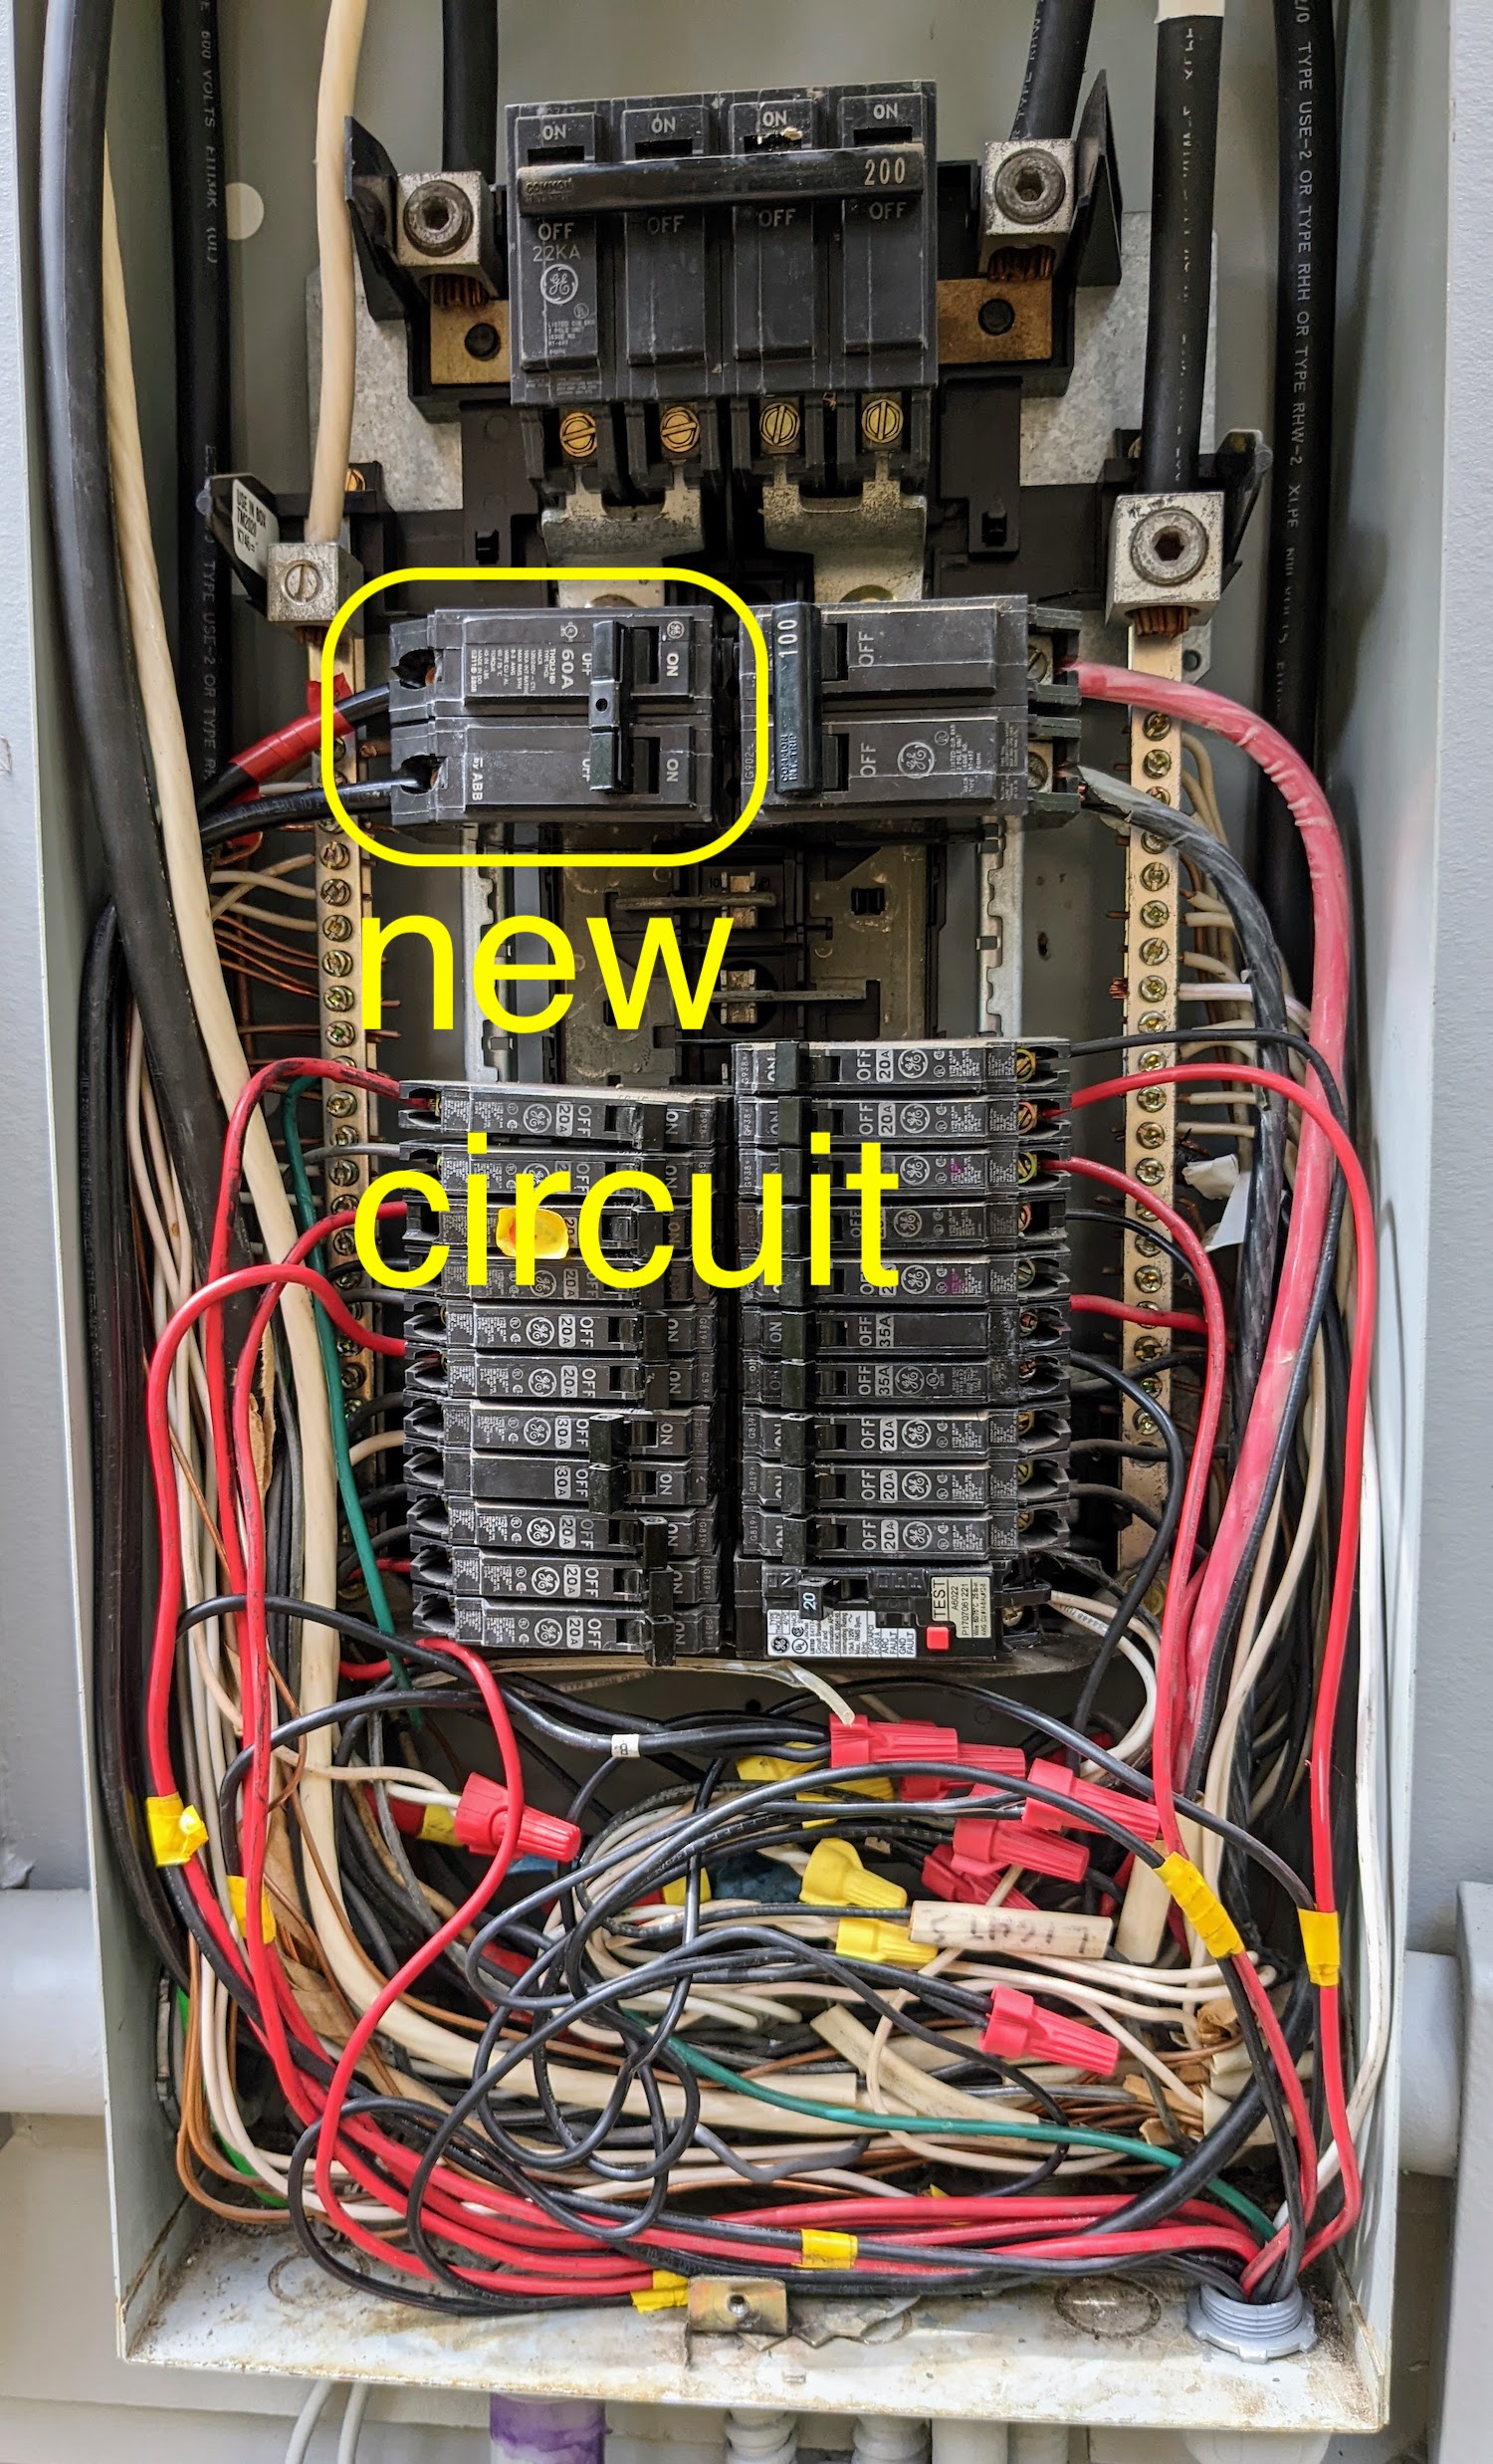
PXL_20220814_161230366

Finally, I wired up the charger itself. I used the NEMA 14-50 receptacle for ease of routing, but if I ever need more than 50A, I can hardwire as well.
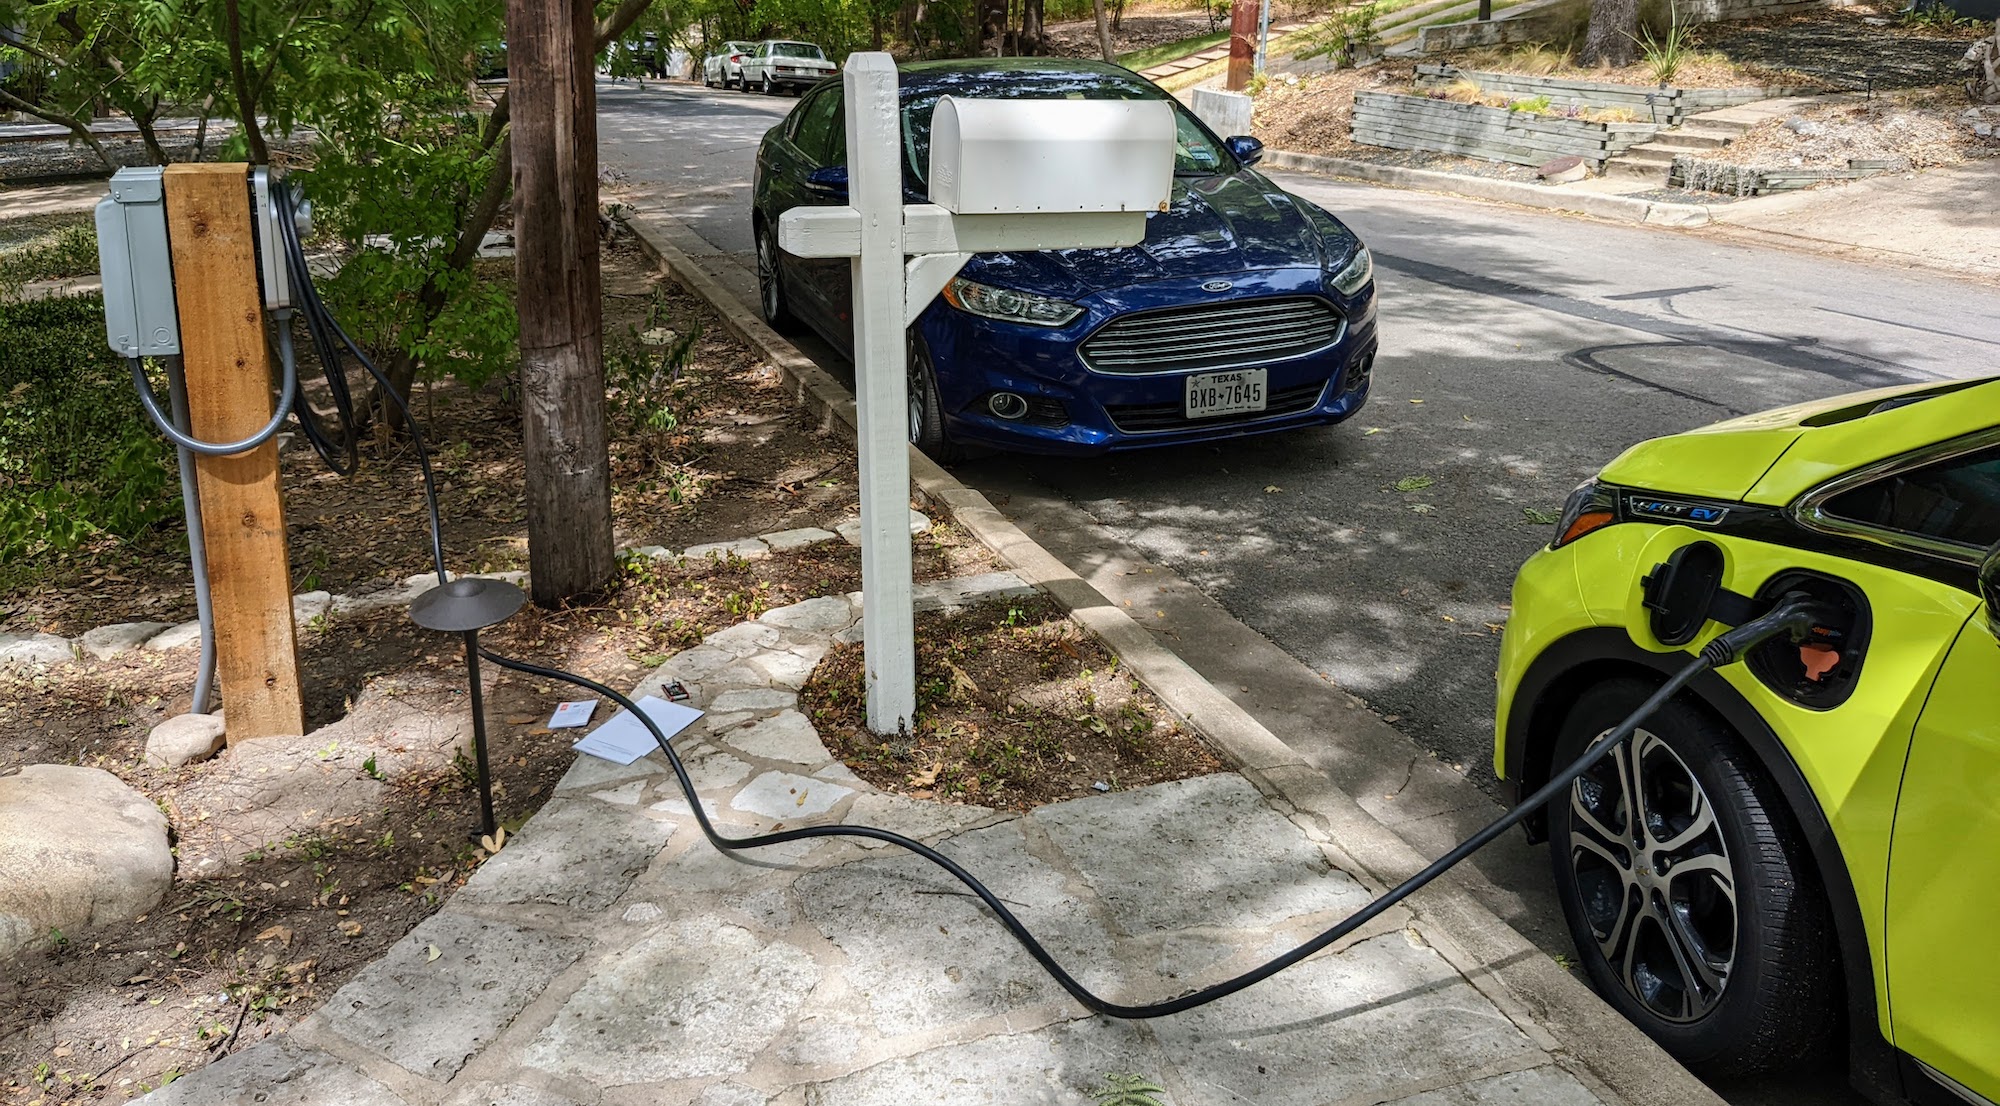
PXL_20220814_201343736

It’s been installed for several months now and has weathered rain and heat just fine. Seemingly everyone asks about the possibility of someone stealing watts by charging their car on my charger, sitting as it is right there by the road. Well, it hasn’t happened yet, although there’s nothing to prevent it. I’ll let you know if any EV owners are either so entitled or so hard up that they try such a thing 🙂

In all, I saved at least 50% over a professional installation, and I got to learn a bunch about the electrical code and pulling wire through conduit. And also lots of exercise digging a trench!
ran marathon, broke hip.

About a month ago, after six months of training and what I thought was a heroic recovery from a stress reaction in my right femur, I ran the Austin Marathon:

You may notice that things get really slow for the last four miles or so. Here’s the deal with that.

I hadn’t run much in the six weeks before the marathon, because I had a persistent pain in my right hip. It was diagnosed via MRI as a “stress reaction,” where the bone marrow swells due to stress on the bone. It’s a precursor to a fracture. I took three weeks off running, and worked with a physical therapist to rehabilitate the hip. I spent hours and hours simulating long training runs on an elliptical strider (do not try this). I did low-body-weight runs on an AlterG, a wacky device that supports your weight on a bubble of air while you run on a treadmill.

In the days leading up to the race, I was cleared to run by my physical therapist. I had some pain in my hip, but it wasn’t like the bone pain I’d had before the diagnosis, so I chalked it up to soft tissue. I was worried that I wouldn’t make it far, but I wanted to start the race on principle, since I’d trained so long for it.

Things started out better than I could have hoped. I had only a little bit of manageable pain in the hip one mile in. I felt strong. I made it 5 miles in, and crossed the river. I tried not to get too excited. I made to the 11 mile mark where the marathon / half marathon split was, and I took the marathon route. I couldn’t believe my luck! By mile 17, I was starting to hurt more. Walking was more painful than running, but as long as I could get moving after water stops, I was okay. Someone who saw me around mile 17 reported that I was running pretty funny, but I didn’t notice it. I was elated that I might finish.

At mile 22, there was a quick increase in pain in my right hip. I tried to take another stride, but I couldn’t. I was sure I had pulled a muscle or ligament or something. The bone was healed, after all.

I started limping along at a slow walking speed, determined to finish. I knew I’d be laid up on the couch for a day or two recovering from whatever I’d pulled, but, I told myself, it was worth it. A good friend who was running with me caught up a couple of miles into my ridiculous limp and offered to walk with me the rest of the way (he has several marathons under his belt). Boy, it was lucky that he did. We made the rest of the way, somehow, and I walked across the finish line on my hands (haha, what a joker!). Then he steered me into the medical tent, you know, just to be sure I was okay. Here I am 100 yards or so from the finish:

After I was examined and nothing serious found, I realized that I couldn’t really walk. So, I asked for some crutches to get back to the car. I crutched over to my poor pregnant wife who was waiting for me, and the pain in my leg was pretty extreme. We decided to head to the hospital, you know, just to be extra careful in case there was a fracture.


An hour later, exhausted and sweaty on a bed in the ER, I learned that I’d fractured my femur. The break was bad but not complete–it went halfway through the neck of the femur. If the fracture had gone all the way through, I would have needed a total hip replacement. As it stood, I likely needed surgery to insert screws in the femur to stabilize the fracture so I did not get worse. They offered to prep me for surgery right there, but I was exhausted, hungry, and a bit distraught at the idea of having screws permanently put in my body. So we went home to think about it.

It took about 24 more hours of internet research on femoral neck fractures to conclude that surgery was the right choice. If I didn’t get it, there was a chance that a fall at home could complete the fracture, leading to hip replacement, a terrible outcome. The screws reportedly did not have any lasting limitations. So I waited five days for the next available surgery appointment, leg hurting excruciatingly whenever it got bumped or moved the wrong way.

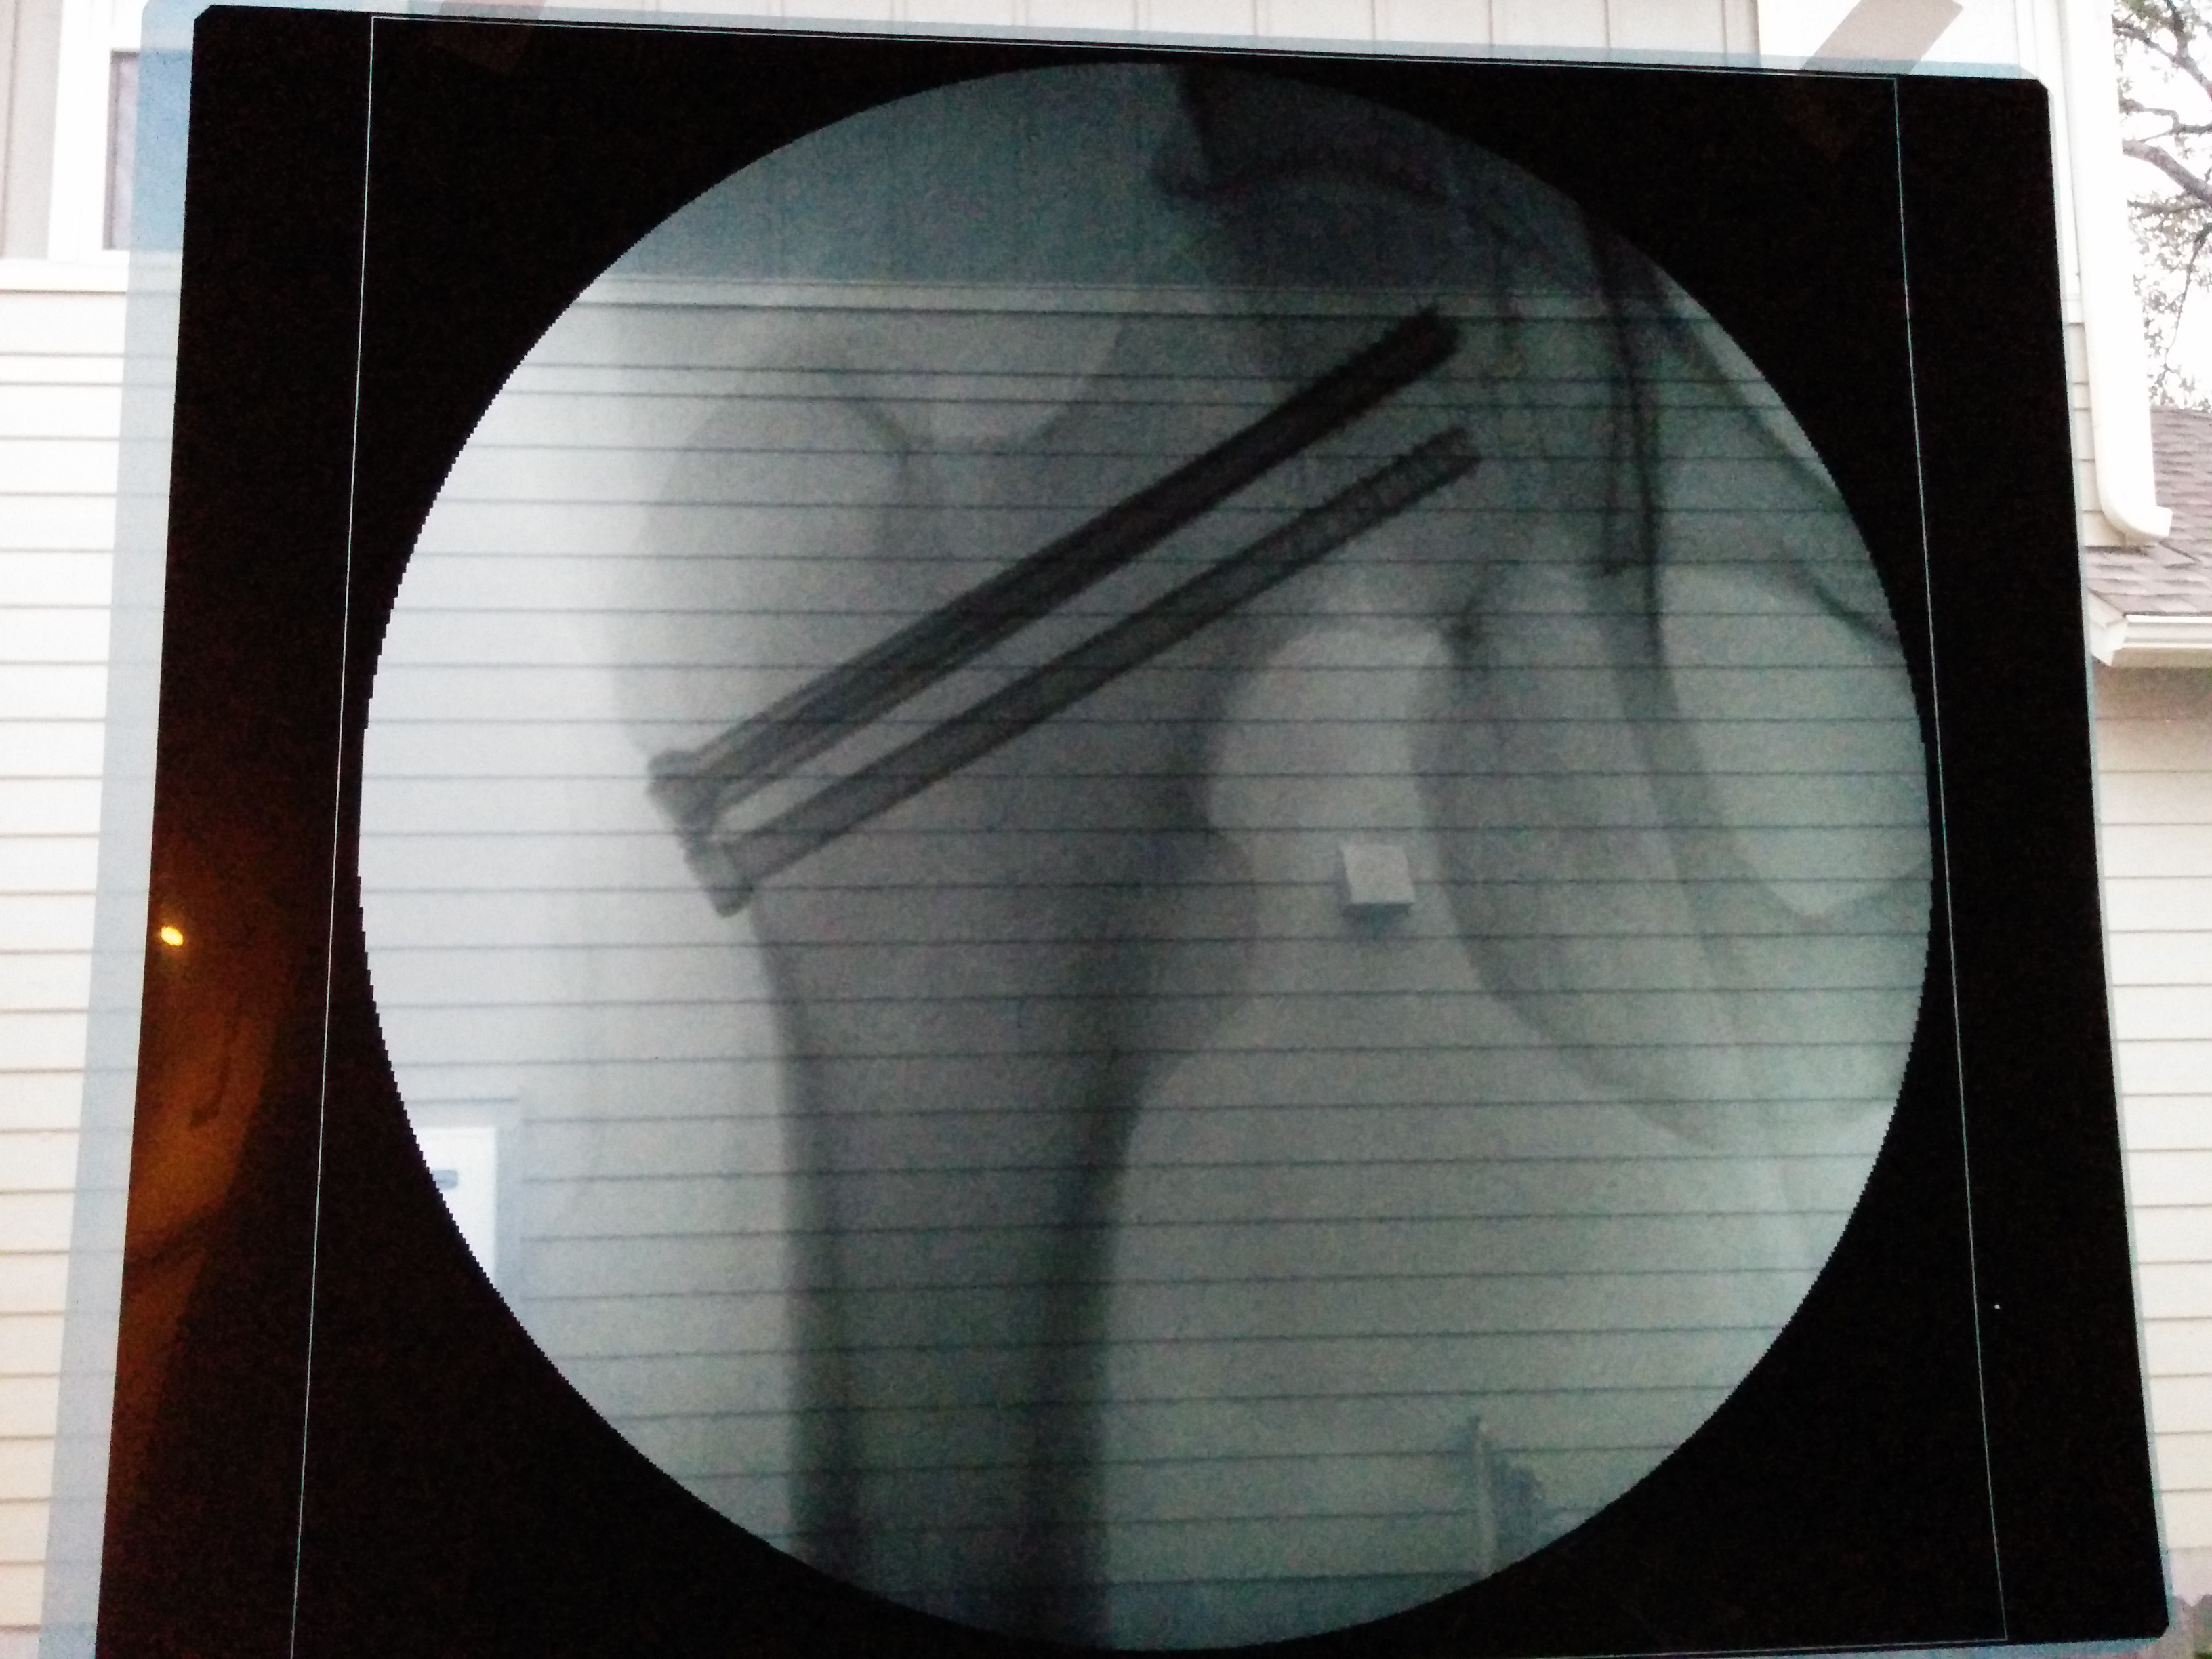
The surgery was quick and easy. I was told I would probably be admitted, unless I was feeling okay after the surgery in which case I could go home the next day. We showed up at 5am for the 7am surgery, Leslie bizarrely watching me get rolled away to the OR in a last minute role reversal. I was awake again 45 minutes later and the surgeon said everything had gone fine. I stepped off the bed with crutches and immediately could put weight on the leg. I was so relieved. I got to go home with some awesome X-rays of my new titanium-enhanced leg:

A month after the marathon, I’m still on crutches, but only because of doctor’s orders. I have almost no pain any more moving around. I’m getting exercise by swimming. I’d say I’m doing better than my very pregnant wife at this point. The doctor said I can ditch the crutches as soon as the baby is born 🙂

first big house project: new doors!

After 9 months of searching for contractors, picking doors, waiting for doors, waiting for contractors, and monitoring all the work, we’ve finished our first big home improvement project, which was to replace all the interior doors in our house as well as the front door.

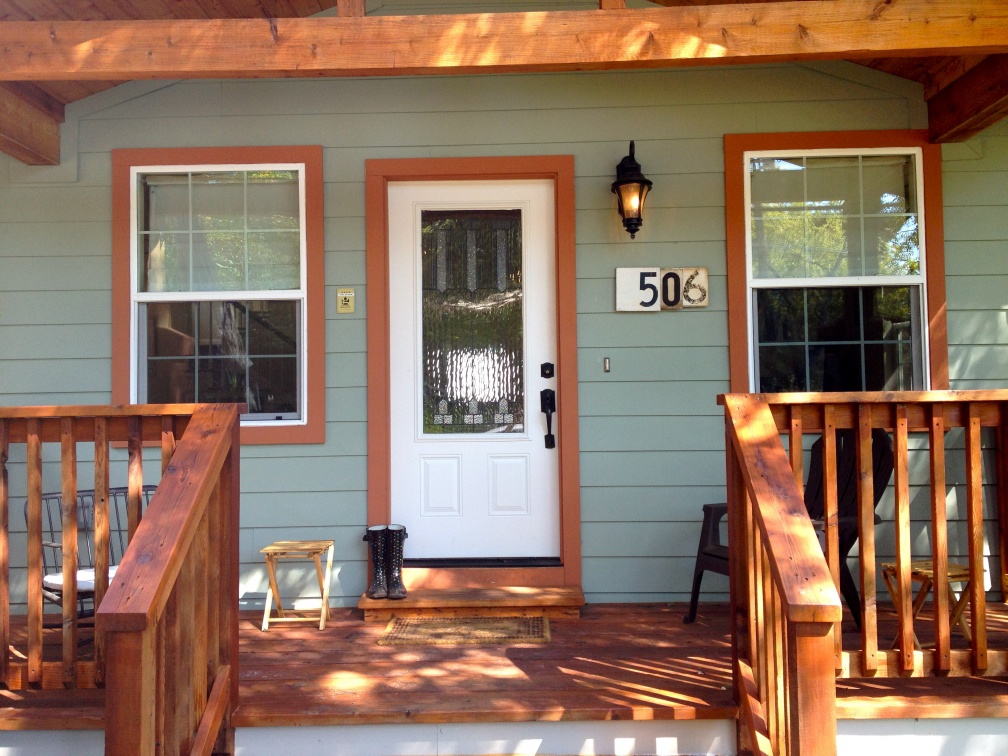
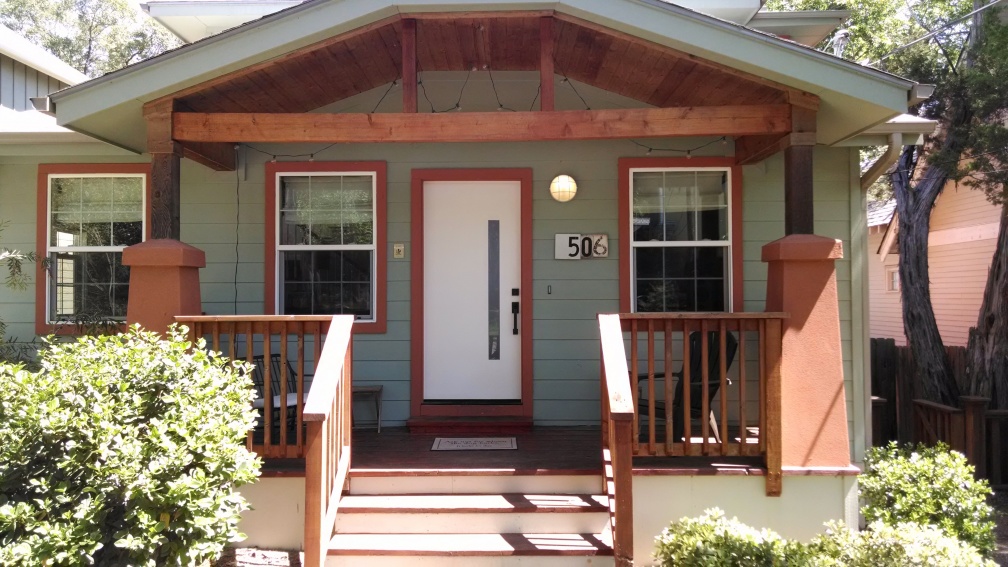
Here’s the old front door:

And today, with a few changes to make it more us, most recently our custom designed new front door:

The whole idea started because we were annoyed by the way several of the doors in our house swung, like into the pantry, eating up 30% of its storage space, or into our bedroom so that they blocked the light switches. Also, we had several doors that just didn’t fit in their rooms, swinging way out and blocking access.

It turned out the cost of changing the swing on doors was more in labor than the cost of new doors, so we decided to replace the cheesy molded masonite doors with “Shaker” stile-and-panel doors that were much more our speed. I guess you don’t really take pictures of doors very often, because this was the only one I could find of the old doors:

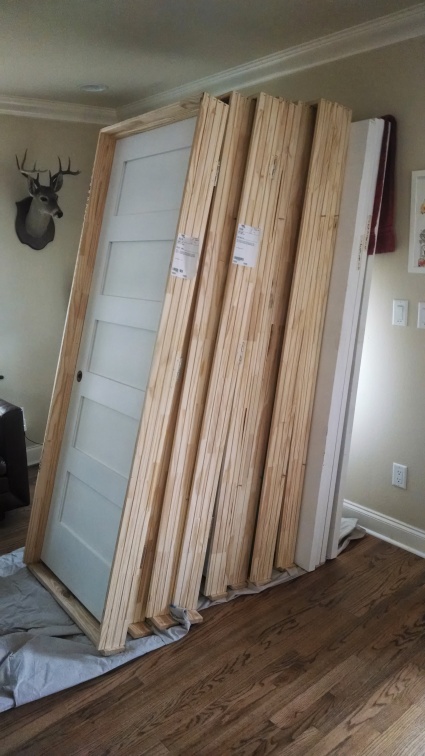
And here are some pics of the new doors as they arrived:

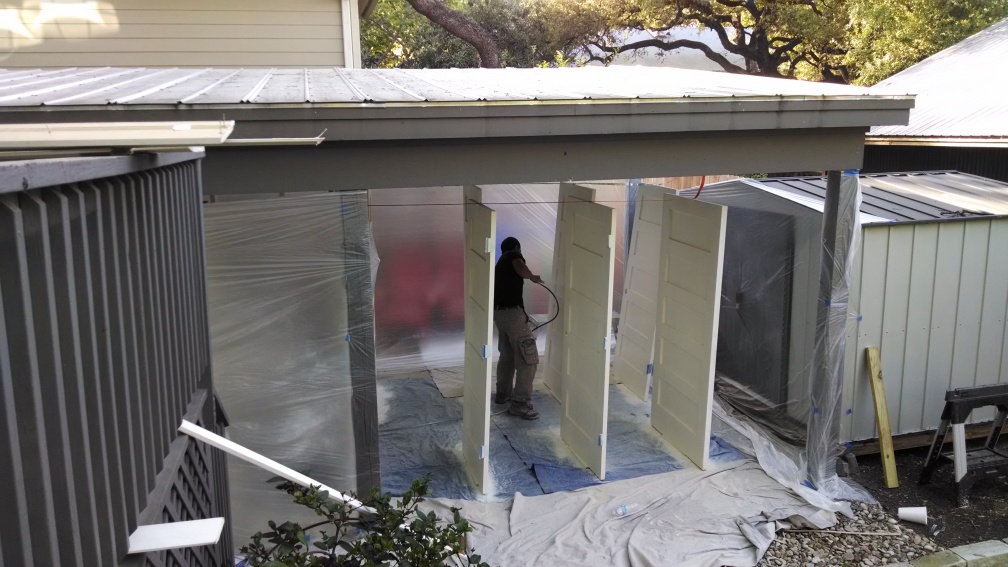
Being painted:

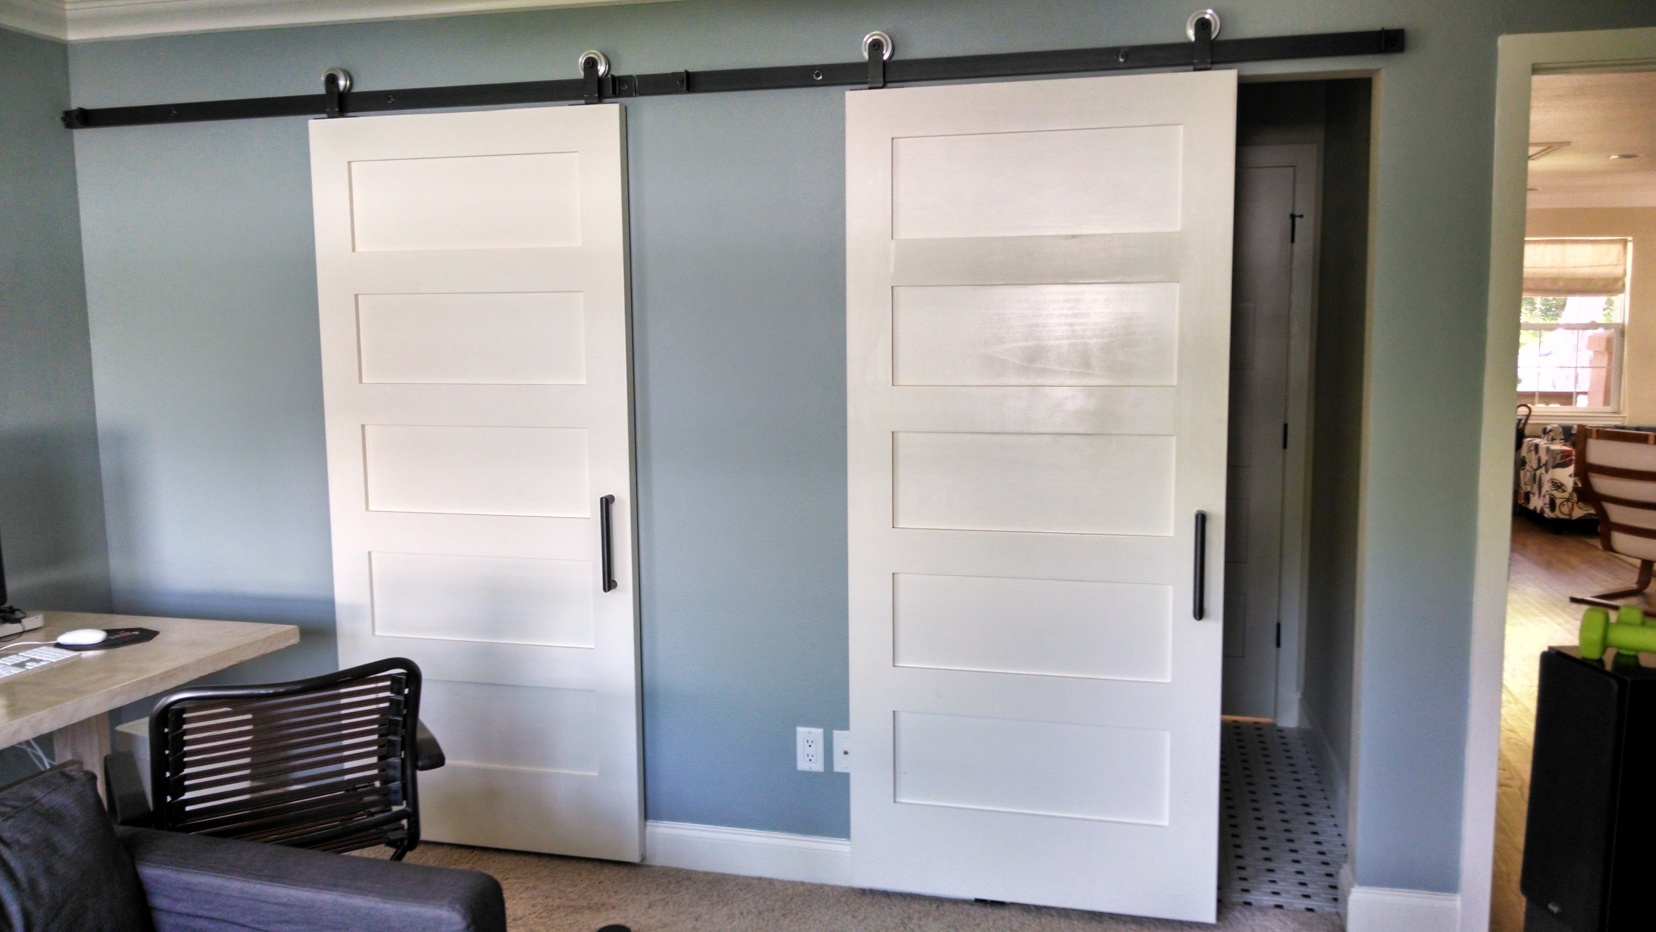
Finished barn door installation:

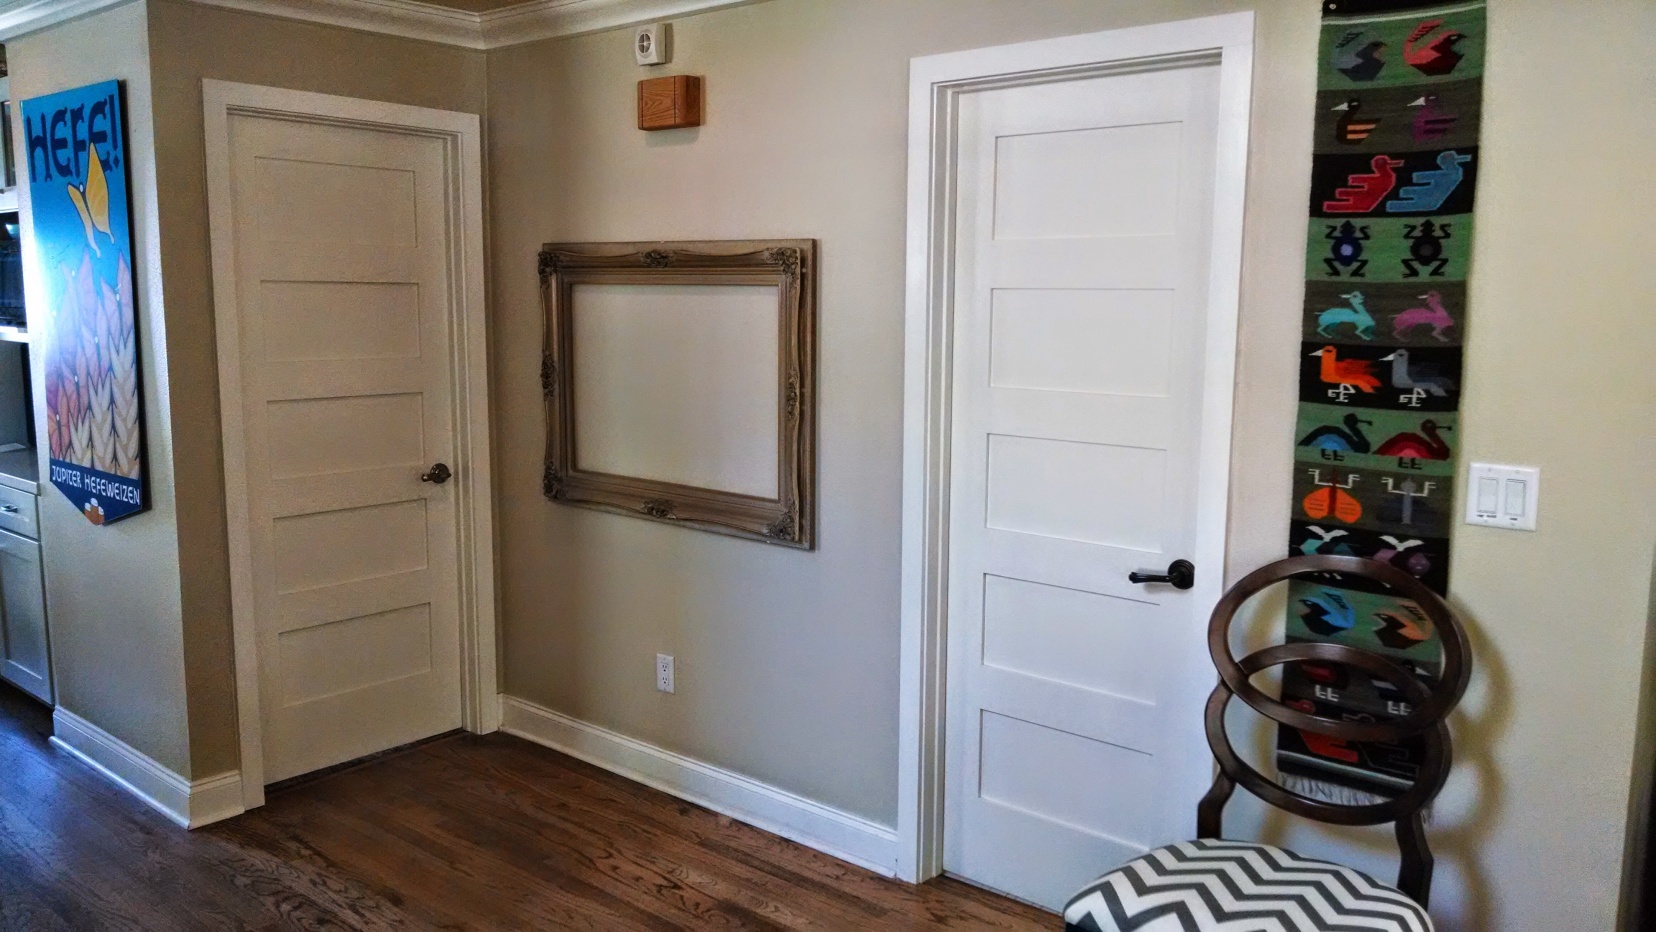
Another interior shot: